dd https://linuxhandbook.com/tree-command/
The tree command is a utility that displays a tree-like representation of the directories and files in a file system. It is typically used to provide a visual representation of the directory structure of a file system.
To install the tree command on an Ubuntu system, you can use the apt package manager.
Command: apt install tree
This will install the tree command and any dependencies it requires. Once the installation is complete, you can use the tree command as described below.
If you prefer, you can also install the tree command using the snap package manager. To do this, run the following command:
Command: snap install tree

Here is an example of how the tree command might be used:
- Syntax: tree <Directory>
- Command: tree /root

The tree command has a number of options that allow you to customize its behavior.
For example, you can use the -d option to only show directories, not files.
Command: tree -d /root

By default, the tree command won’t list hidden files but this behavior can be altered by using the -a option.
Command: tree -a /root

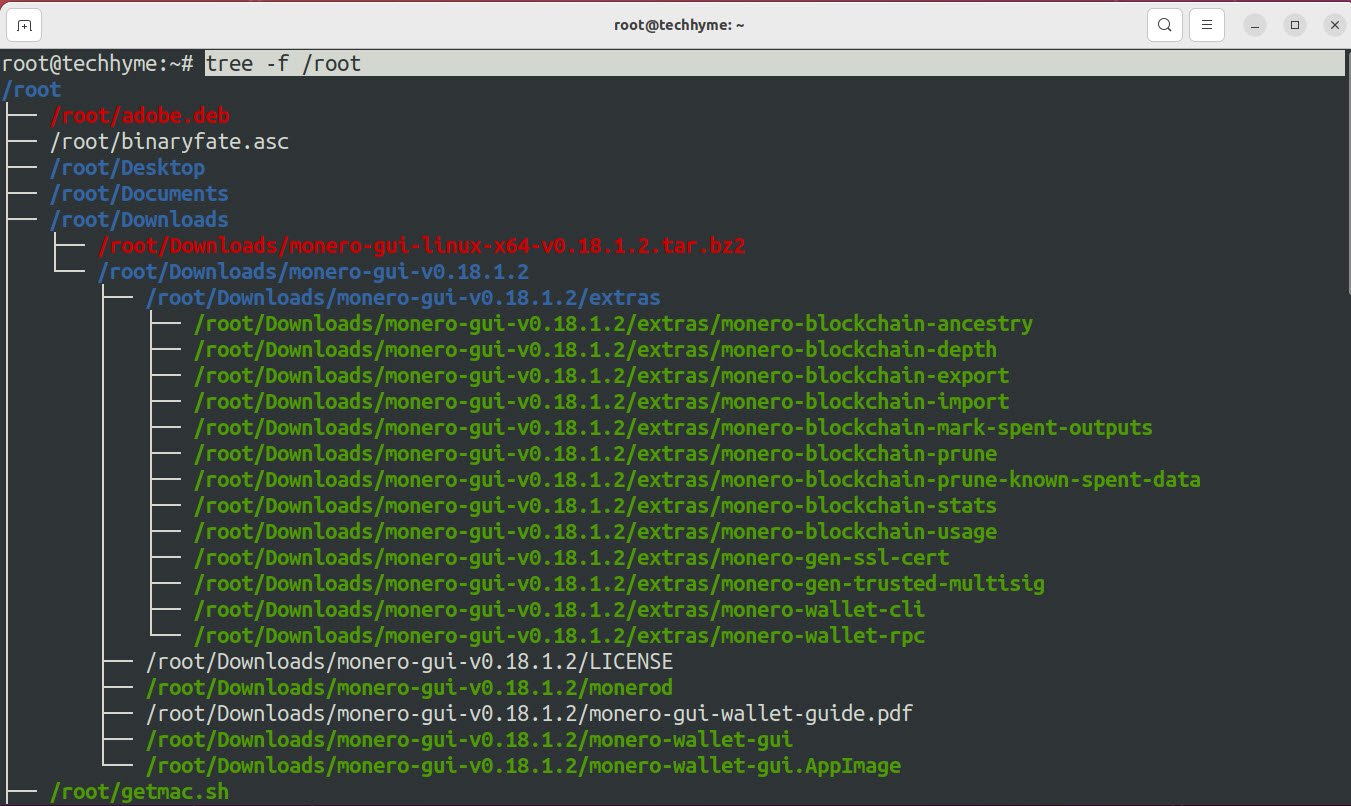
The tree command with the -f option shows the full path prefix for each file listed.
Command: tree -f /root

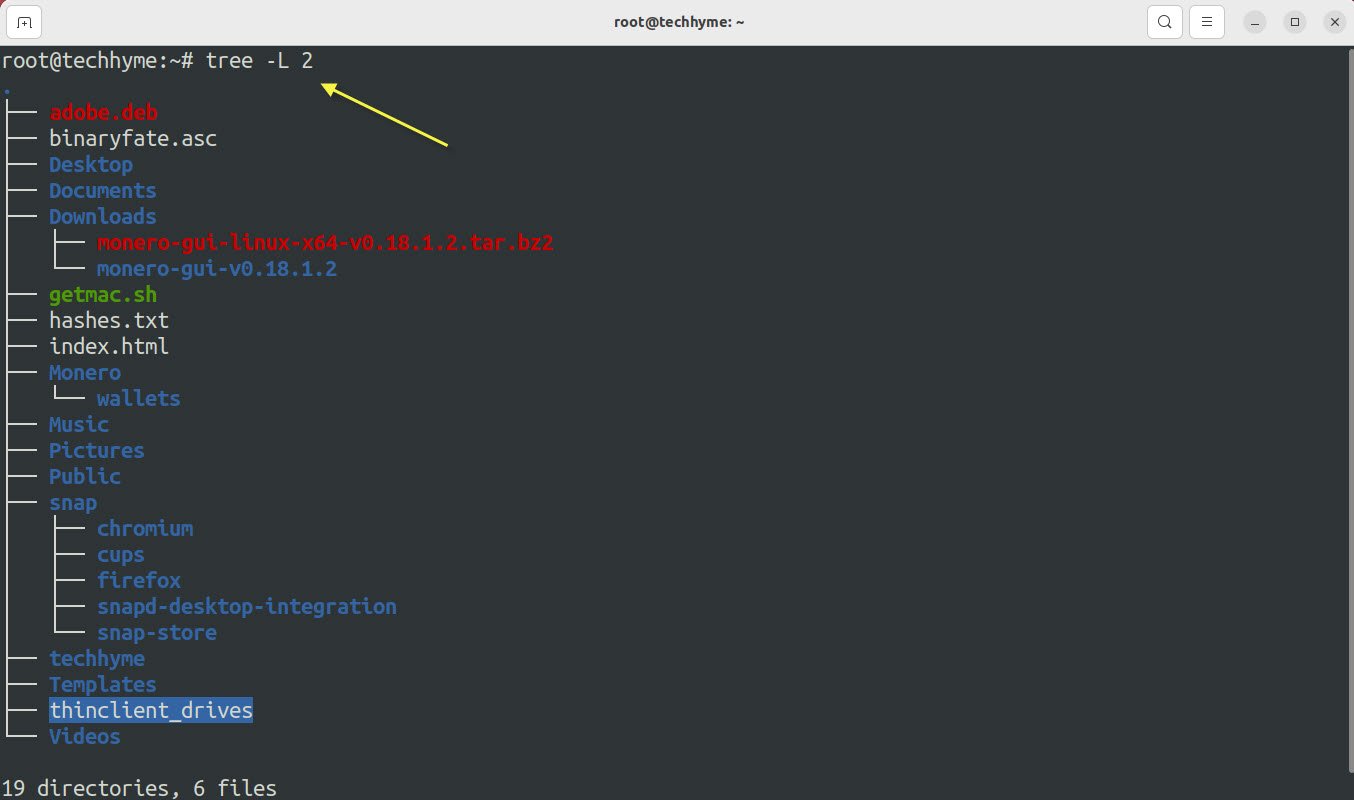
So if the directory has hundreds of subdirectories and if you only want to list the first certain levels such as want to include the first one or two subdirectories, you can use the following command:
- Syntax: tree -L <Level>
- Command: tree -L 2

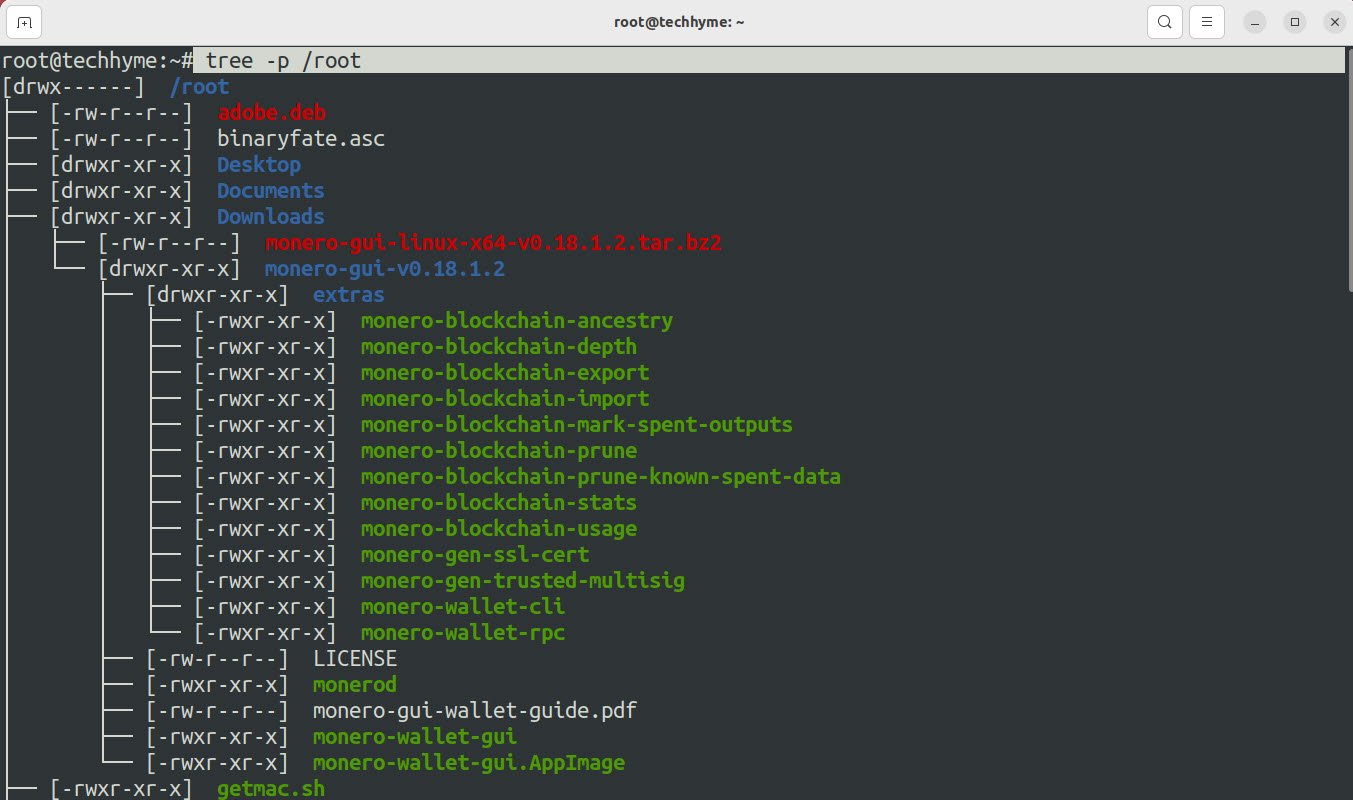
The tree command with the -p option shows the permissions of each file and directory in the tree display.
Command: tree -p /root

For example, Here I went with listing every file present in the /root directory with more readability:
Command: tree -ph /root

The tree command can show you the size of each file and directory at a specified location and will also sum the size for you in the end.
The tree command with the -d option only shows directories, and the -u option sorts the output by time (most recently modified first). The -h option generates human-readable file sizes (e.g. 4.0K for 4 kilobytes).
Command: tree -du -h /root

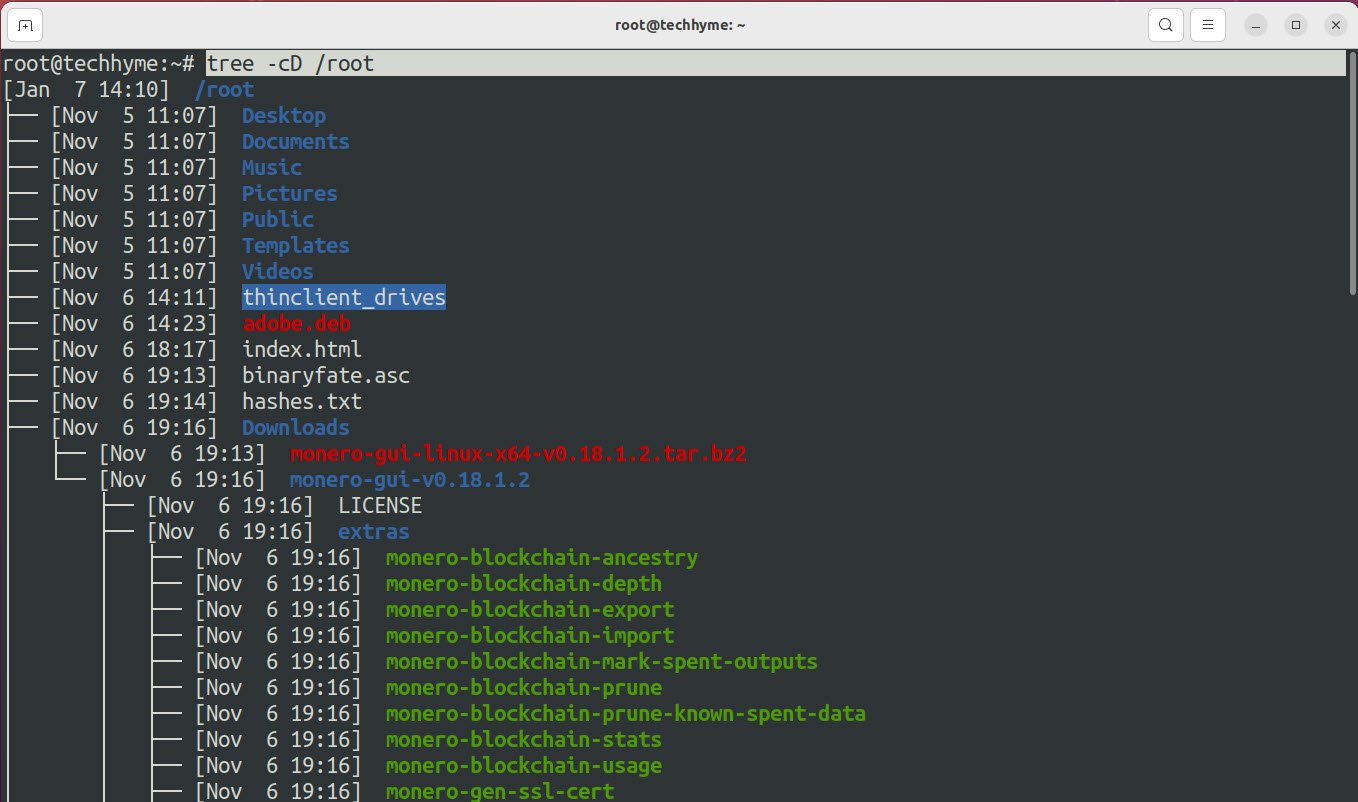
To sort files based on modification, you will have to use the -c option and it will sort files that were modified the first by default. And here, We will also be using the -D option to get the date and time of modification:
Command: tree -cD /root

In this case, you will have to alter the default effect of the -c option which will list files based on the first modification. Which can easily be altered when paired with the -r option which will reverse the effect of -c option:
Command: tree -cDr /root


