
Apache is a widely-used open-source web server software. It is developed and maintained by the Apache Software Foundation and is available for various operating systems including Windows, Linux, and macOS.
Apache is known for its flexibility and can be configured to handle a wide variety of tasks, such as serving static and dynamic content, handling secure connections, and more. It also supports a wide range of programming languages and technologies through its module architecture.
To install Apache on a Linux machine, you can follow these steps:
It is generally recommended to run “apt update” command before installing a new package using “apt install” on a Debian or Ubuntu system. This updates the package list and ensures that you are installing the latest version of the package.
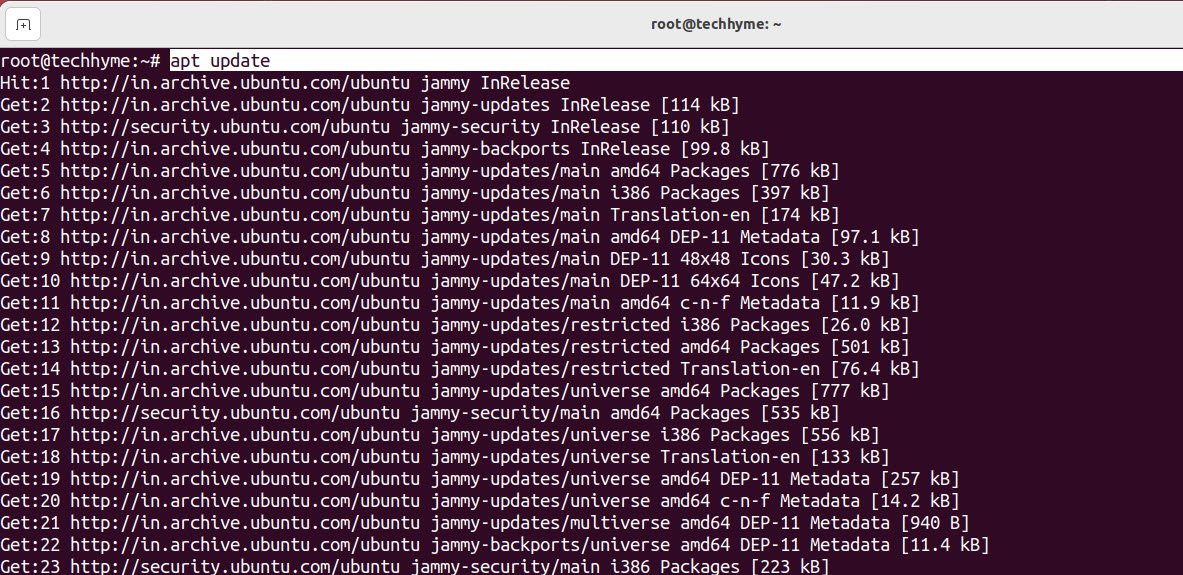
To install apache2 in your machine, run the following command:
Command: apt install apache2
The above command is used to install the Apache2 web server on a Linux-based operating system using the Advanced Packaging Tool (APT).
APT is a package manager for Debian and Ubuntu-based systems that allows you to easily install, update, and remove software packages. The command “apt install apache2” will download and install the Apache2 package and any dependencies it requires.

Once the installation is complete, the Apache2 web server will be ready to use. If you see the page below, it means that Apache has been successfully installed on your server!
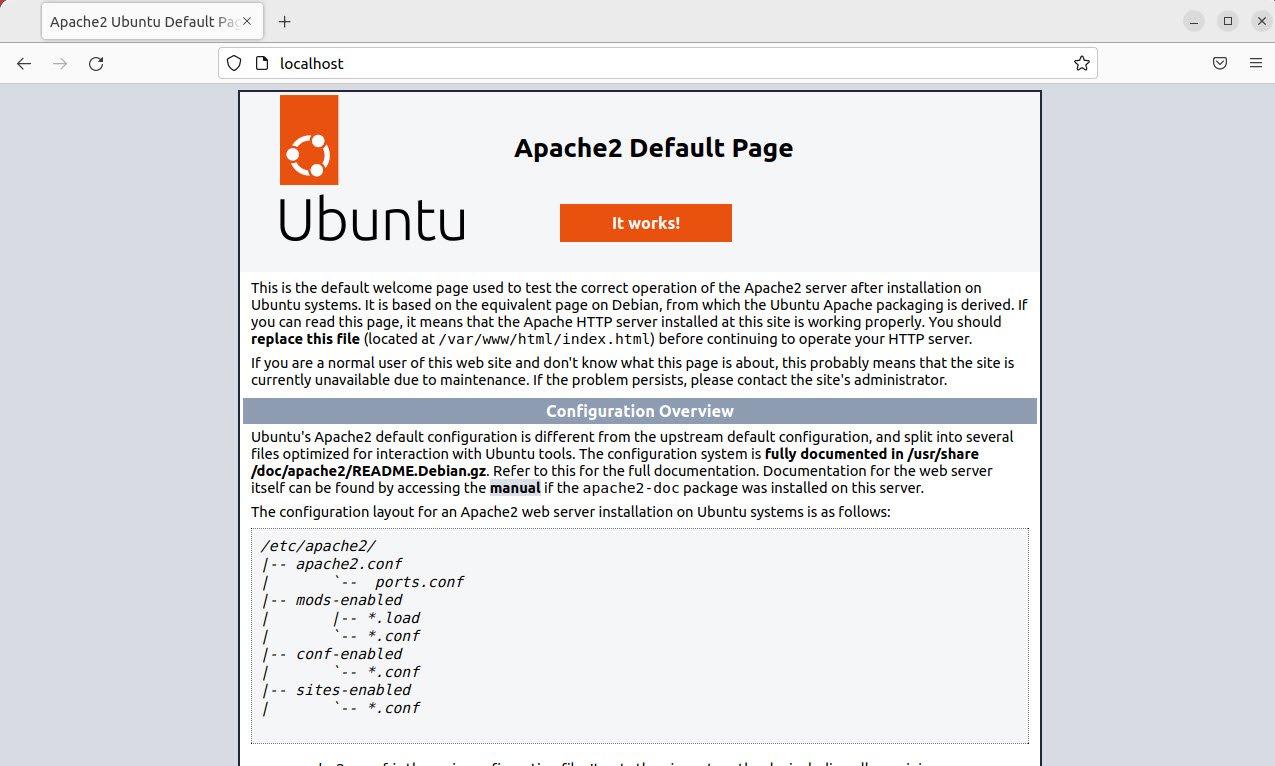
By default, Apache comes with a basic site enabled. We can modify its content in /var/www/html or settings by editing its Virtual Host file found in /etc/apache2/sites-enabled/000-default.conf.
So let’s start by creating a folder for our new website in /var/www/ by running
Command: mkdir /var/www/techhyme

Now that we have a directory created (techhyme) for our site, lets have an HTML file in it. Let’s go into our newly created directory and create one by typing:
Command: nano /var/www/techhyme/index.html

Now let’s create a VirtualHost file so it’ll show up when we type in techhyme.example.com or techhyme.localhost. We start this step by navigating into the configuration files directory:
Command: cd /etc/apache2/sites-available/
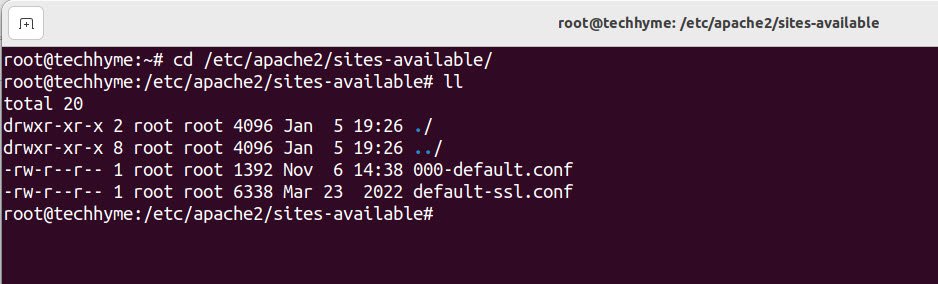
Since Apache came with a default VirtualHost file, let’s use that as a base. (techhyme.conf is used here to match our subdomain name):
Command: cp 000-default.conf techhyme.conf

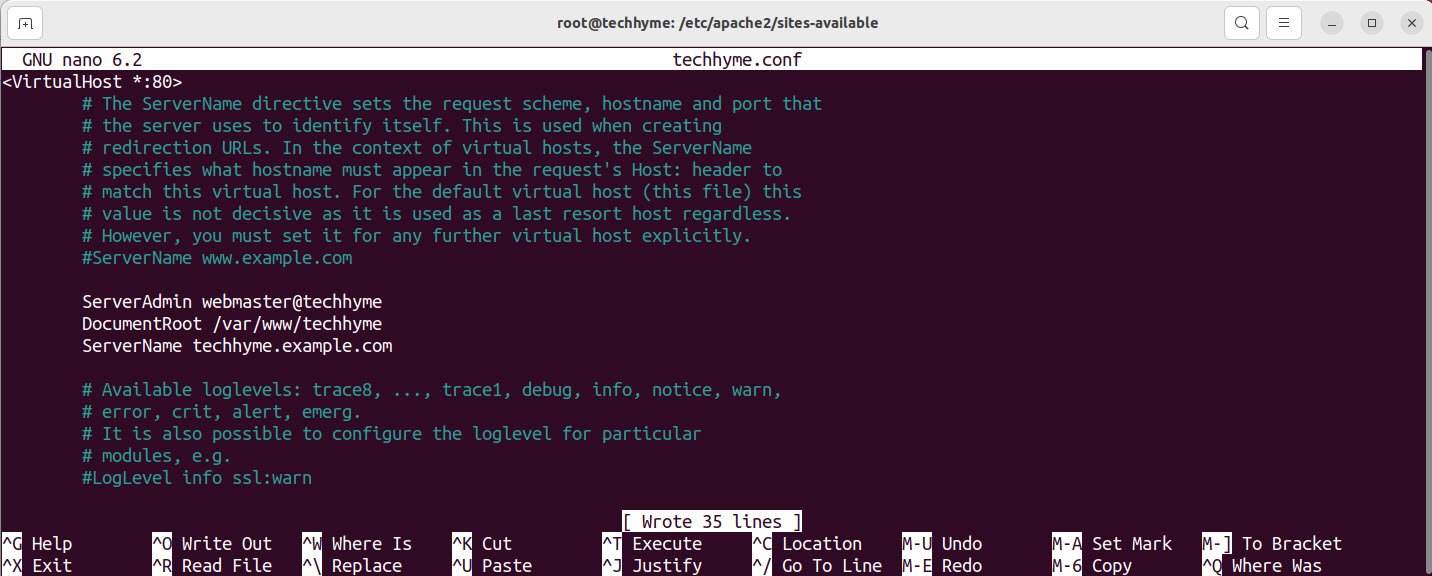
Now edit the configuration file:
Command: sudo nano techhyme.conf
Edit the following lines:
ServerAdmin webmaster@techhyme
DocumentRoot /var/www/techhyme
ServerName techhyme.example.com
Now that we’re done configuring our site, let’s save and activate it in the next step!
After setting up our website, we need to activate the virtual hosts configuration file to enable it. We do that by running the following command in the configuration file directory:
Command: a2ensite techhyme.conf
To load the new site, we restart Apache by typing: systemctl reload apache2

Let’s type the host name in a browser.


Pingback: How ModSecurity Affects CPU and RAM Usage on Web Server - Tech Hyme
Pingback: Understanding Apache Web Server Error Levels - Tech Hyme