WordPress is a popular content management system (CMS) used to create and manage websites. It is open source software, which means it is free to use, modify, and distribute. WordPress is written in PHP and uses a MySQL database to store and retrieve data.
WordPress provides a user-friendly interface that allows users to easily create, edit, and publish content on their websites. It includes a variety of themes and plugins that can be used to customize the appearance and functionality of the site.
Also Read: Top 30 Reasons Why WordPress is the Best Blogging Platform
WordPress is used by individuals, businesses, and organizations of all sizes to create websites such as blogs, e-commerce sites, portfolios, and more. Its popularity is due in part to its ease of use and flexibility, as well as its large and supportive community of developers and users who contribute to its ongoing development and improvement.
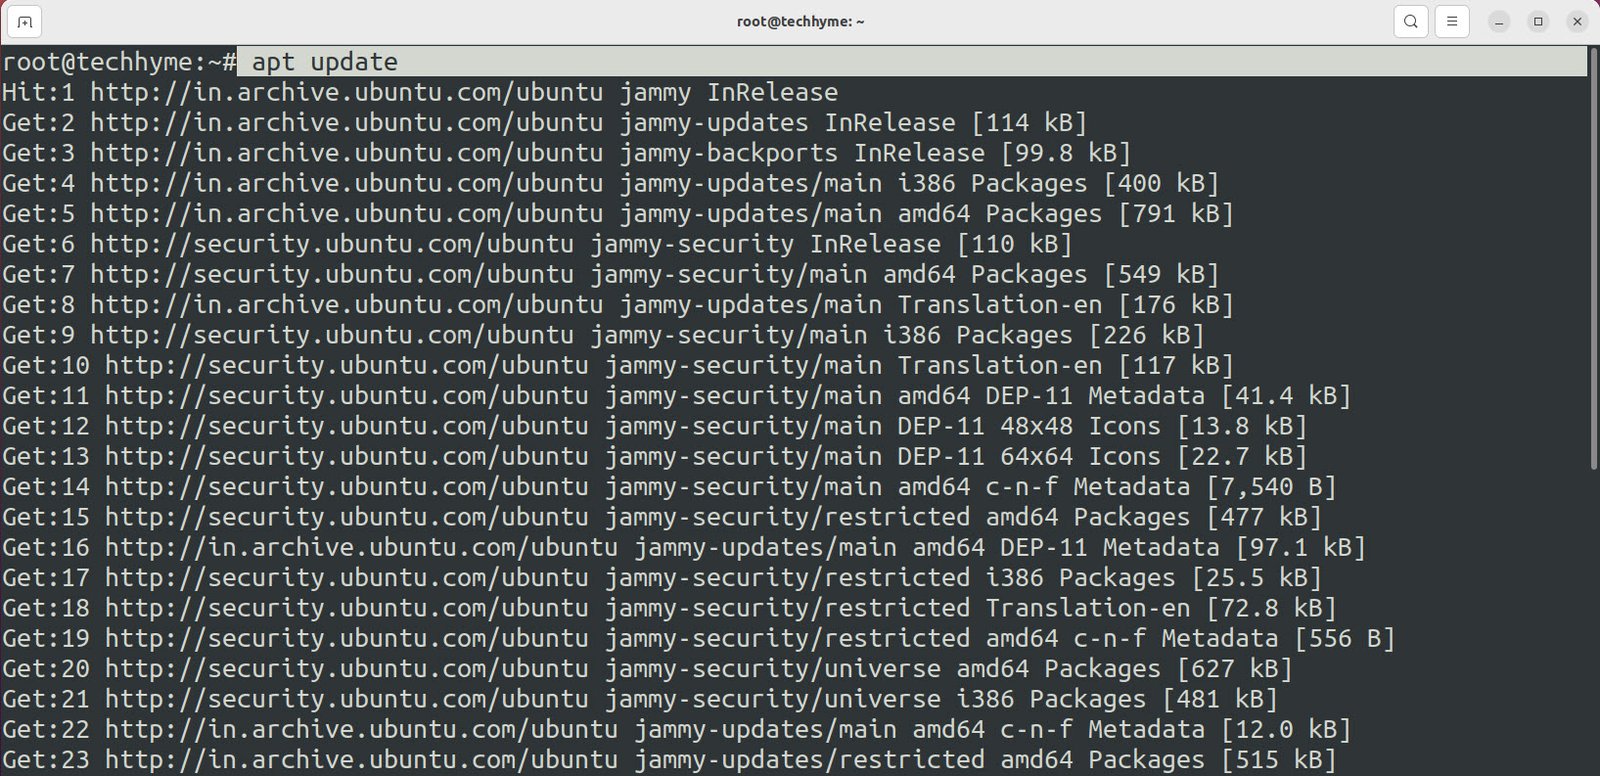
It’s always a good practice to run the “apt update” command before installing any new package. This updates the package list on your Debian or Ubuntu system and ensures that you are installing the most recent version of WordPress.
Open a terminal and type the following couple of commands to install Apache, PHP, and MariaDB, which is an open source fork of MySQL:
Command: sudo apt install apache2 php libapache2-mod-php mariadb-server mariadb-client php-mysql

One of the first things we should do is get our WordPress database ready. In order to do that, you need to do some initial configuration of MySQL. To get started, execute the following command in terminal:
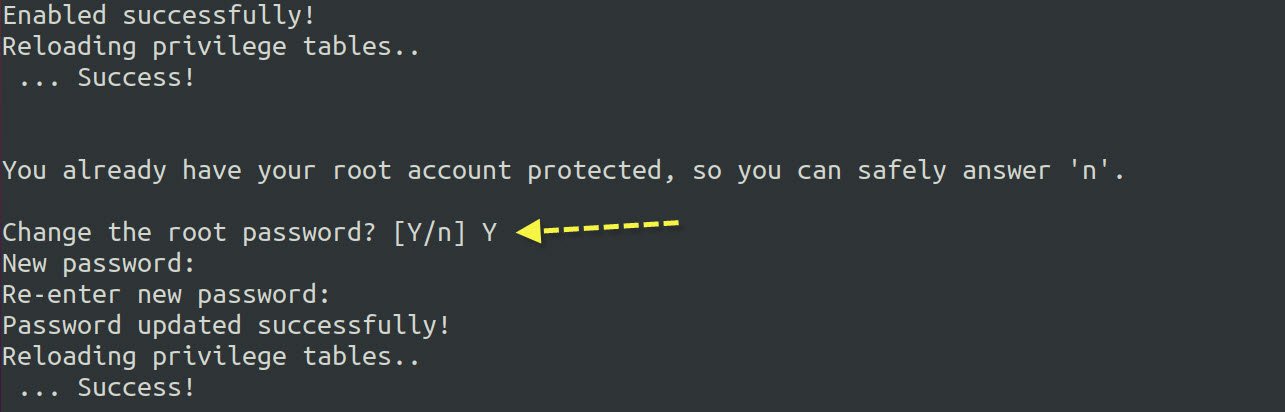
Command: mysql_secure_installation
The above command performs a security setup for the database installation.
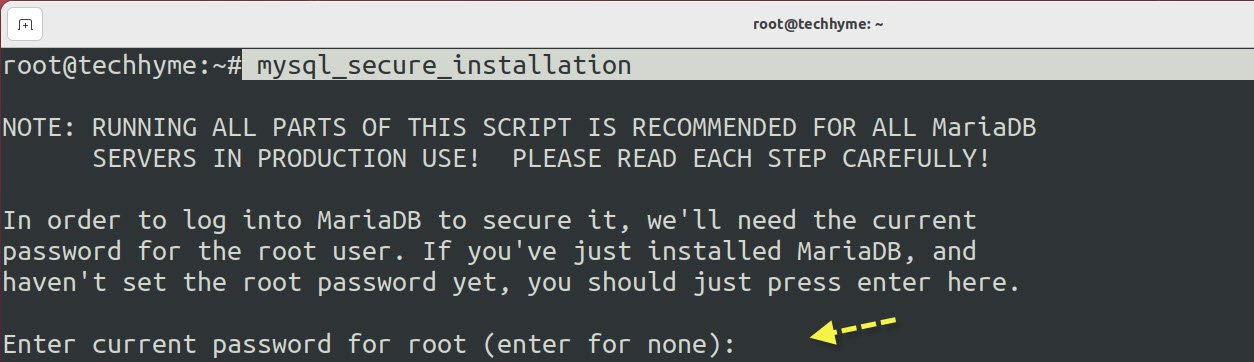
This setup only takes a moment to complete. When you run this command, it will prompt you to do the following:

Enter the root password for the database server.
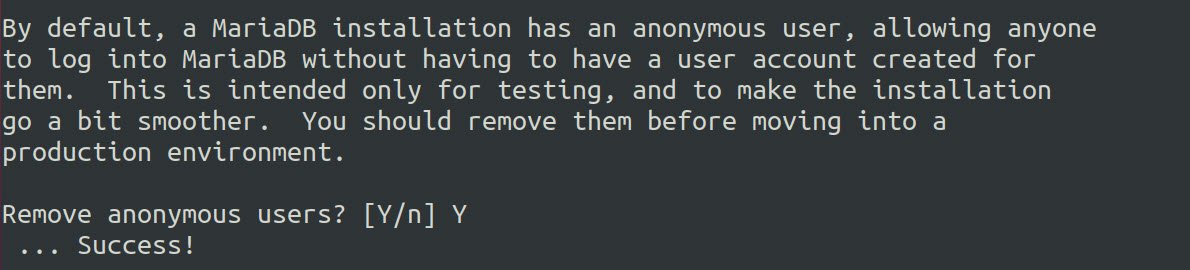
Remove anonymous user accounts that allow anyone to connect to the database server without a password.
Disable remote root login, which prevents anyone from logging in as the root user from a remote computer.

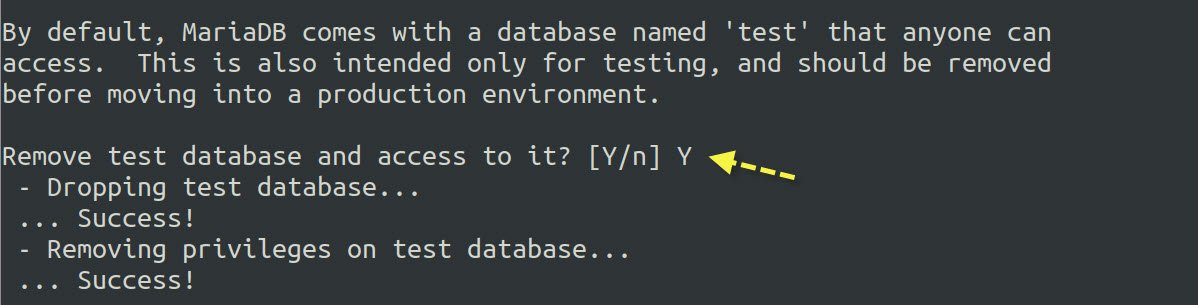
Remove the test database, which is an example database that is not needed for a production environment.
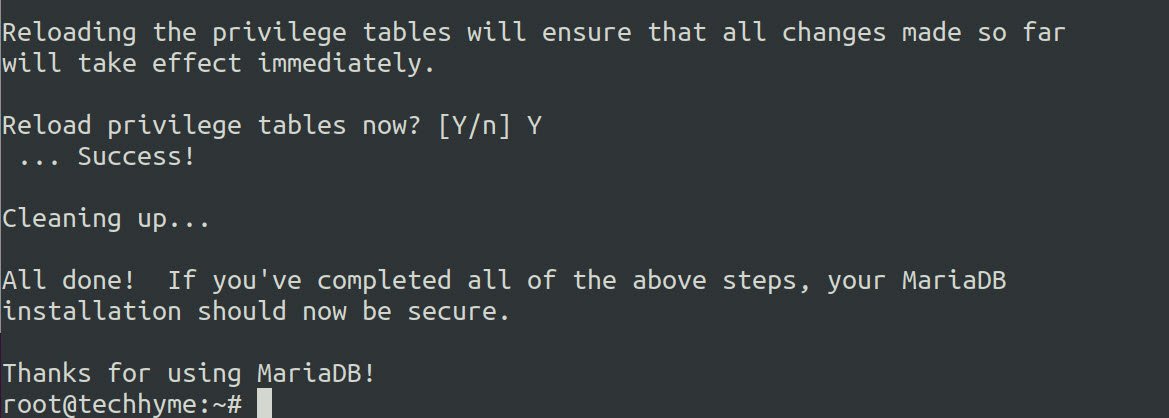
Reload the privilege tables, which makes the changes effective immediately.
Now open up MySQL:
Create a new database named “wordpressdb” for new WordPress installation.
Command: CREATE DATABASE wordpressdb;

Next, you need to create a new user that WordPress can use to access the database.
Command: CREATE USER ‘wordpressuser’@’localhost’ IDENTIFIED BY ‘mypassword’;

Next you need to give the WordPress user full permissions on the WordPress database.
Command: GRANT ALL PRIVILEGES ON wordpressdb.* to wordpressuser@’localhost’;

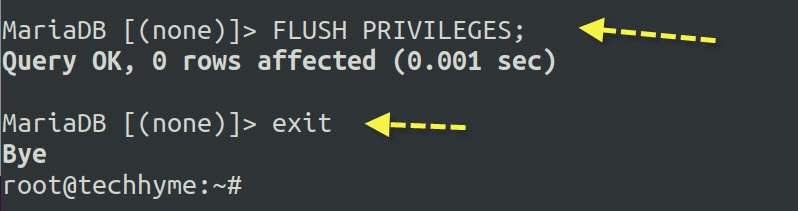
Lastly, save the changes you’ve made to user permissions and exit MariaDB:
Command: FLUSH PRIVILEGES;
Command: exit
Although you can run multiple websites within Apache web server so it’s best practice to configure a new Apache site file for this new WordPress installation.
Copy the default Apache configuration into a new file with the following command:
Command: cp /etc/apache2/sites-available/000-default-conf /etc/apache2/sites-available/wordpress.conf

Edit wordpress.conf file with your favorite editor (nano, gedit, vi or vim) and do the following changes:
- Change the DocumentRoot to /var/www/wordpress
- Change the ServerName to localhost

Save your changes and exit the file. Then, enable the site in Apache and disable the default site.
Command: a2ensite wordpress.conf
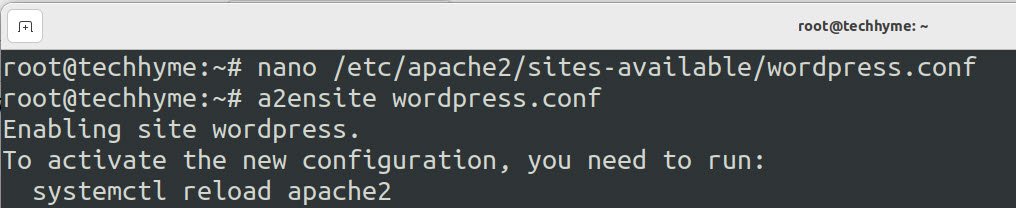
Finally, reload Apache for the new changes to take effect.
Command: systemctl reload apache2
Now that we have our HTTP server configured and PHP and MySQL are ready to go, we can move on to the installation of WordPress itself.
Download the wordpress with the help of wget command.
Command: wget -O /tmp/wordpress.tar/gz https://wordpress.org/latest.tar.gz

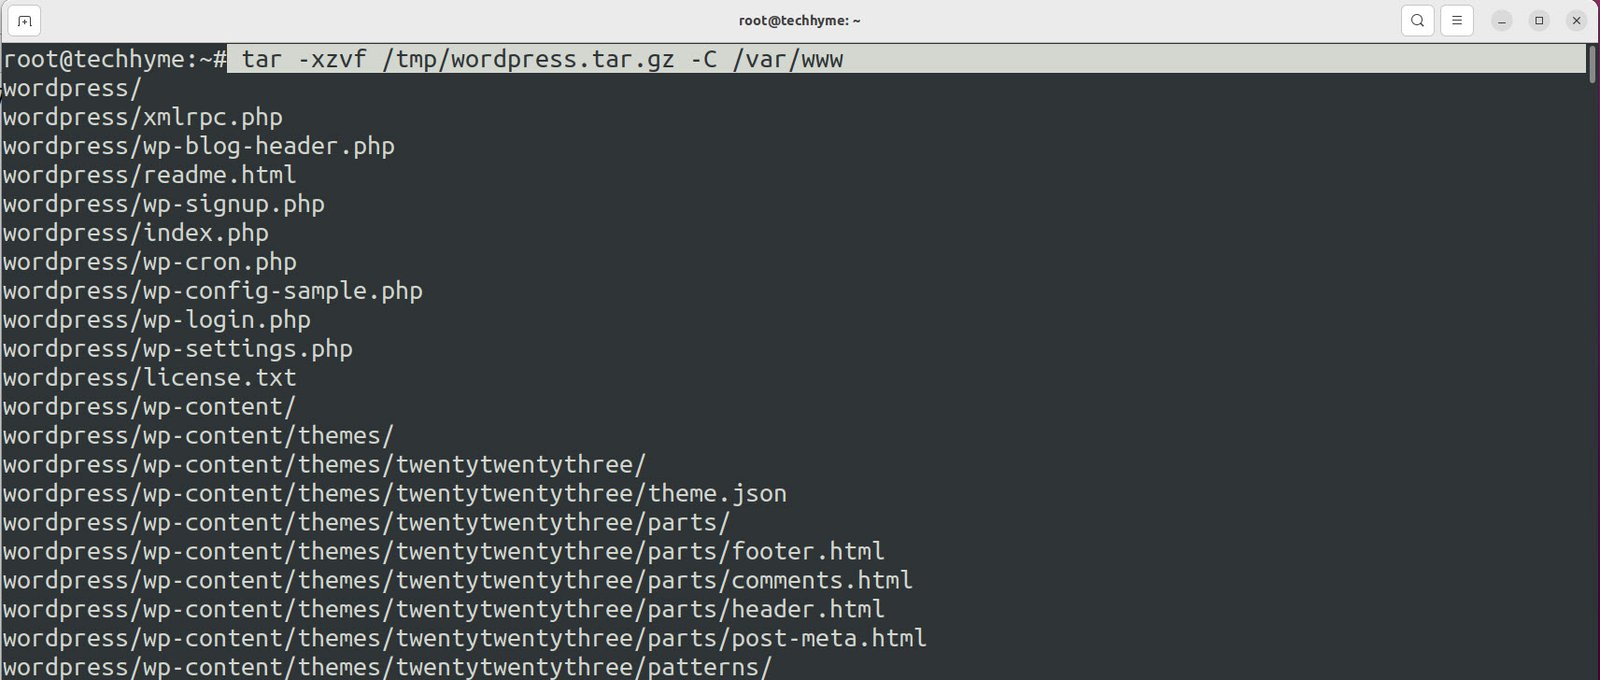
Extract all the files by using the following command:
Command: tar -xzvf /tmp/wordpress.tar.gz -C /var/www
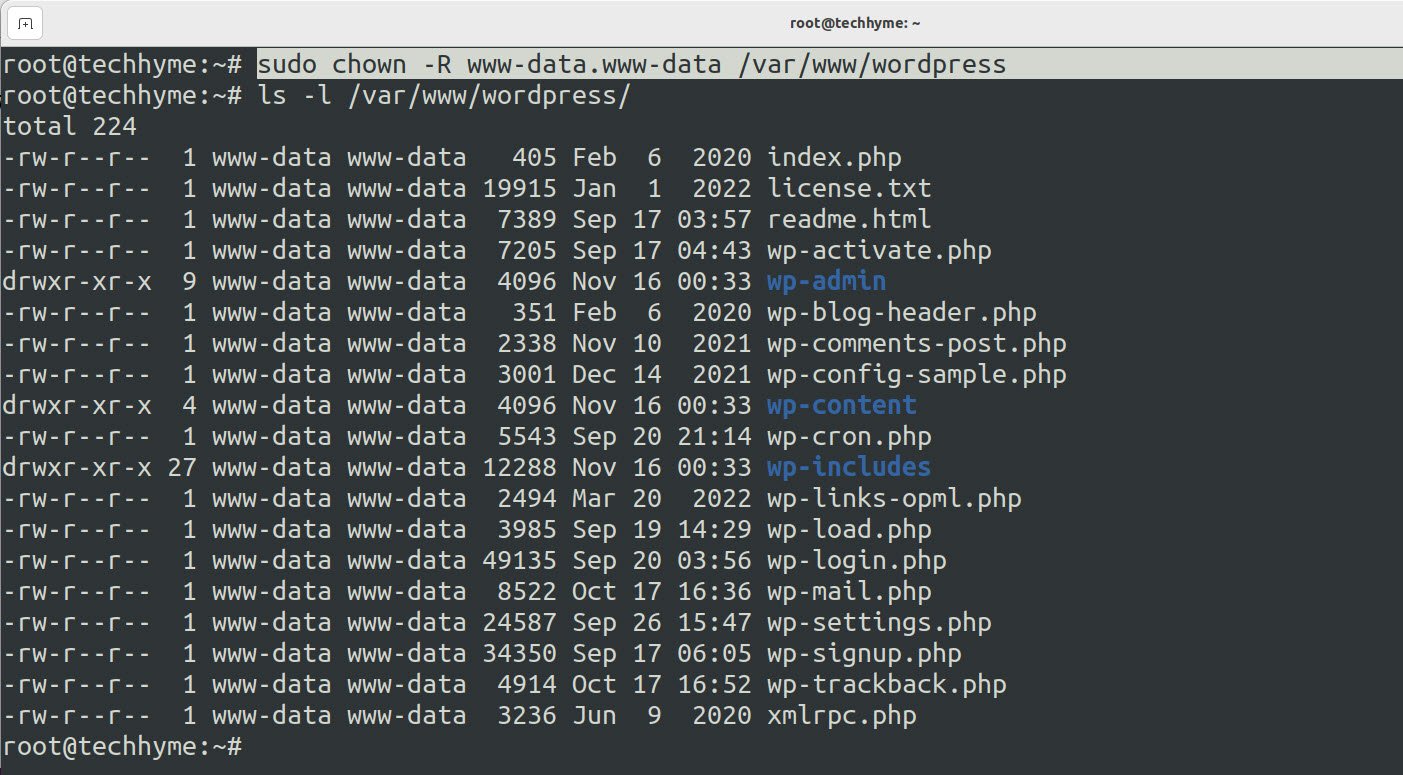
Be sure to give the Apache user ownership of the site directory:
Command: chown -R www-data.www-data /var/www/wordpress
Now we can get started with configuring WordPress.
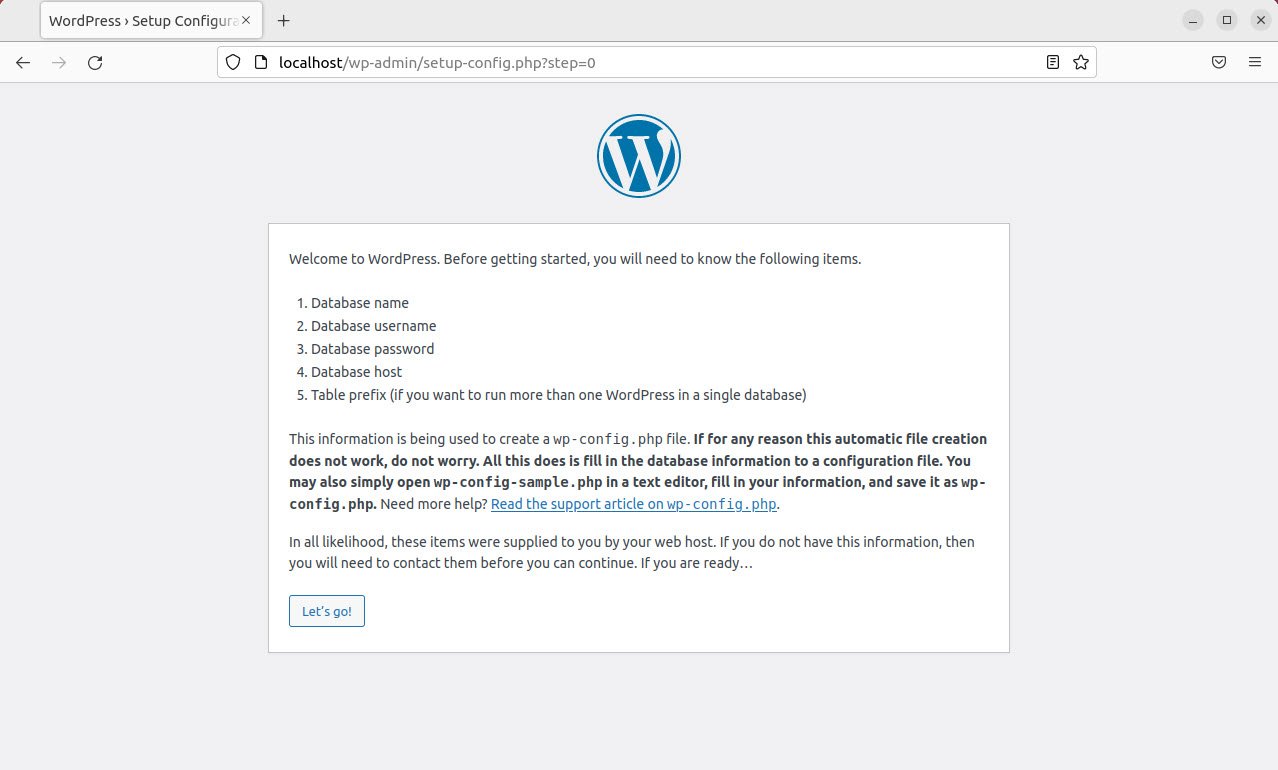
Open your internet browser and navigate either to the localhost address 127.0.0.1 or your fully qualified domain name if you set one up. You should be greeted by the WordPress setup wizard. Click “Let’s go” to get started.
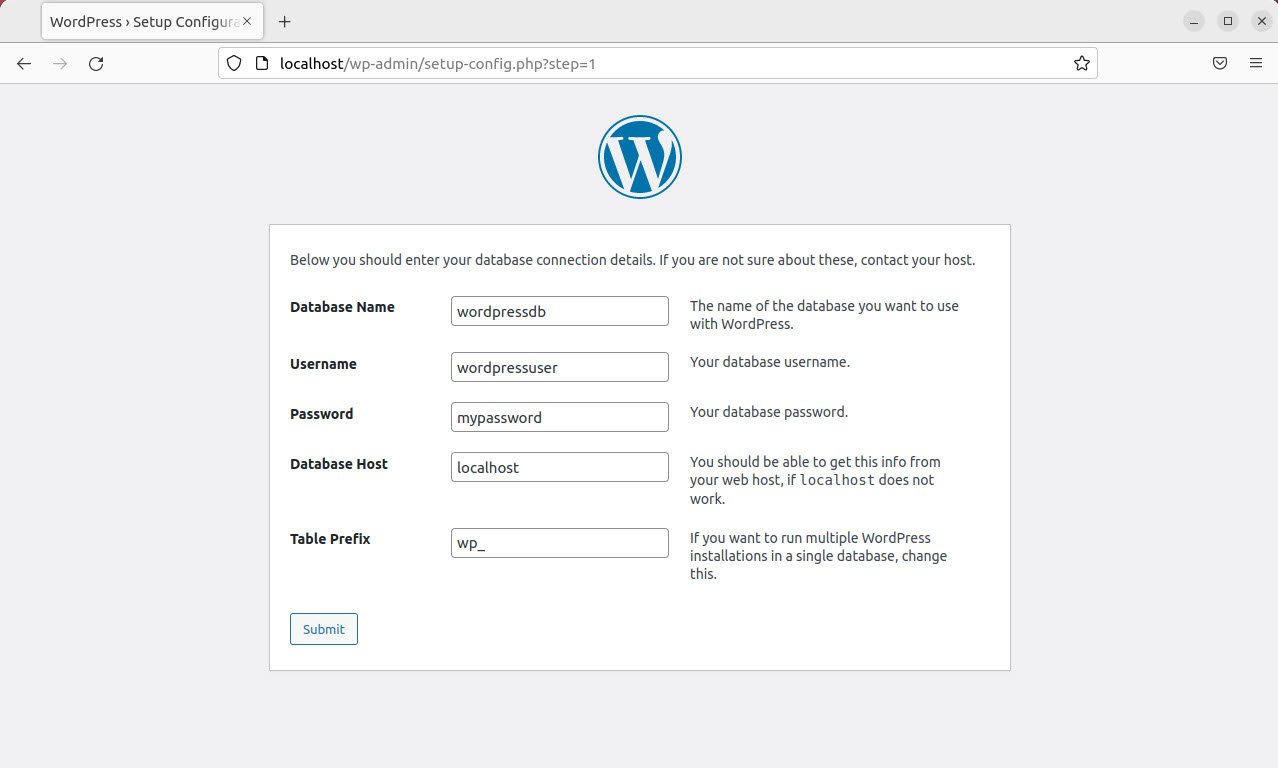
Enter the database information that you configured in initial steps.
The last two boxes (database host and table prefix) can be left at their default values. Click “Submit” when you’re finished.
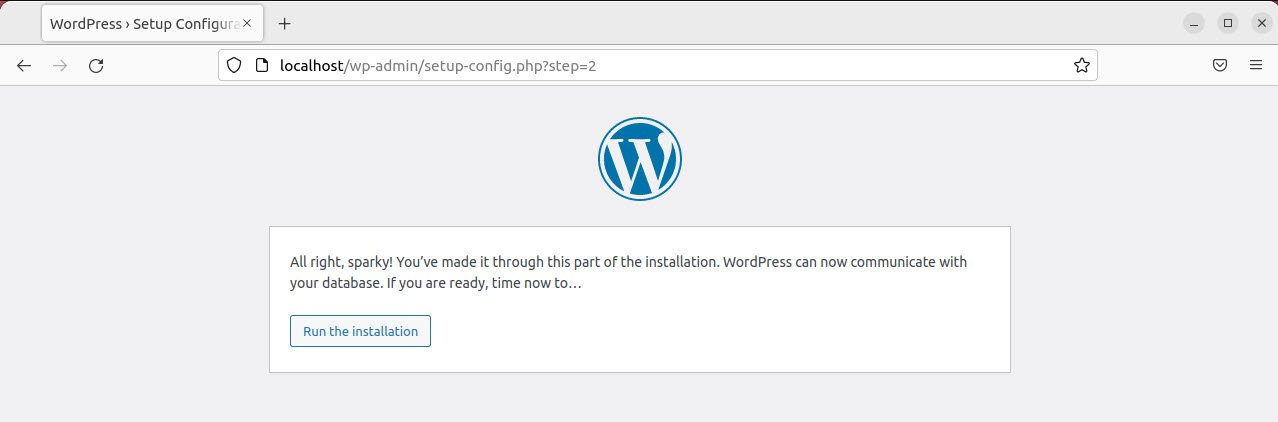
WordPress will attempt to make a connection with the database and let you know if it was successful. Assuming it was, click “Run the installation” to continue.
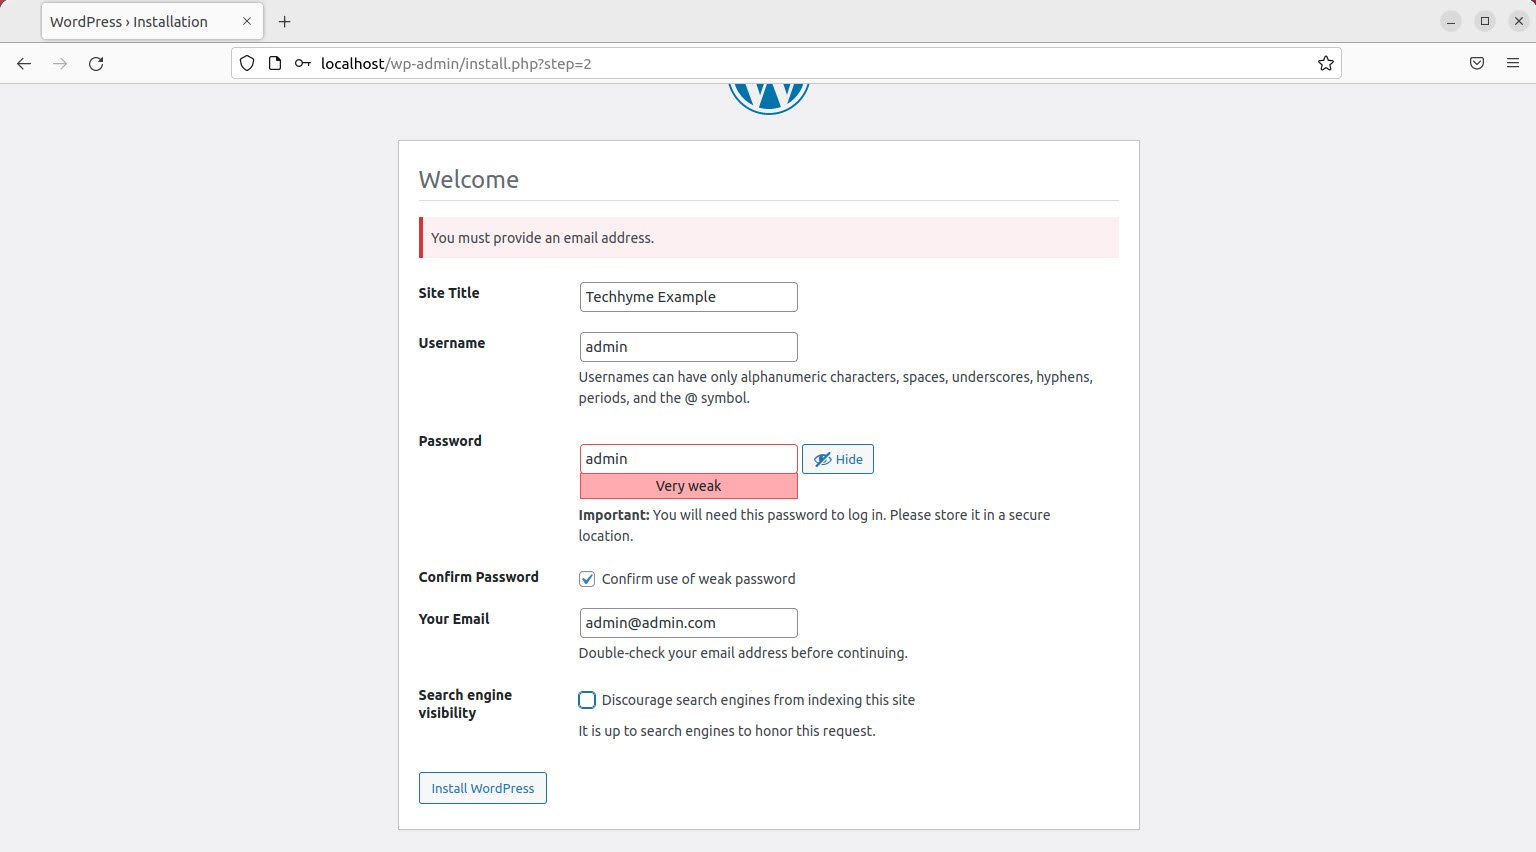
The next screen will ask you for some general information about your new site. After you finish filling this out, click “Install WordPress” at the bottom of the screen to finalize the installation.
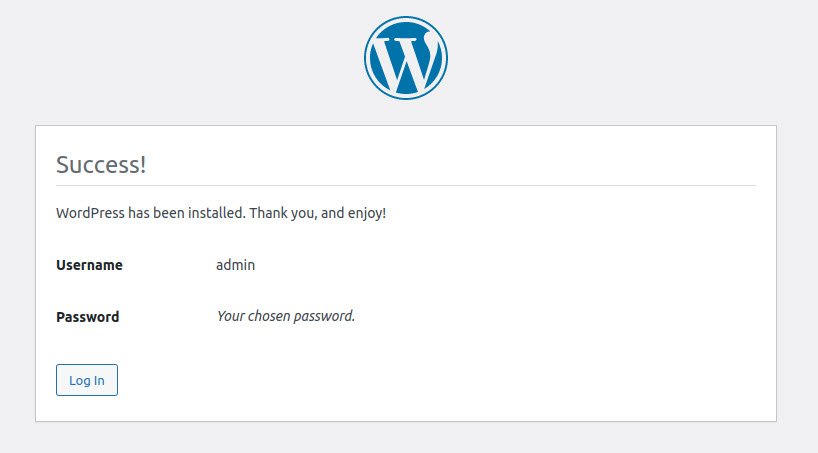
WordPress installation is now complete! You can click on the “Log In” button to get started creating content.
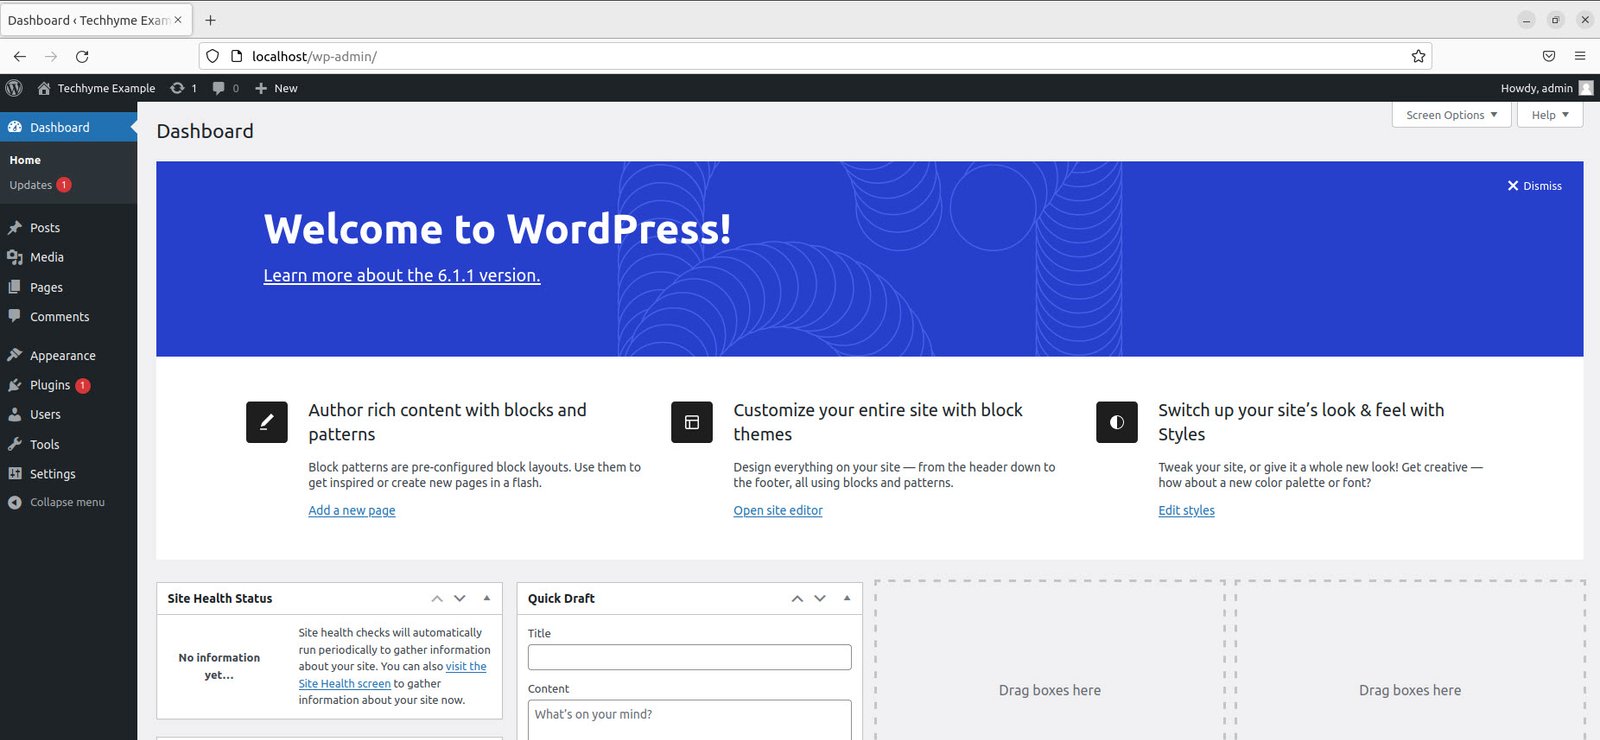
You can always use the URL http://127.0.0.1/wp-admin or http://127.0.0.1/wp-login.php (or replacing 127.0.0.1 with your fully qualified domain name) to login into WordPress Administrator Panel.
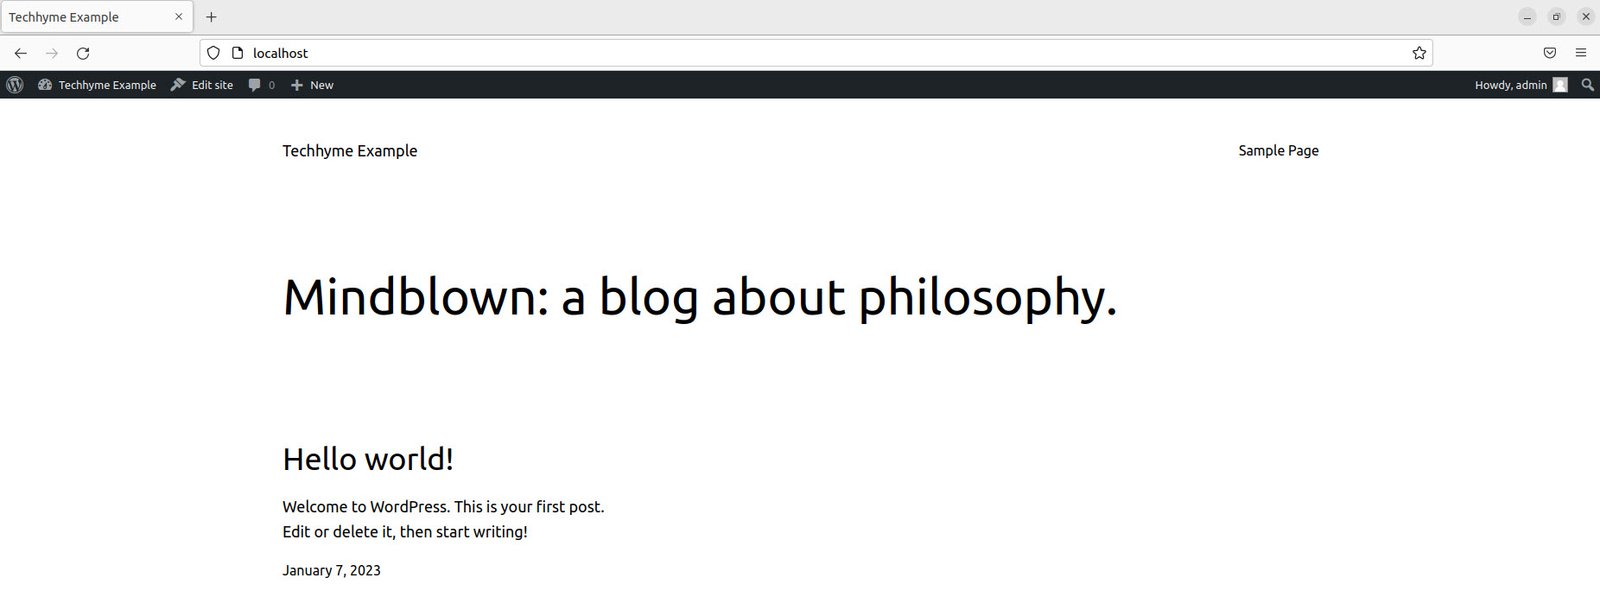
Your WordPress site should now be accessible from http://127.0.0.1 or http://localhost/.
With a lot of the web moving exclusively to HTTPS, you may want to consider it for your site as well, even though it’s not strictly necessary.
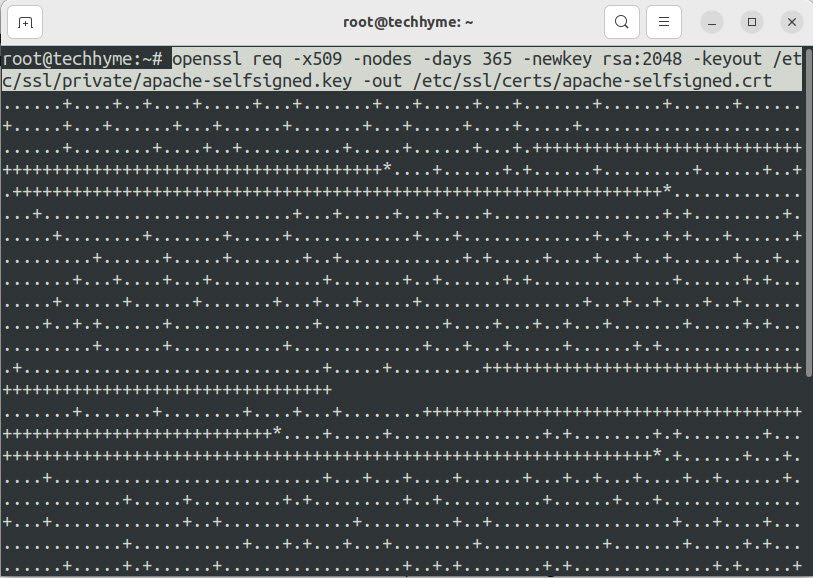
Type the following command in terminal to generate a self signed certificate.
Command: openssl req -x509 -nodes -days 365 -newkey rsa:2048 -keyout /etc/ssl/private/apache-selfsigned.key -out /etc/ssl/certs/apache-selfsigned.crt
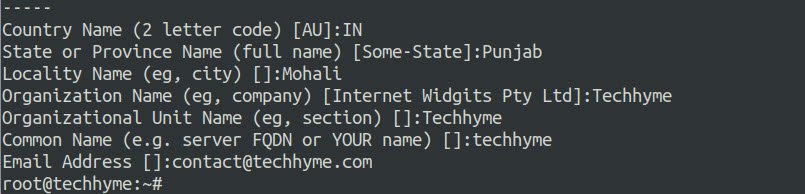
You’ll be prompted with a few general questions. Be sure to fill out the “common name” field with either your website’s IP address or fully qualified domain name.
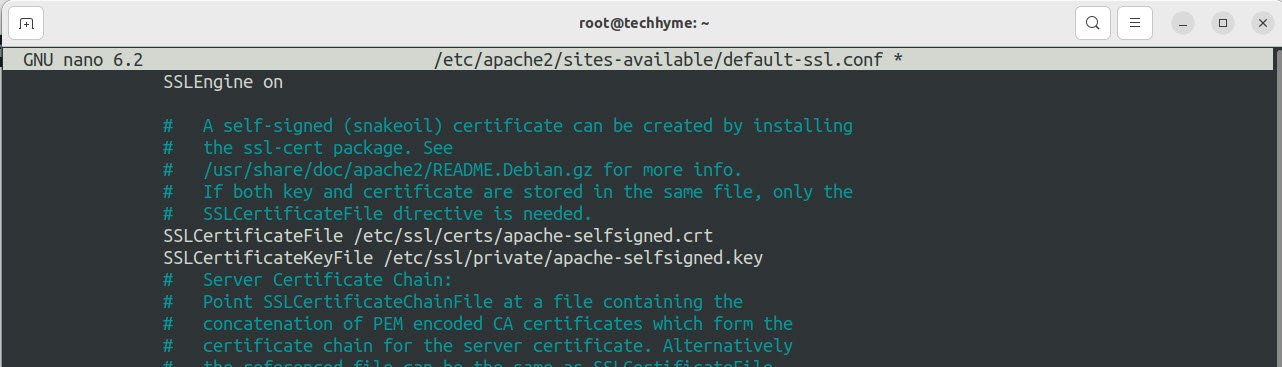
Next, you need to make some changes to Apache site configuration. Open the default SSL configuration file with nano or another text editor:
Command: nano /etc/apache2/sites-available/default-ssl.conf

- Change the DocumentRoot to /var/www/wordpress
- Change the SSLCertificateFile to /etc/ssl/certs/apache-selfsigned.crt
- Change the SSLCertificateKeyFile to /etc/ssl/private/apache-selfsigned.key
Then, enable the SSL module for Apache and restart for the changes to take effect:
Command: sudo s2enmod ssl
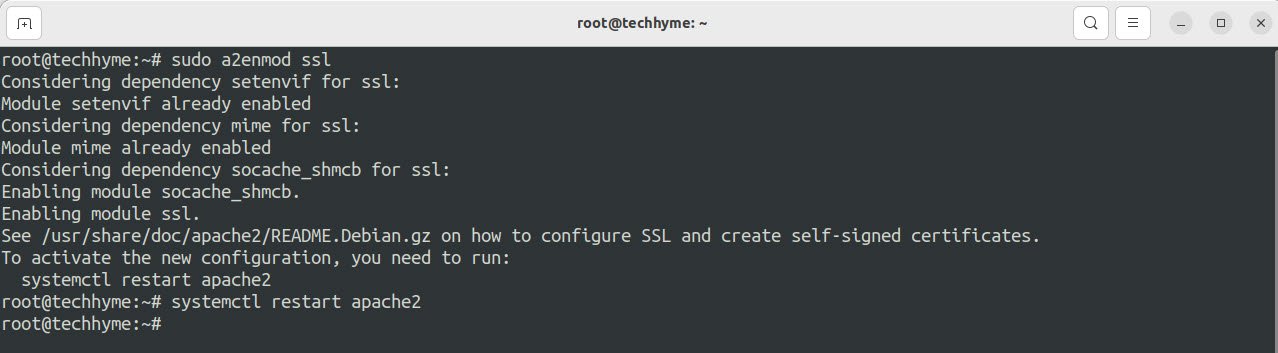
Finally, enable the SSL site we configured and reload Apache:
- Command: a2ensite default-ssl
- Command: systemctl reload apache2

All done. Your WordPress site is now capable of using SSL encryption:

- How To Install Python 2.7.18 From The Source
- How To Parse SSH Authentication Logs with Logstash
- A Comprehensive Guide to File System Commands in Linux
- Essential File Compression Commands in Linux
- Secure Shell (SSH) Protocol – A Comprehensive Guide
- Monitoring Active Connections in Kali Linux Using Netstat
- How To Easily Crack Wi-Fi Password
- 6 Most Useful Windows Command Prompt Commands
- Ripgrep – Searching for Specific File Types and Beyond
- Insert and Create Data in Elasticsearch