
Windows 11 is designed to intelligently manage network connections, choosing the most suitable one for your LAN and WAN networks. However, there are situations where you might want to manually prioritize one network adapter over another.
This guide will walk you through the steps to set network adapter priority on Windows 11, whether you prefer a wired Ethernet connection over Wi-Fi or need to troubleshoot connectivity issues.
PowerShell Method: Fine-Tuning with Commands
1. Launch PowerShell as Administrator:
Right-click on the Start button. Select “Windows PowerShell (Admin)” from the menu.
2. Run the Command: Get-NetIPInterface:
Type `Get-NetIPInterface` and press Enter.

This command provides a list of all active network adapters along with their metrics. The InterfaceMetric column displays the current priority, with lower numbers indicating higher priority.
3. Adjust Network Priority:
To set a specific network adapter priority, use the command:
Set-NetIPInterface -InterfaceIndex "XX" -InterfaceMetric "YY"Replace “XX” with the current Interface Index of the adapter and “YY” with the desired priority value.
Note: There won’t be a confirmation notification. Rerun `Get-NetIPInterface` to confirm the changes.
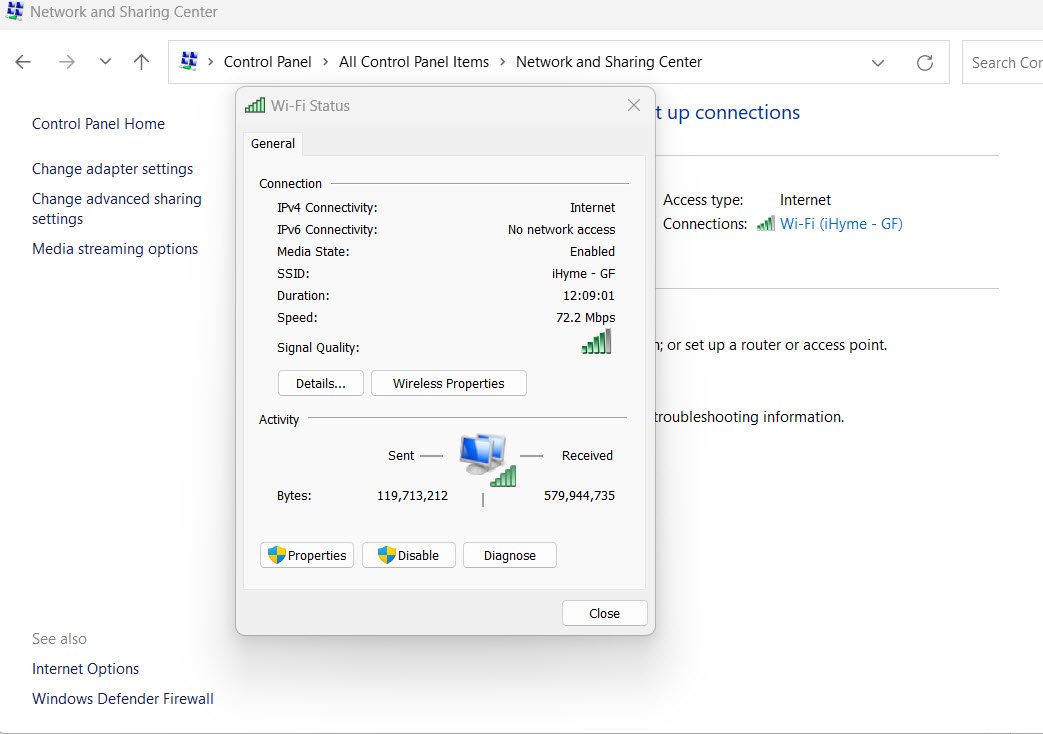
Control Panel Method: User-Friendly Interface
4. Access Network Connections in Control Panel:
Open the Control Panel.
Navigate to “Network and Sharing Center” and click on “Change adapter settings.”
5. Select Adapter and Access Properties:
Right-click on the network connection you want to prioritize.
Choose “Properties.”
6. Navigate to Protocol Properties:
Locate and select either “Internet Protocol Version 4 (TCP/IPv4)” or “Internet Protocol Version 6 (TCP/IPv6).”
Click “Properties.”

7. Access Advanced Settings:
On the IP version properties page, click the “Advanced” button.
8. Adjust Interface Metric:
Uncheck “Automatic metric.”
Enter the desired priority value into the “Interface metric” field.

Lower values represent higher priority.
9. Confirm Changes:
Click “OK” on all open windows to apply the changes. Recheck the network priority using PowerShell or through Control Panel settings.
Conclusion
Whether you prefer the command-line precision of PowerShell or the graphical interface of the Control Panel, setting network adapter priority on Windows 11 allows you to take control of your network connections.
Prioritizing adapters ensures that your system uses the connection that best suits your needs, offering flexibility and control over your network preferences. These steps can be particularly helpful in scenarios where network troubleshooting or a preference for a specific connection is required.

