Git is a popular, free Version Control System, designed for use by software developers. The essence of Version Control is the ability to capture the state of software documents, and in doing so make it possible to revert to a previous state if required.
In this tutorial, we’ll show you the step by step instructions to install Git on Ubuntu Linux.
The first step is to download and install Git. Git is entirely free, and can run on machines using Windows, Mac and Linux operating systems. Based on your operating system, the specific process to install Git will vary slightly.
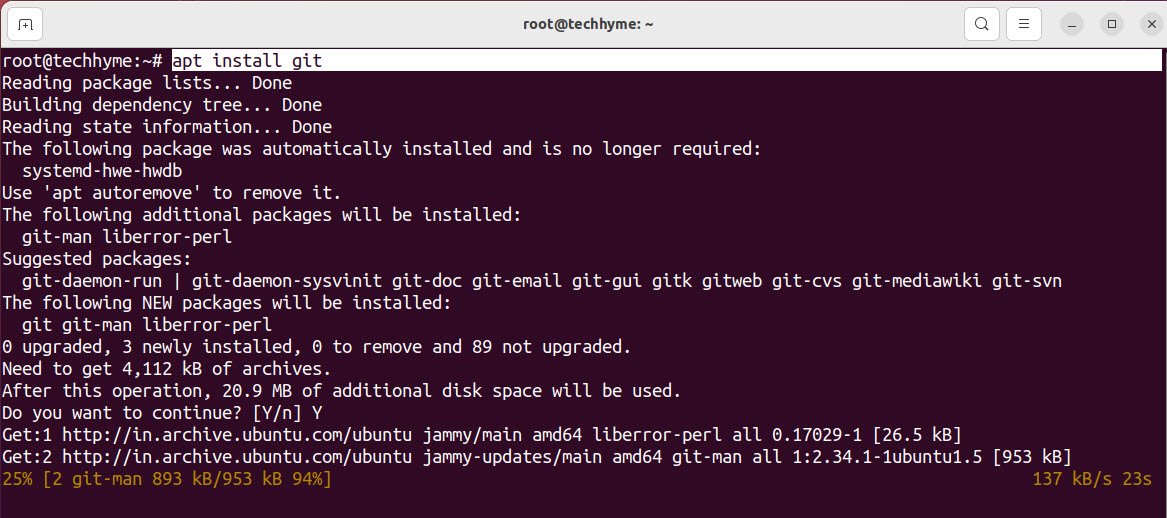
So open a command line terminal and enter apt update, and press the Enter key. If there are updates, you’ll see an output similar to below screen:

To install Git, run the following command:
Command: apt install git
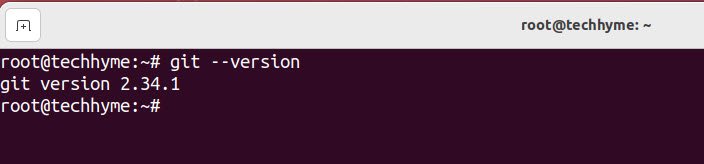
To confirm the git installation, you can use the following command for checking the git version:
Command: git –version
So now you have your command line open, it’s time to begin using Git. However, before Git will allow you to interact with it on any project, you must set up two very simple configuration options:
You will identify yourself within Git by adding your name and an email address. Set your global user name and email by using the below commands:
Command: git config –global user.name “Tech Hyme”
Command: git config –global user.email “contact@techhyme.com”
Once you’ve entered the required commands, you’ll need to press Enter to run them.

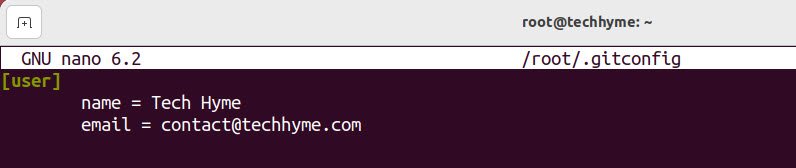
Alternatively, you can also set your configuration directly by editing the ~/.gitconfig file:
[user]
name = Tech Hyme
email = contact@techhyme.com
You can also confirm your git configurations with the help of –list attribute
Command: git config –list

Once you’re done, save your project. Now let’s return to the command line tool and tell Git to start tracking the history of this new file.
Command: git add yourproject.txt
Don’t expect any feedback at this stage. Git has happily accepted your command and executed it instantly. Git now knows that you are going to track the progress of this file.
Let’s capture the current state of this file for all time by performing our first commit.
Command: git commit -am “Initial Commit”
A commit has at least two parts: the file(s) to be included and a commit “message.”
The message is just a handy label (one or more tags, a description, or whatever) that we add to help us when searching through a long list of commits in the history.
Furthermore, if you want to see the entire history of your project, and locate a particular point to check out, simply issue the following command:
You may also like:Command: git log
- How to Perform Network Security Audits Using Kali Linux
- How to Harden Kali Linux for Maximum Security
- How to Use Kali Linux for Cloud Security Testing
- How to Fix Common Kali Linux Installation Errors
- How to Use Python for Ethical Hacking in Kali Linux
- How to Write Bash Scripts in Kali Linux
- How to View SSH Logs on Linux
- How to Change User in Linux Command Line
- [Solution] Missing logstash-plain.log File in Logstash
- Understanding Netstat – The Network Monitoring Tool