When developing sites for clients, WordPress is often asked for. This is no surprise as the CMS currently powers more than 50% of the web, which means a lot of people will have used it at some point in their life.
WordPress is an open source blog application and is one of the most used blog application powering millions of blogs and being used by tens of millions of people every day. Making a WordPress site is fairly easy as one can install themes and plugins to customize the site.
WordPress is also known for the security issues it has. This is of course something that will always be a problem as long as the internet exists. But security issues and attacks on sites can be minimized if you properly install the WordPress in your domain.
According to ithemes, 26 bug fixes in addition to two security fixes pushed in latest version of WordPress i.e. 5.7.1 in April 2021.
Installation of WordPress –
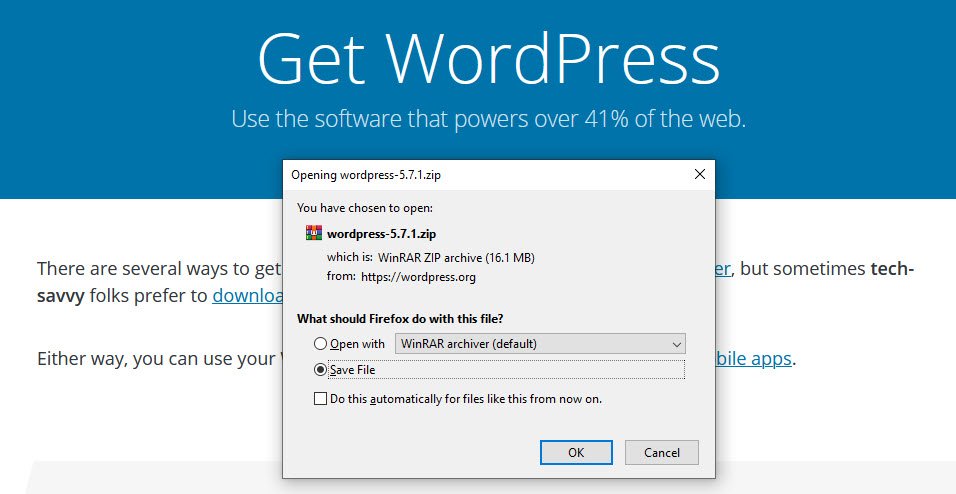
The first step is to download the source code of WordPress which you can easily download the latest version of WordPress from wordpress.org website.
As of now (22nd April 2021), the latest version of WordPress is 5.7.1
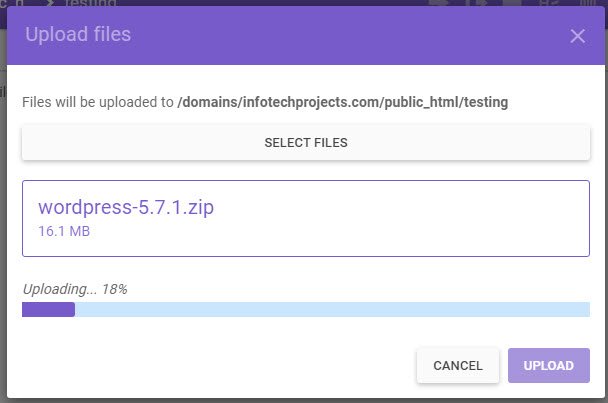
Next step is to upload the downloaded code into your web hosting file manager under public_html directory which is the web root folder for your primary domain.

Let’s start the upload process of wordpress-5.7.1.zip file by clicking the upload files icon showing on the screen. Here we’re using the Hostinger Web Hosting.
The below interface might be different for you if you are using some another web host such as Godaddy, Hostgator etc.
After extraction, all files will be extracted directly to your public_html directory as soon as you get a message “File has been uploaded or extracted!“.
So here is a list of core WordPress files and folders you would see in your site’s root directory:-
- wp-admin – Directory (core directory)
- wp-content – Directory (contains themes, plugins and uploads folder)
- wp-includes – Directory (core directory)
- index.php – File (main index file)
- license.txt – File (documentation file)
- readme.html – File (documentation file)
- wp-activate.php – File
- wp-blog-header.php – File
- wp-comments-post.php – File
- wp-config-sample.php – File
- wp-cron.php – File
- wp-links-opml.php – File
- wp-load.php – File
- wp-login.php – File
- wp-mail.php – File
- wp-settings.php – File
- wp-signup.php – File
- wp-trackback.php – File
- xmlrpc.php – File

- The wp-admin folder contains administrative files
- The wp-includes folder contains core wordpress files such as rules, hierarchies etc
- The wp-content folder contains your themes, plugins and other uploaded files/documents.
Now next step is to create the MySQL Database following with MySQL Username and Password as shown below:

After creating the database, point the web browser (http://example.com) to start the installation process.
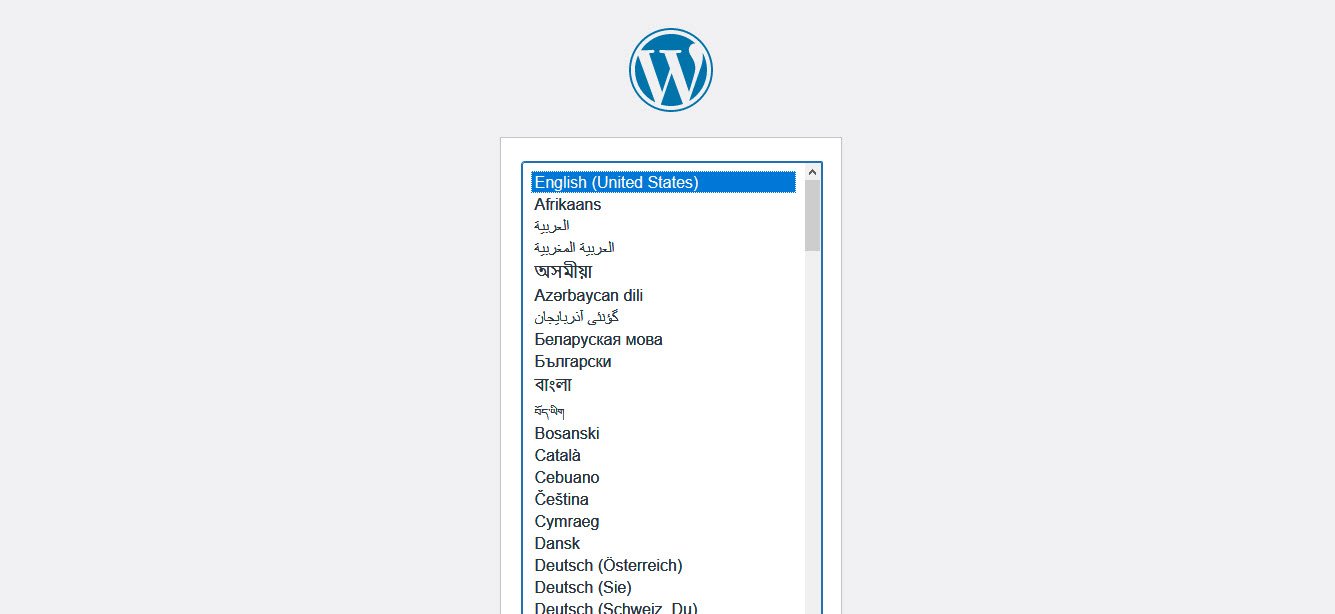
The first step of installation is to choose the website language. Although WordPress displays in English (United States) by default, it has the built-in capability to be used in any language.
The WordPress community has already translated WordPress into many languages.
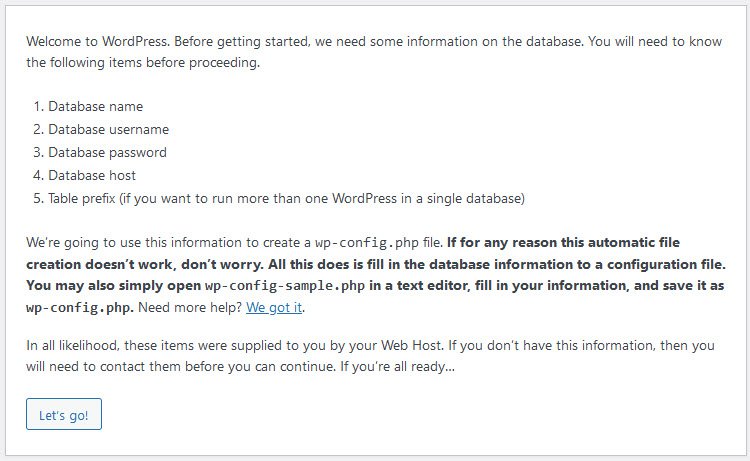
WordPress will ask you the database details which will write them to a new wp-config.php file:
- Database name
- Database username
- Database password
- Database host
- Table prefix (you can choose any)
If you’re ready with all the above things, then simply click on Let’s go! button.
So in this step, you need to enter your all database details as created above such as DB Name, DB Username, DB Password and DB Host.

The following screenshots show how the installation progresses.
Simply click on Run the installation button.

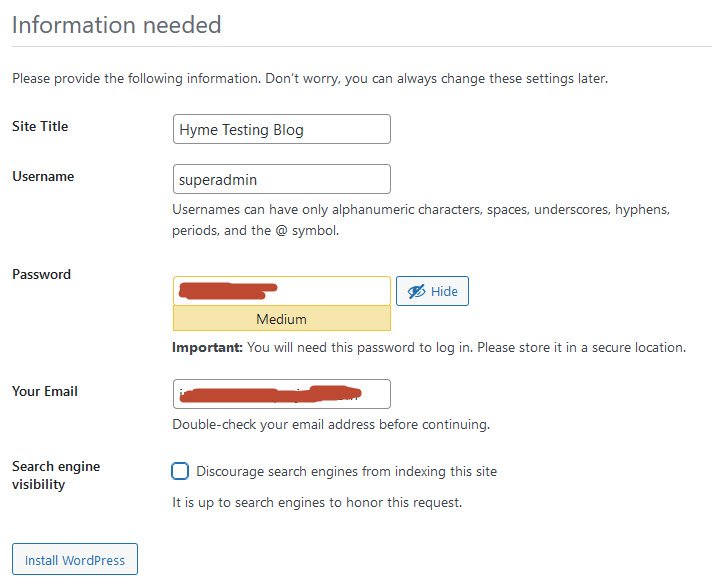
Notice that in entering the details screen, enter your site title, your desired user name, your choice of a secure password, and your e-mail address.
Also displayed is a check-box asking if you would like your blog to appear in search engines like Google, Bing etc.
Leave the box unchecked if you would like your blog to be visible to everyone, including search engines, and check the box if you want to block search engines, but allow normal visitors.
Note all this information can be changed later in your Administration Screen after the completion of installation.
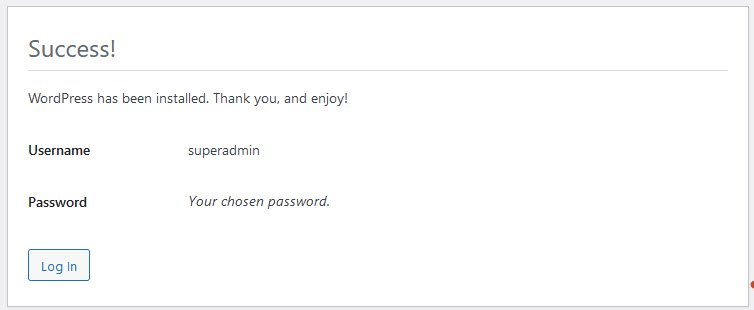
If you successfully installed the WordPress, the below message will be displayed with login information:
WordPress has been installed. Thank you, and enjoy!
In case, if you are getting any kind of error related to installation or database, go back to first step and repeat the same process and make sure that you entered all the correct DB information.
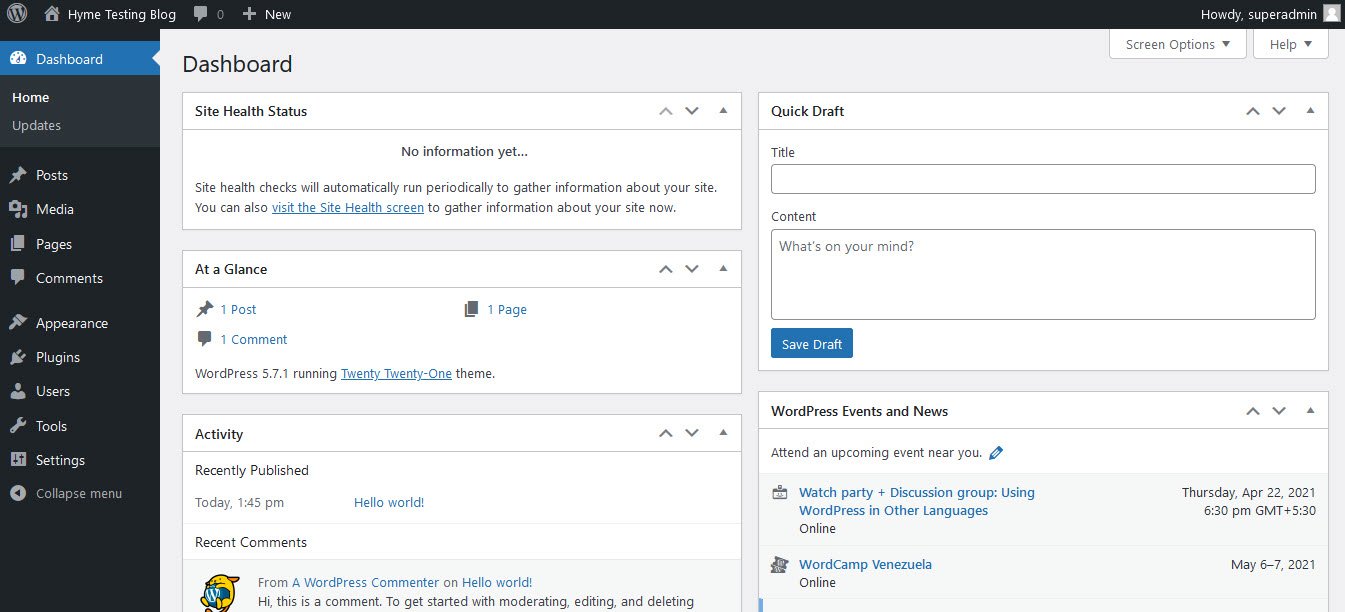
To access the WordPress dashboard you simply need to add /wp-admin or /wp-login.php to the end of the URL where you installed WordPress.
Type the username and password you used when you installed your WordPress.

Once you login you will see the WordPress dashboard as shown below:
Hostinger is another popular shared Web hosting provider among beginners. They also make it super easy to install WordPress with just a few click.
First, you need to login to your Hostinger hosting account’s dashboard. From here, you need to click on the “Auto Installer” icon under the “Website” section.
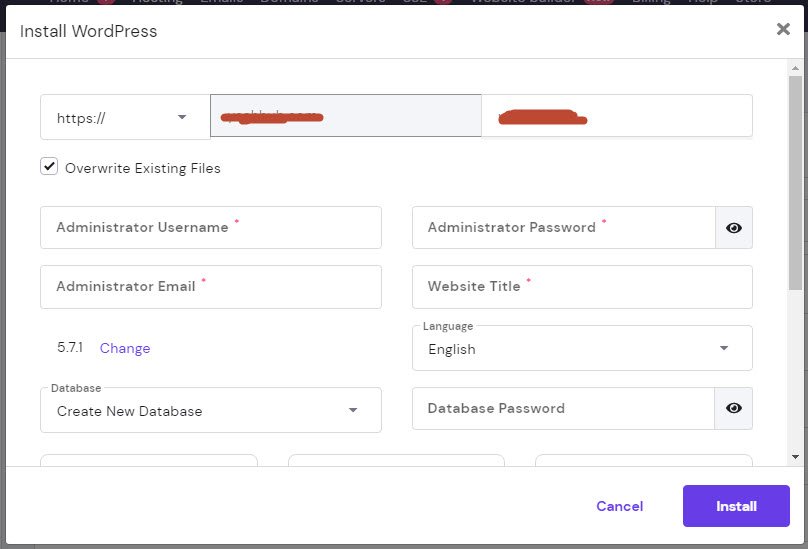
Now, you will be asked to select the domain name (with http:// or https://) where you want to install WordPress and enter a directory path.
The installer will also asks you to enter WordPress site details such as Administrator Username, Administrator Password, Administrator Email, Website Title, Language etc.
Make sure that you have access to that email address because this is where you will get your WordPress password reset email.
The installer will now run in the background to install WordPress for you. Once finished, you will see a success message with your admin user name and password.


This Post Has 2 Comments