
Apache Solr is a powerful, open-source search platform that can be used to build fast and scalable search applications. In this article, we’ll walk you through the process of installing and setting up Apache Solr on an Ubuntu system. Apache Solr provides full-text search capabilities, making it an excellent choice for applications that require advanced search functionality.
Prerequisites
Before we get started with the installation of Apache Solr, there are a few prerequisites to ensure a smooth setup:
1. Ubuntu System: You should have access to an Ubuntu-based system. This guide will work for Ubuntu 18.04 and later versions.
2. Java Development Kit (JDK): Apache Solr is a Java-based application, so you’ll need to install the JDK. You can do this by running the following command:
apt install default-jdk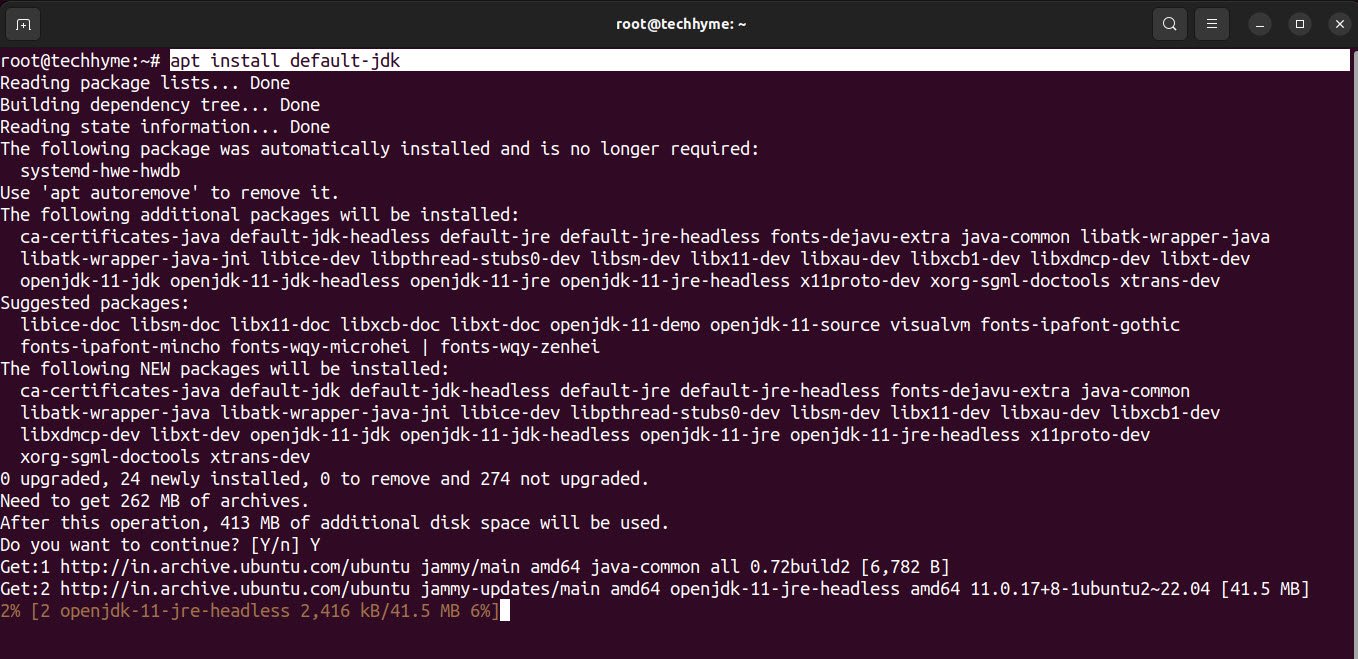
You can verify the installation and check the version of Java with the following command:
java -version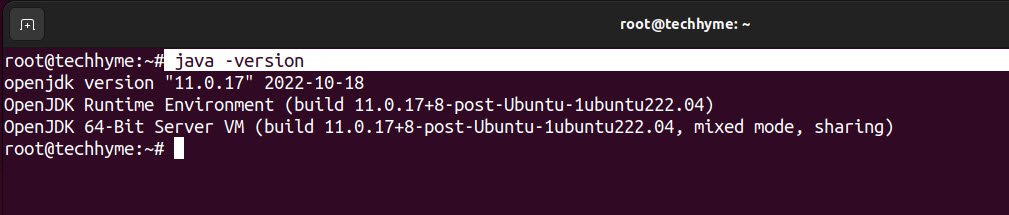
The command “which java” is used to determine the location of the Java executable in your system. It provides the path to the Java binary that is currently in use.
which java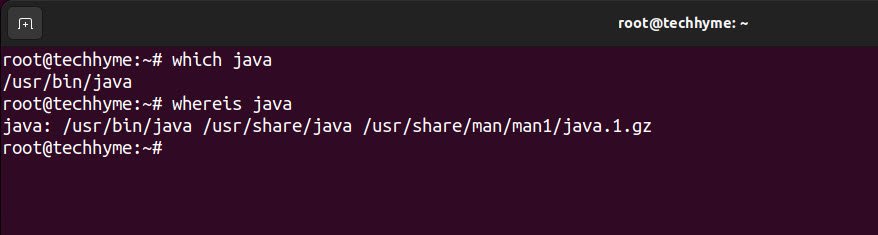
Next, run the following command to refresh the package information and metadata of software repositories.
apt updateWhen you run “apt update,” your system will contact the package repositories to check for updates and new packages. This ensures that your system’s local package database is up to date, so you can install the latest software and security updates.

Installation Steps
Now, let’s proceed with the installation of Apache Solr on your Ubuntu system.
1. Download and Extract Apache Solr
First, navigate to the ‘/opt/’ directory and download Apache Solr using ‘wget’:
cd /opt/
wget https://archive.apache.org/dist/lucene/solr/8.2.0/solr-8.2.0.tgz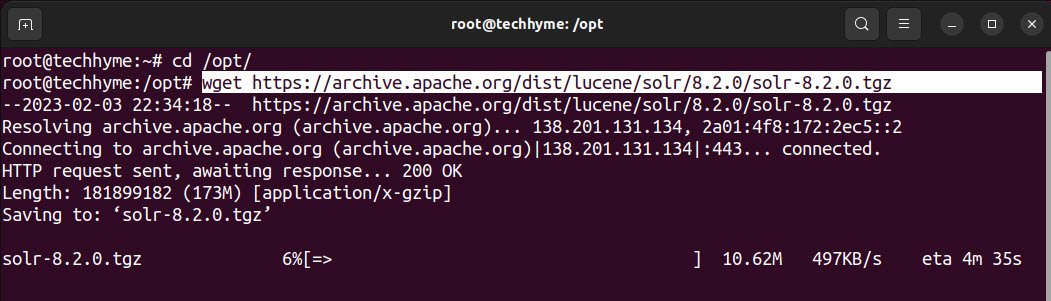
Now, extract the downloaded archive:
tar xzf solr-8.2.0.tgz solr-8.2.0/bin/install_solr_service.sh --strip-components=2
2. Install Solr as a Service
Next, you’ll want to install Solr as a service on your system. Run the following command:
./install_solr_service.sh solr-8.2.0-tgz
3. Start the Solr Service
To start the Solr service, use the following command:
service solr startAnd to check the status of the Solr service, the command is:
service solr status
4. Accessing the Solr Web Interface
Apache Solr provides a web interface for managing and querying your indexes. You can access this interface using a web browser by navigating to:
http://localhost:8983/solr/#/This URL will take you to the Solr admin panel, where you can create and manage collections, index documents, and run search queries.

Conclusion
Apache Solr is a versatile and high-performance search platform that can be used in a wide range of applications, from e-commerce websites to data analysis tools.
By following the steps outlined in this article, you can install and set up Apache Solr on your Ubuntu system, providing you with the tools you need to build powerful search applications.
You may also like:- How to Perform Network Security Audits Using Kali Linux
- How to Harden Kali Linux for Maximum Security
- How to Use Kali Linux for Cloud Security Testing
- How to Fix Common Kali Linux Installation Errors
- How to Use Python for Ethical Hacking in Kali Linux
- How to Write Bash Scripts in Kali Linux
- How to View SSH Logs on Linux
- How to Change User in Linux Command Line
- [Solution] Missing logstash-plain.log File in Logstash
- Understanding Netstat – The Network Monitoring Tool