
Telnet is a protocol which is a part of the TCP/IP suite. Telnet allows a user to control a remote computer and allows the user to execute commands on the remote computer.
For example, a user sitting in USA can Telnet to a computer in RUSSIA and can work on that computer as if the computer is local to the user in USA. The user need a login and password to access a remote computer and must have sufficient privileges to access data and information on the remote computer.
Also Read: Fix Windows 0x0000011b Network Printing Error
Telnet is different from FTP as Telnet is used to run the commands on the remote computer whereas FTP is used to transfer the files to the remote computer.
The Telnet Client is a great tool for developers and administrators to help manage and test network connectivity. However, the Telnet Client application is disabled by default in Microsoft Windows 10.
To enable Telnet Client on Windows 10, you need to follow the below steps one by one:
Right-click the Start button and search “Turn Windows features on or off“.
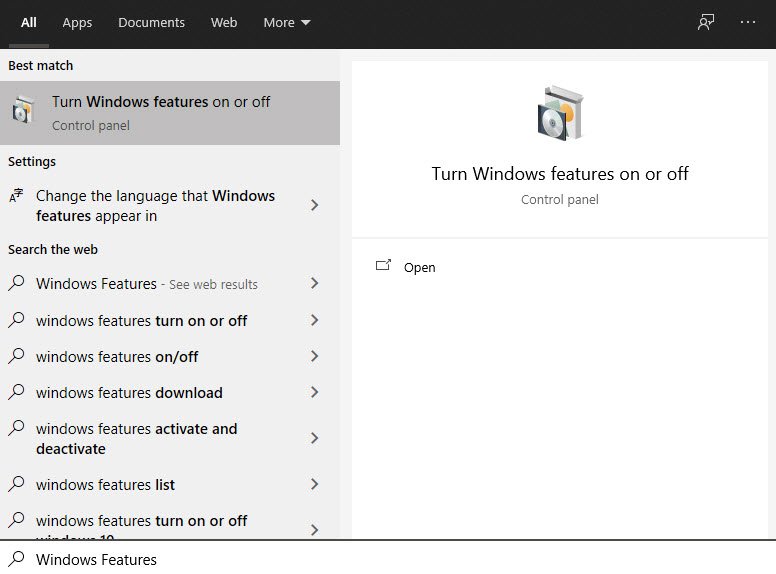
Alternatively, you can also find the same option by navigating to Control Panel -> Programs and Features where you can see the option on left hand menu.

The Windows Features dialog box appears. Scroll down and select Telnet Client. Click OK to apply the changes.

The Telnet Client installations begins by applying the changes.

Once complete, you will see the following success message that shows “Windows completed the requested changes”.

Note: You don’t need to restart your machine.
Once the installation completes, you can use the Telnet Client by launch the Command Prompt. Type telnet and hit Enter to access the Telnet Client.
Type help to see the supported Telnet commands.
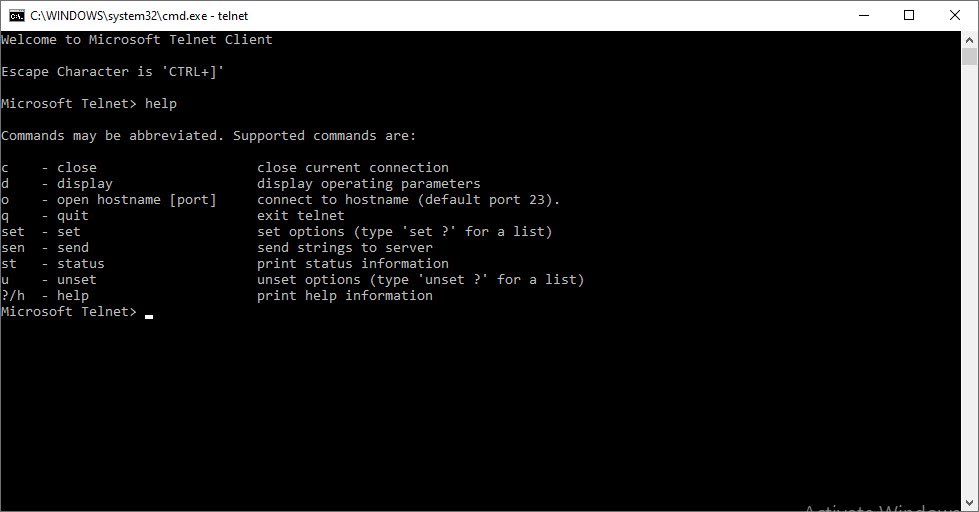
Type telnet techhyme.com 80 to Telnet into techhyme.com on port 80.

Furthermore, you can also install the Telnet client directly by using the following command:
pkgmgr /iu:”TelnetClient”
If the User Account Control dialog box appears, confirm that the action it displays is what you want, and then click Continue.


This Post Has 2 Comments