Webmin is a web-based interface that allows users to manage Unix-like systems. It provides a graphical user interface (GUI) that makes it easier to manage system configurations, users, services, and more. With Webmin, users can manage various system components, such as Apache web server, MySQL database server, DNS server, network interfaces, and more.
It also allows users to manage users and groups, file systems, backups, and security configurations. Webmin is highly customizable and allows users to install and configure additional modules. It also supports multiple languages and can be accessed remotely using a web browser.
Also Read: How to Install Apache Tomcat on Ubuntu Machine
Webmin is popular among system administrators as it simplifies system management tasks and reduces the need for command-line interfaces. It can also help users with little to no Unix experience manage their systems with ease.
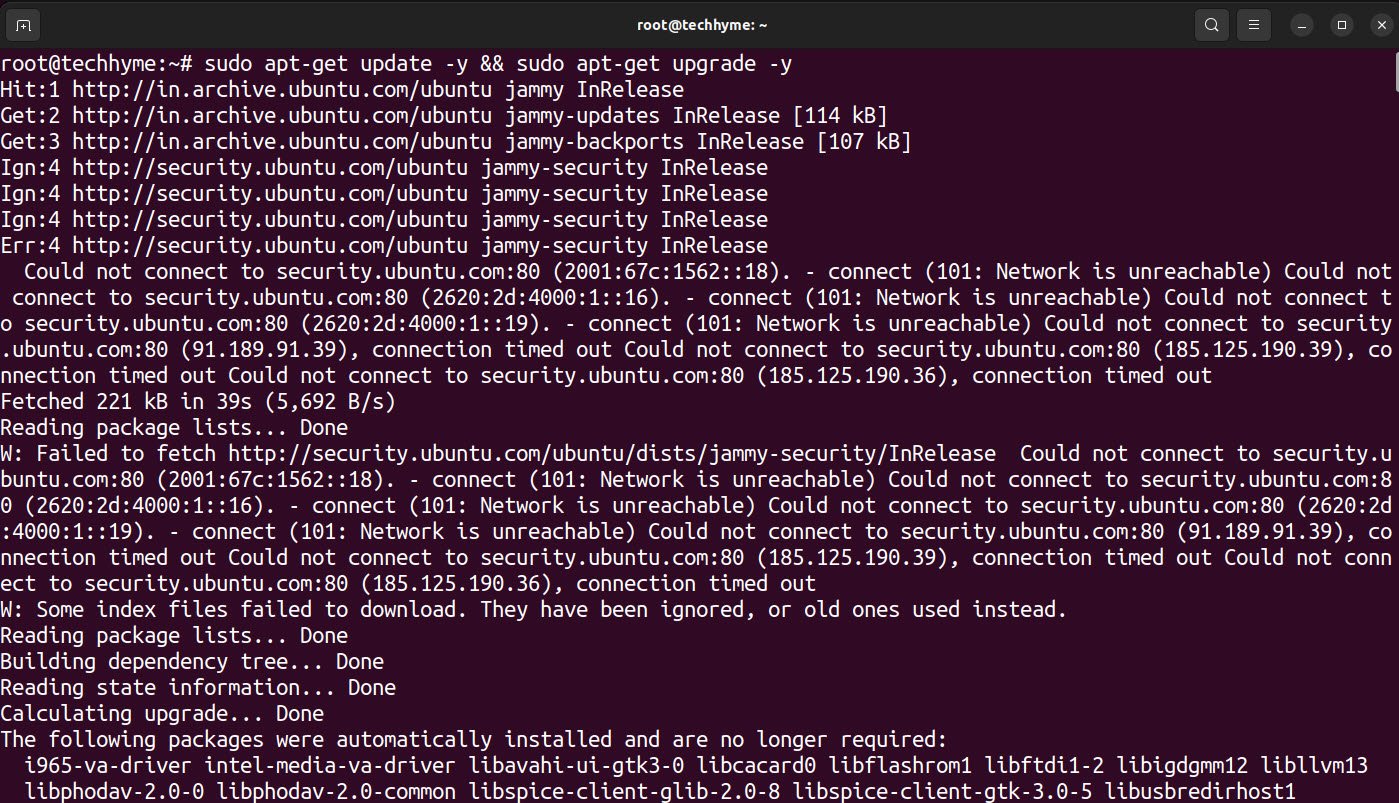
Before to start the installation of webmin, make sure that you must update all the installed packages to the latest version by using the following command:
Command: sudo apt-get update -y && sudo apt-get upgrade -y
Add the Webmin repository by adding the code below on the repository /etc/apt/sources.list file to install and update Webmin using the package manager.
Command: sudo vi /etc/apt/sources.list
deb https://download.webmin.com/download/repository sarge contrib

You need to add the Webmin PGP key so that Ubuntu trusts the new repository you added. To do that, install the gnupg1 package, GNU’s tool for secure data storage and communication. In most cases, it is enabled on the Ubuntu server by default.
Use the following command to search:
Command: sudo apt list | grep gnupg1
If it is not visible from the above step, you can directly install the gnupg1 package by using “sudo apt install gnupg1” command.

Once that is verified, use the following command to download the Webmin PGP key with the wget command and add the key to your system’s list of keys.
Command: wget -q -O- http://www.webmin.com/jcameron-key.asc | sudo apt-key add

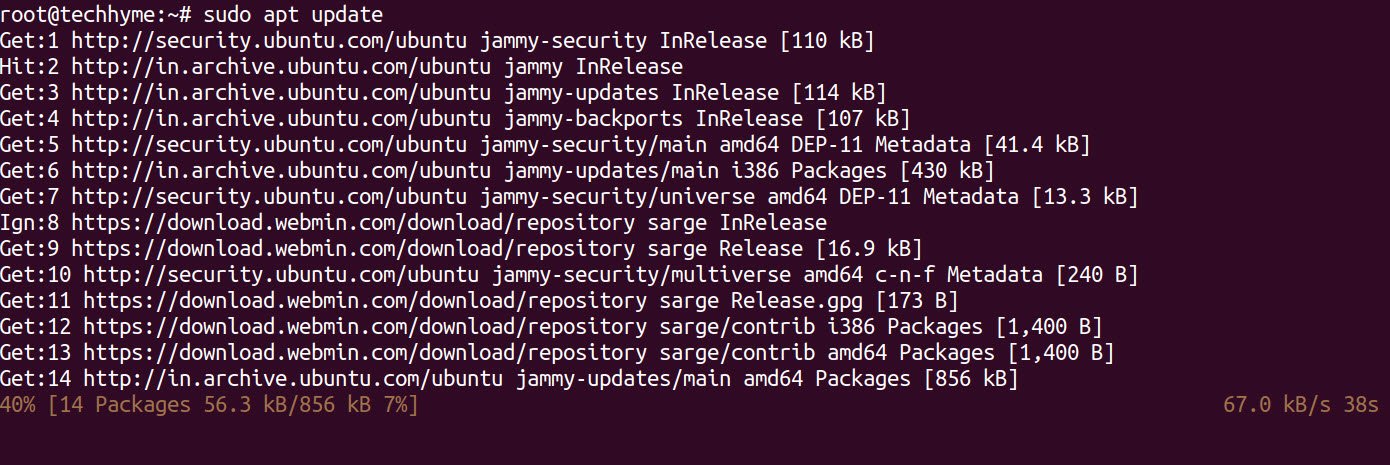
Now finally, update the list of packages on the server by using “sudo apt update” command.
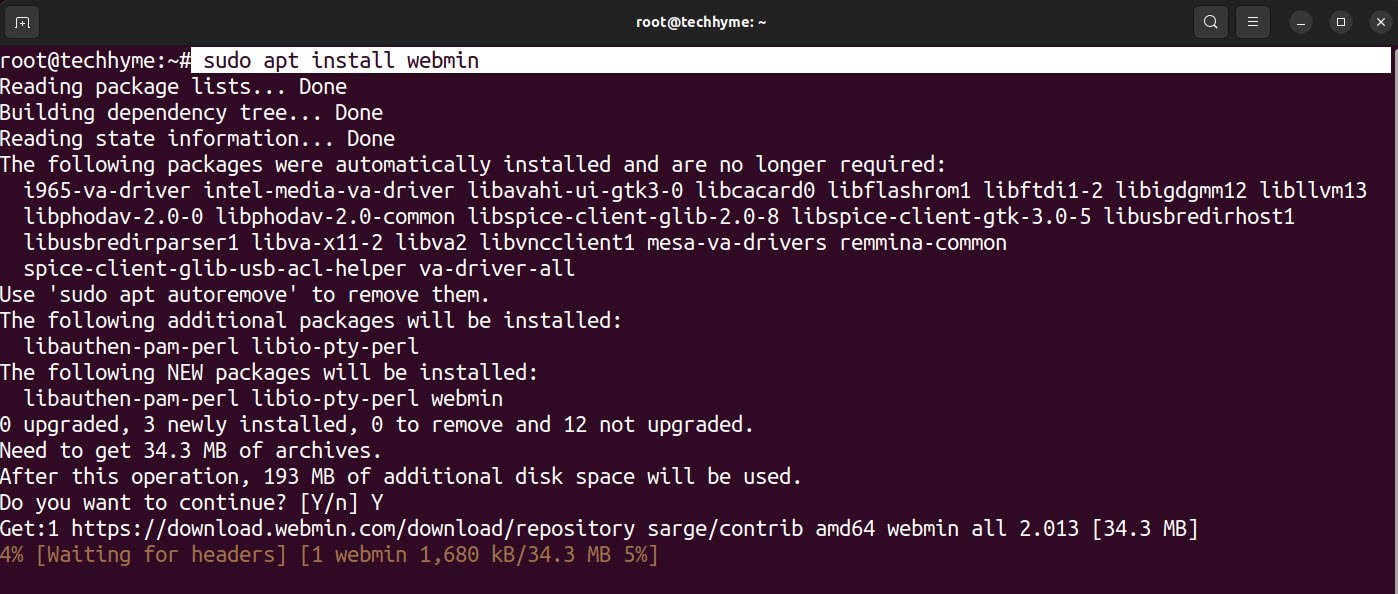
Once the packages and repositories are verified, you can start the installation of webmin by using the following command:
Command: sudo apt install webmin
In most Ubuntu systems, UFW (Firewall) is installed and enabled by default. In that case, you will need to allow the Webmin port 10000 on the server firewall.
Command: sudo ufw allow 10000

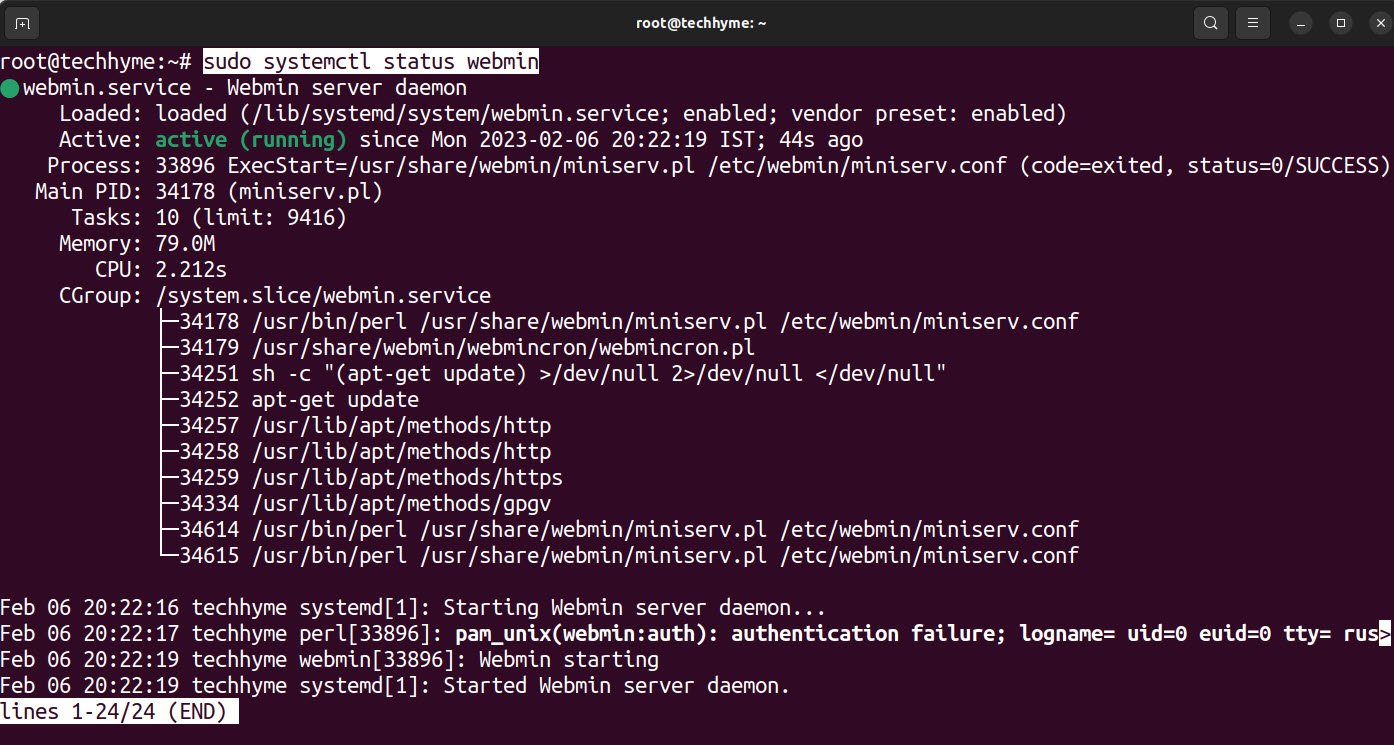
To check the status of webmin, type:
Command: sudo systemctl status webmin
Finalize the installation by resetting the Webmin root password with the commands below.
Command: cd /usr/share/webmin
Command: ./changepass.pl /etc/webmin root newpassword

To access the control panel, type the Webmin panel URL in the web browser (https://localhost:10000/).
When you access the webmail control panel URL using an IP address, the URL will pop up with a warning message that the connection is not private. By default, Webmin has a self-signed SSL certificate that Certificate Authority (CA) does not validate. To skip this warning, click on the Advanced button and then click the link to proceed to the URL.
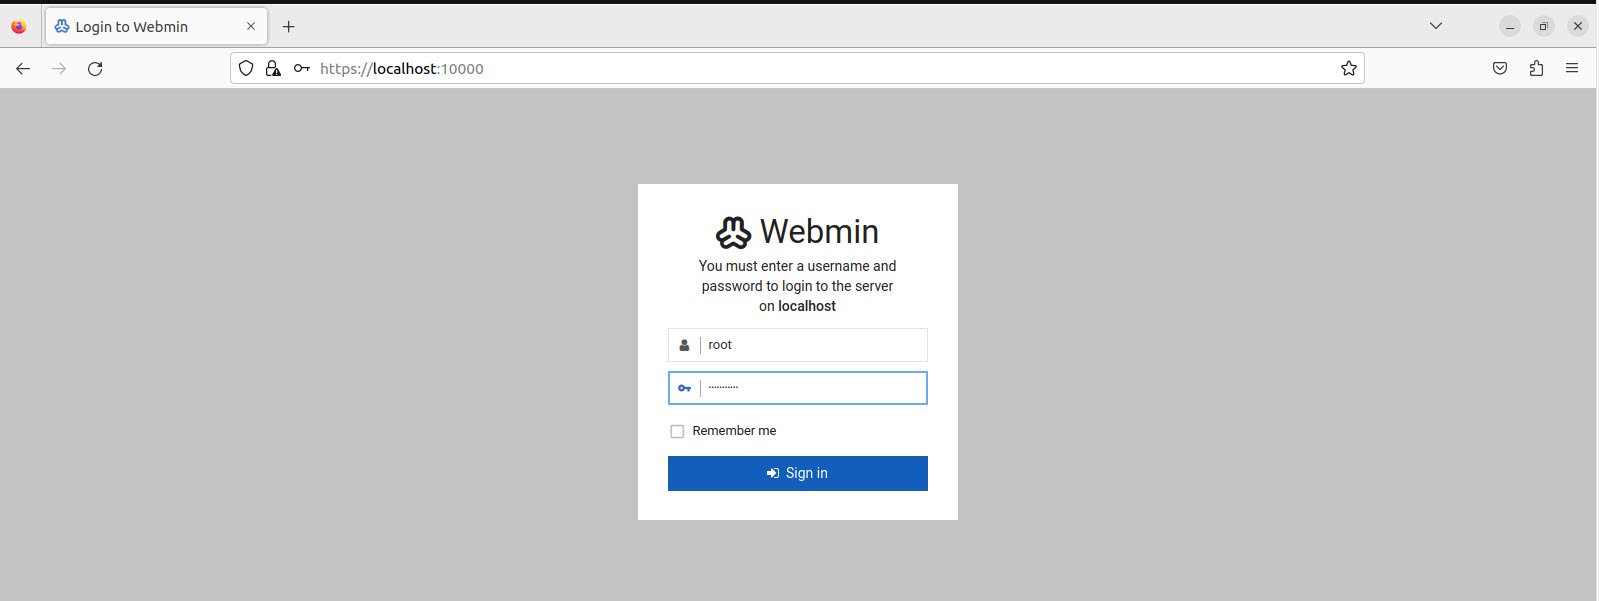
Input root as the username and the password set in the final step of the installation (newpassword in our case).
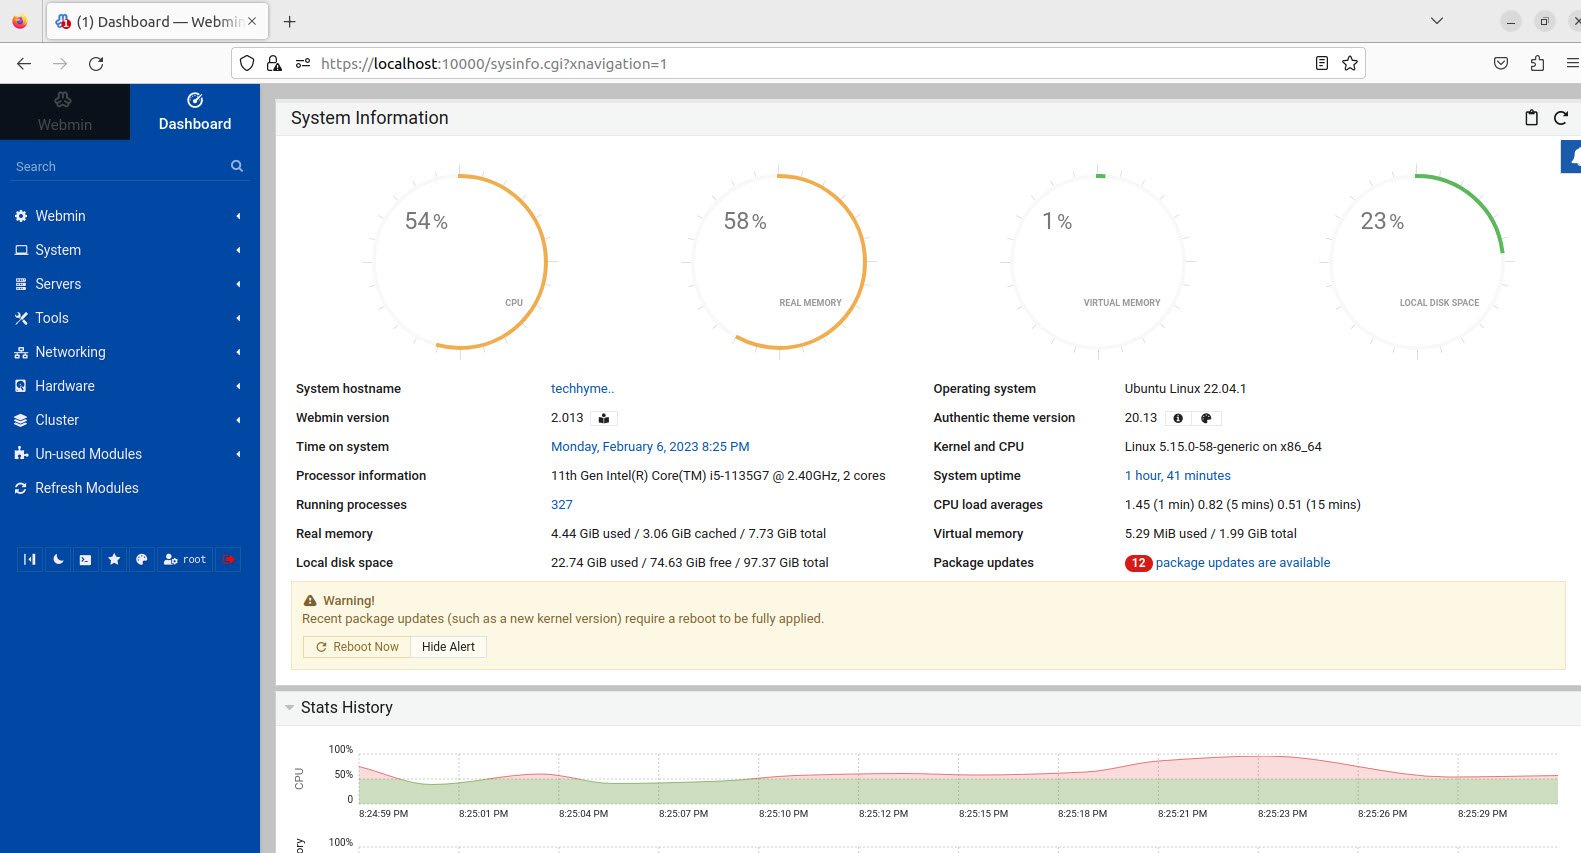
Once you enter the login details, you will see the Webmin dashboard’s first page which will displays all the system information and packages that have updates available.
You may also like:
- How to Perform Network Security Audits Using Kali Linux
- How to Harden Kali Linux for Maximum Security
- How to Use Kali Linux for Cloud Security Testing
- How to Fix Common Kali Linux Installation Errors
- How to Use Python for Ethical Hacking in Kali Linux
- How to Write Bash Scripts in Kali Linux
- How to View SSH Logs on Linux
- How to Change User in Linux Command Line
- [Solution] Missing logstash-plain.log File in Logstash
- Understanding Netstat – The Network Monitoring Tool