LAMP is an acronym that stands for Linux, Apache, MySQL, and PHP. It refers to a software stack that is used for building dynamic websites and web applications.
The components of the LAMP stack are:
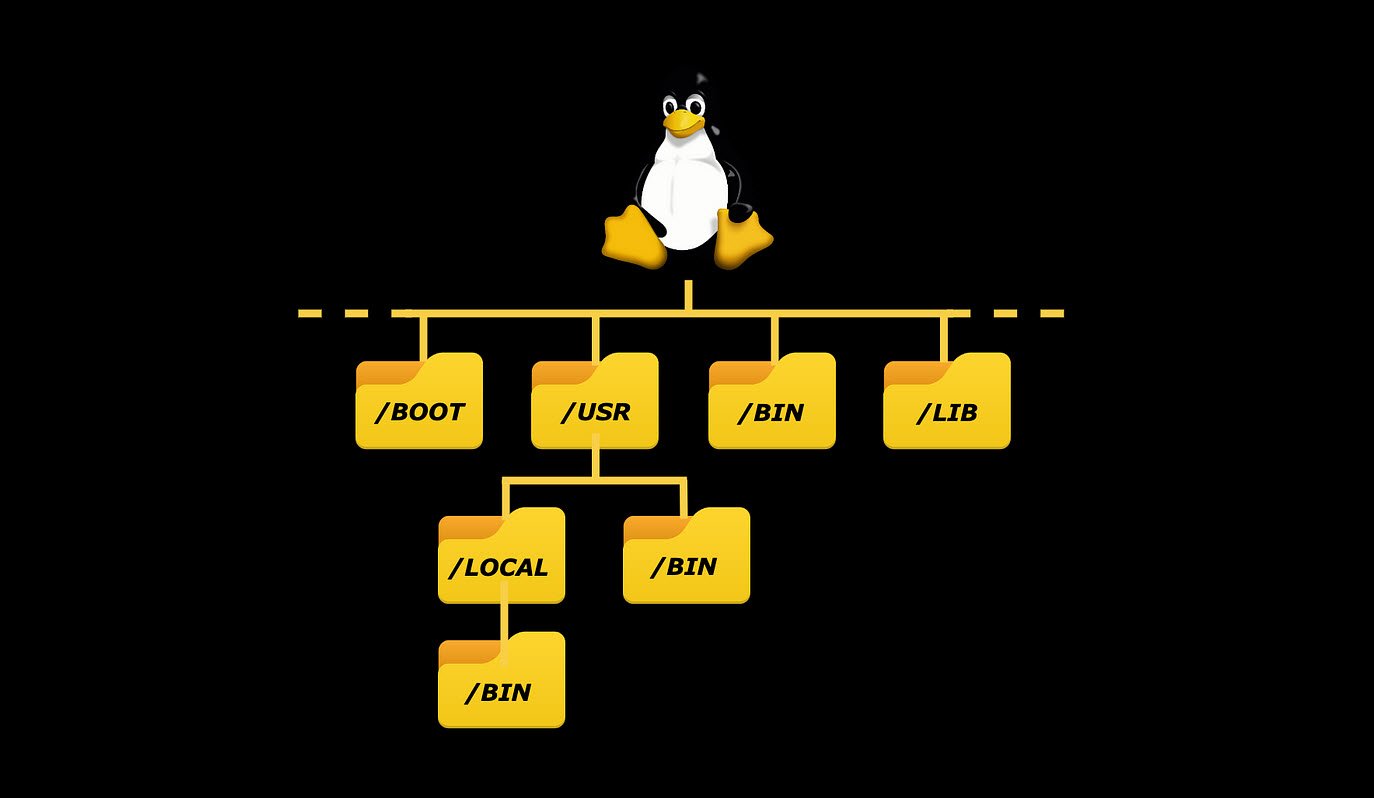
- Linux: A free and open-source operating system that is widely used as the server-side platform for web applications.
- Apache: An open-source web server that is used to serve dynamic web pages and handle incoming HTTP requests.
- MySQL: An open-source relational database management system (RDBMS) used to store, organize, and retrieve data for web applications.
- PHP: An open-source server-side scripting language used to build dynamic web pages and handle server-side tasks.
Together, these components form a complete stack that can be used to build and run dynamic web applications. To install the LAMP stack on an Ubuntu system, you can follow these steps:
1. Install Apache
To install Apache web server, update your local package index by using “apt update” and then install the apache2 package using apt:
Command: apt install apache2
The above command will install Apache2 on your system.

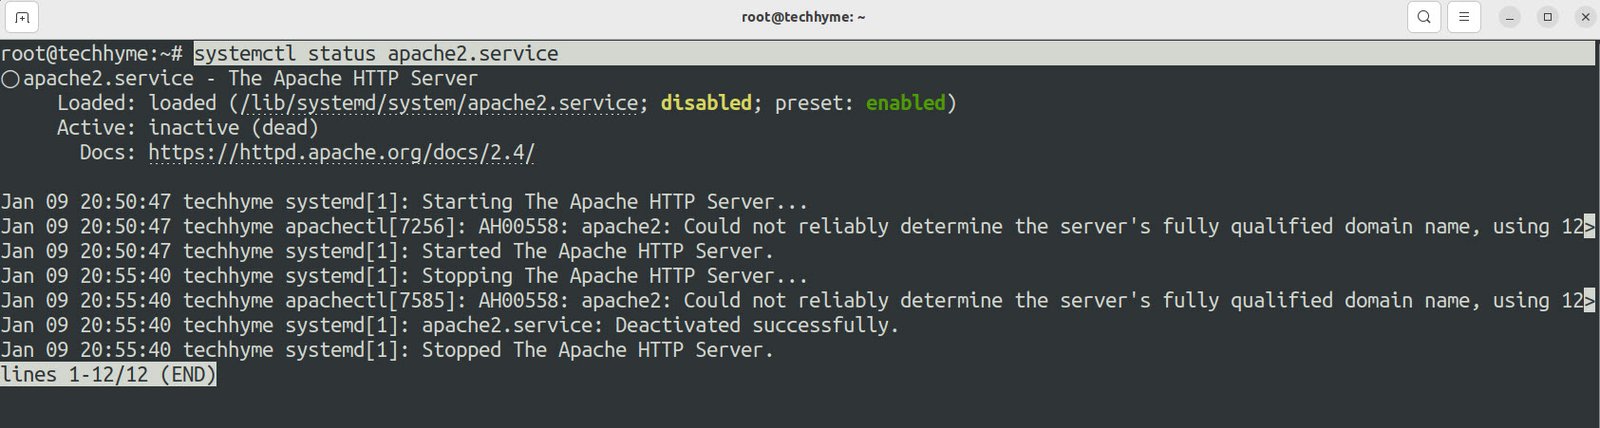
After the installation completes, the Apache service should start automatically. You can also check whether the service is running by running the below command.
Command: systemctl status apache2.service
And to start the service, you can use the following command:
Command: systemctl start apache2.service

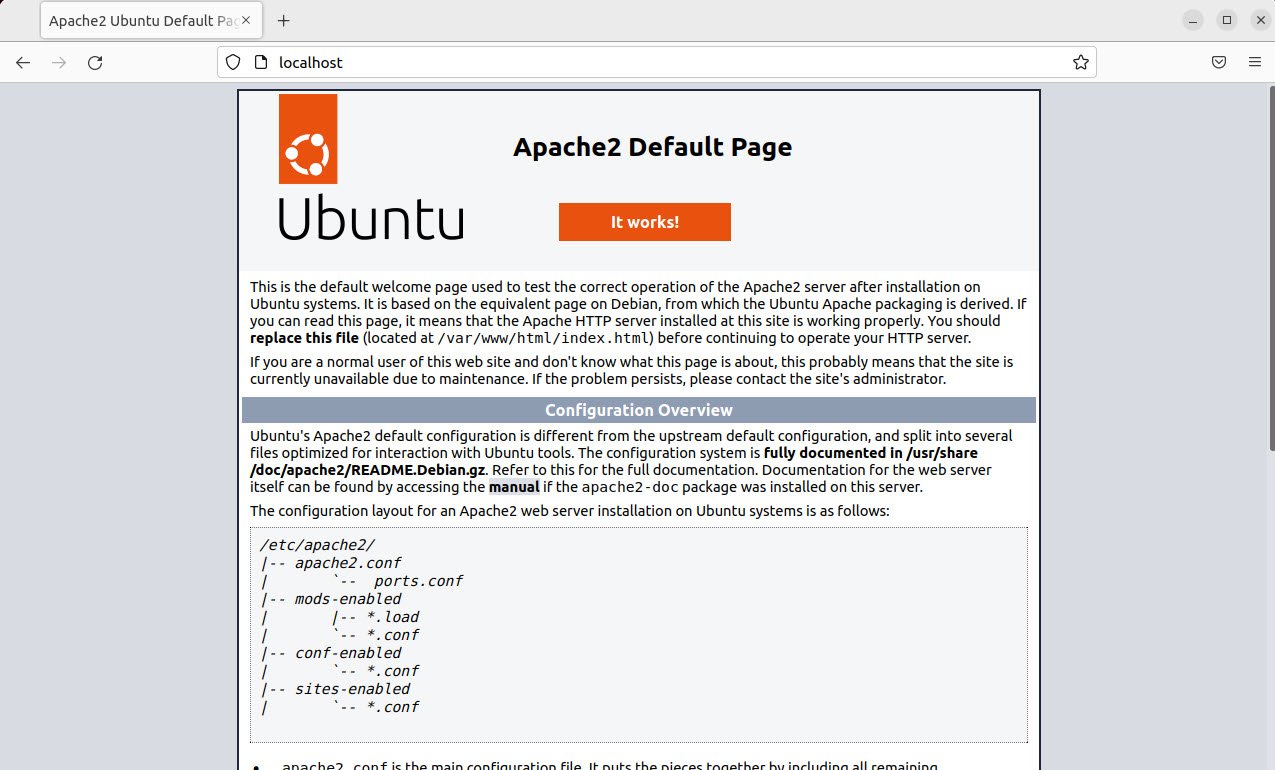
To verify that Apache is running correctly, you can open your web browser and navigate to http://localhost. You should see the default Apache2 web page, which confirms that the installation was successful.
2. Install MySQL
Next step is to install MySQL which is a database management system and is a necessary component of a LAMP stack because it is used by PHP to store information persistently.
To install MySQL, the command is:
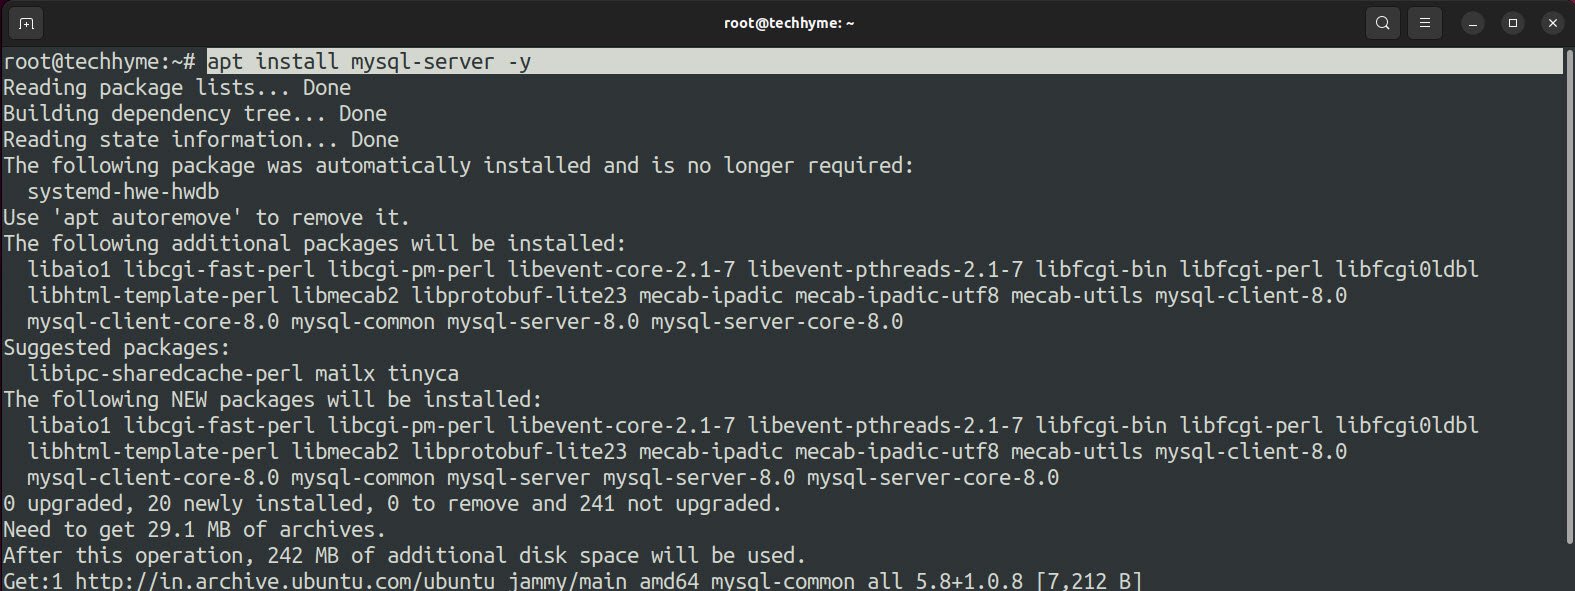
Command: apt install mysql-server -y
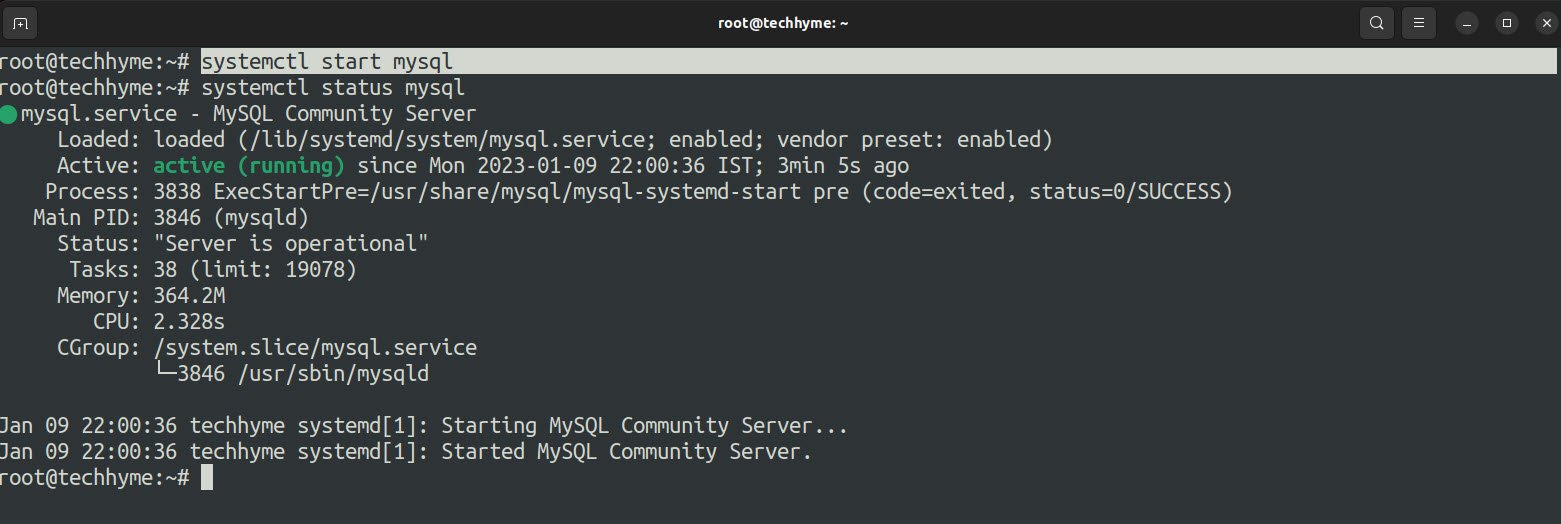
To start the MySQL Service, you can use the following command:
Command: systemctl start mysql
And to check the status, the command is “systemctl status mysql”
3. Install PHP
The third component of LAMP stack is PHP which is a server-side scripting language and is used to process dynamic content requests. It can be embedded into HTML code or used as a standalone programming language.
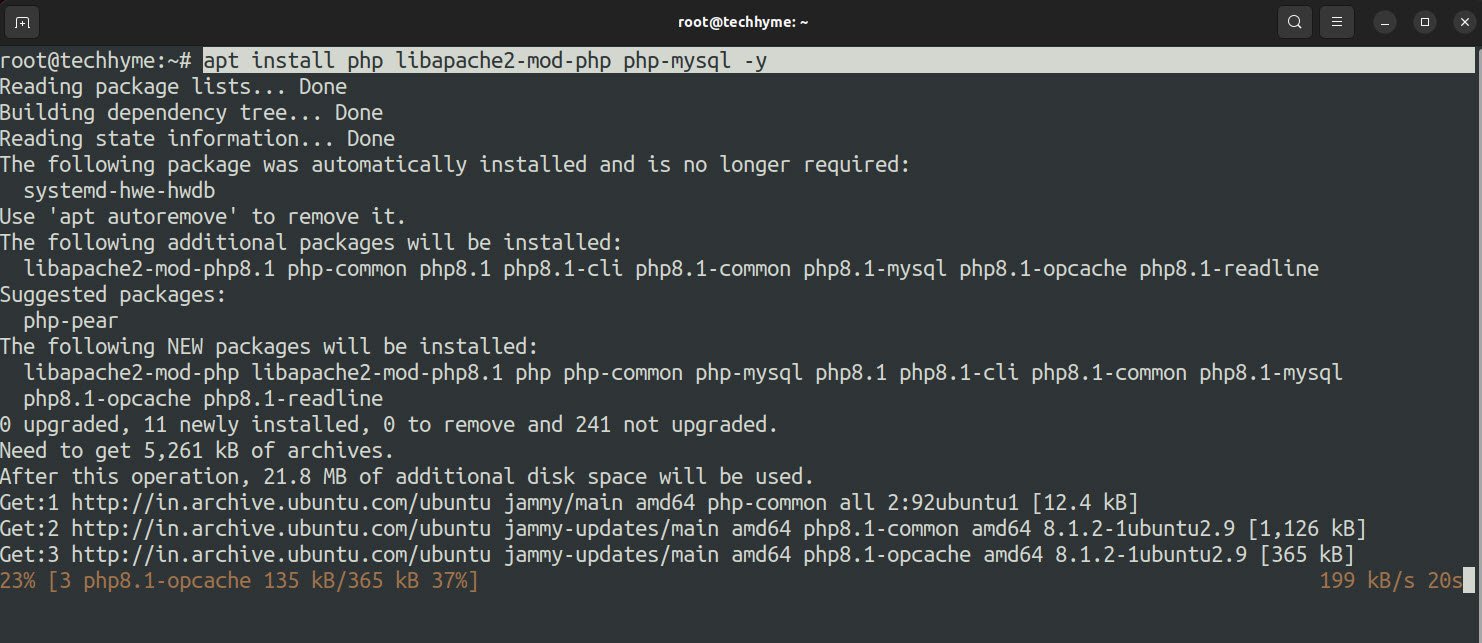
To install PHP, you can run the following command:
Command: sudo apt install php libapache2-mod-php php-mysql -y
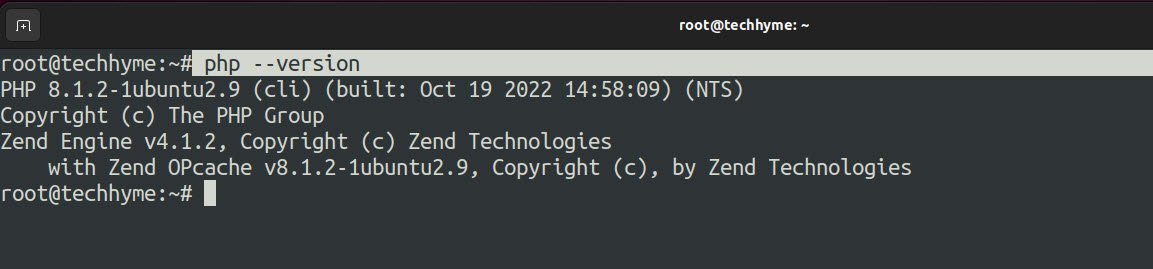
Once the installation completes, you can check the version of PHP that was installed by typing:
Command: php –version
Now you have all of the components of the LAMP stack installed on your Ubuntu system.
Let’s create a sample PHP file and test it out.
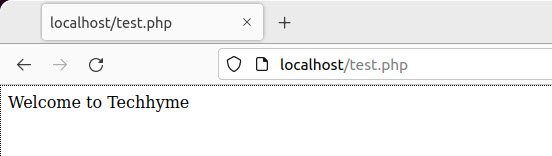
Create a new file named as “test.php” under /var/www/html directory and write the following content into it:
Code: <?php echo "Welcome to Techhyme"; ?>This line will output the text “Welcome to Techhyme” if the file is accessed through a web browser.

Now, visit your localhost address (http://localhost/test.php) in a web browser, and you will see the text “Welcome to Techhyme” as shown below.
You may also like:
- How To Install Python 2.7.18 From The Source
- How To Parse SSH Authentication Logs with Logstash
- A Comprehensive Guide to File System Commands in Linux
- Essential File Compression Commands in Linux
- Secure Shell (SSH) Protocol – A Comprehensive Guide
- Monitoring Active Connections in Kali Linux Using Netstat
- How To Easily Crack Wi-Fi Password
- 6 Most Useful Windows Command Prompt Commands
- Ripgrep – Searching for Specific File Types and Beyond
- Insert and Create Data in Elasticsearch