
Implementing Gzip compression in NGINX is a crucial step in optimizing web performance by reducing data transfer size between the server and client. Gzip compression significantly improves website loading times, decreases bandwidth usage, and ultimately leads to a better user experience.
In this article, we will walk through the steps to enable Gzip compression in NGINX for enhanced website performance.
Step 1: Open NGINX Configuration File
Begin by opening the NGINX server configuration file using a terminal. Depending on your setup, you can either edit the main configuration file or the configuration file for a specific virtual host. Use the appropriate command:
For the main configuration file:
sudo nano /etc/nginx/nginx.confFor a specific virtual host configuration file (e.g., www.example.com):
sudo nano /etc/nginx/sites-enabled/website.confStep 2: Enable GZIP Compression in NGINX
Locate the section of your NGINX configuration file where server or http blocks are defined. Add or uncomment the following lines to enable Gzip compression:
gzip on;
gzip_vary on;
gzip_min_length 1024;
gzip_proxied expired no-cache no-store private auth;
gzip_types text/plain text/css text/xml text/javascript application/x-javascript application/xml;
gzip_disable "MSIE [1-6]\.";
Explanation of the lines:
- `gzip on;` – Turns on Gzip compression.
- `gzip_vary on;` – Enables Gzip for both gzipped and regular versions of a file.
- `gzip_min_length 1024;` – Compresses files larger than 1024 bytes (1kb). Small files are not compressed significantly.
- `gzip_proxied expired no-cache no-store private auth;` – Compresses data even for users connected via proxies.
- `gzip_types` – Specifies the file types to be compressed.
- `gzip_disable “MSIE [1-6]\.”;` – Disables Gzip for Internet Explorer versions 1-6, as they do not support Gzip compression.
Step 3: Restart NGINX Server
After making the changes, check the syntax of your NGINX configuration to ensure there are no errors:
sudo nginx -tIf the syntax is correct, restart the NGINX server to apply the changes:
For Debian/Ubuntu:
sudo service nginx reloadFor Red Hat/CentOS:
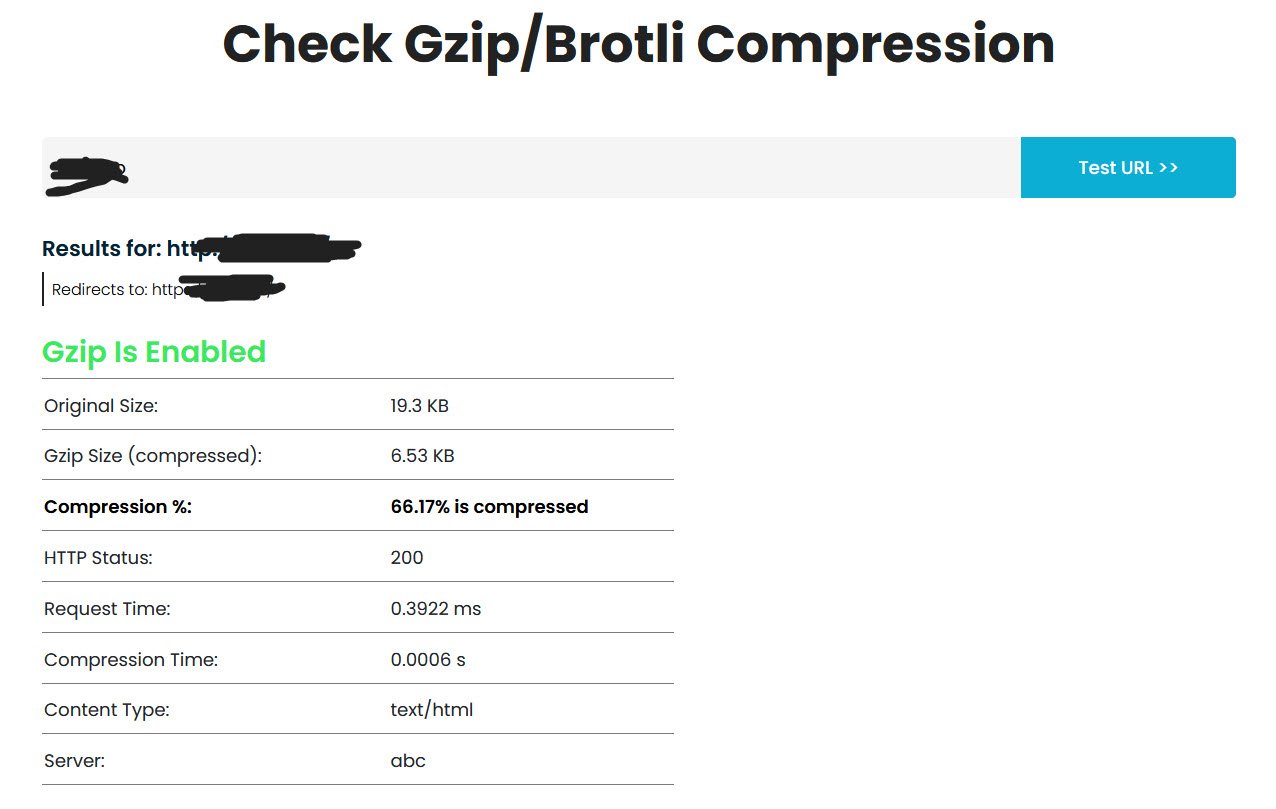
systemctl restart nginxStep 4: Verify GZIP Compression
To verify whether Gzip compression is successfully enabled on your NGINX server, you can use third-party tools like GZIP compression test. These tools allow you to enter your website URL and will indicate whether Gzip compression is active.
By following these steps, you have successfully configured NGINX to utilize Gzip compression, thereby enhancing your website’s performance. Regularly monitor your website’s performance metrics and adjust the Gzip configuration as needed to ensure optimal results.
You may also like:- How To Install Python 2.7.18 From The Source
- How To Parse SSH Authentication Logs with Logstash
- How To Easily Crack Wi-Fi Password
- 6 Most Useful Windows Command Prompt Commands
- Ripgrep – Searching for Specific File Types and Beyond
- Insert and Create Data in Elasticsearch
- Manage Time and Date in Linux with timedatectl
- How to Set Network Adapter Priority on Windows 11
- How to Add a User to Sudoers on Ubuntu
- 25 Popular Linux IP Command Examples