Samba is a free and open-source software suite that provides file and print services to SMB/CIFS clients. Samba is commonly used to share files and printers between Windows and Linux/Unix systems, as well as to provide centralized file and print services for Windows clients in a mixed-platform environment.
Samba acts as a bridge between the SMB/CIFS protocol used by Windows systems and the native file and print services provided by Linux/Unix systems, allowing users on Windows systems to access resources shared by Linux/Unix systems and vice versa.
Samba can be installed and configured on various Linux/Unix systems, including Ubuntu, Red Hat Enterprise Linux, and CentOS, to provide file and print sharing services in small and large networks.
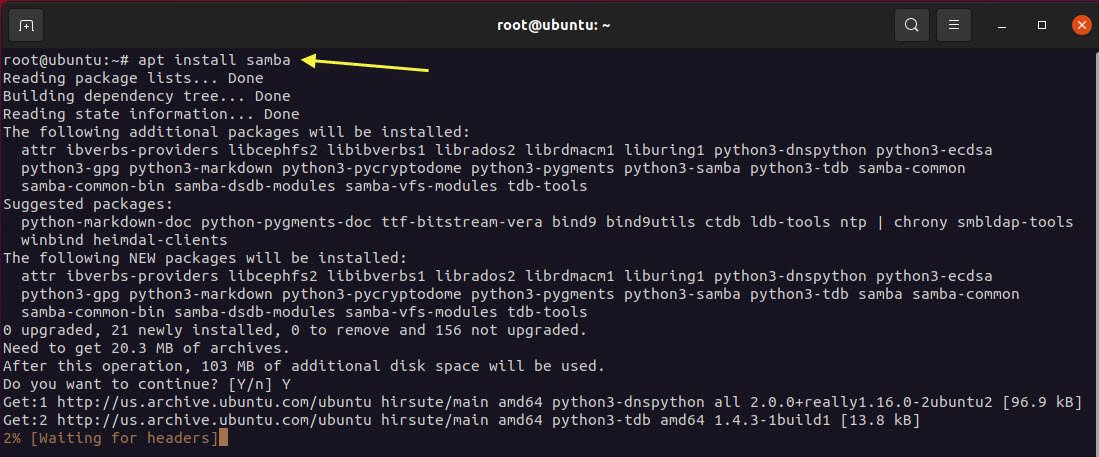
To install samba server in your Ubuntu OS, type the following command:
Command: apt install samba
You can also check if the installation was successful by running the following command:
Command: whereis samba
The following should be its output:
samba: /usr/sbin/samba /usr/lib/x86_64-linux-gnu/samba /etc/samba /usr/share/samba /usr/share/man/man8/samba.8.gz /usr/share/man/man7/samba.7.gz

Next step is to create a directory for sharing:
Command: mkdir /home/techhyme/sharedir

The command above creates a new folder sharedir in our home directory.
The configuration file for Samba is located at /etc/samba/smb.conf. To add the new directory as a share, we edit the configuration file by running:
Command: gedit /etc/samba/smb.conf
At the bottom of the file, add the following lines:
[sambashare]
      comment = Samba Server on Ubuntu by Techhyme.com
      path = /home/techhyme/sharedir
      read only = no
      browsable = yes
Now that we have our new share configured, save it and restart Samba service for it to take effect:
Command: service smbd restart

Don’t forget to update the firewall rules to allow Samba traffic:
Command: ufw allow samba

Since Samba doesn’t use the system account password, you need to set up a Samba password:
Command: smbpasswd – a techhyme

Now, you should be able to access the shared folder from other computers on your network by browsing to \\<server-ip-address>\sharedir.
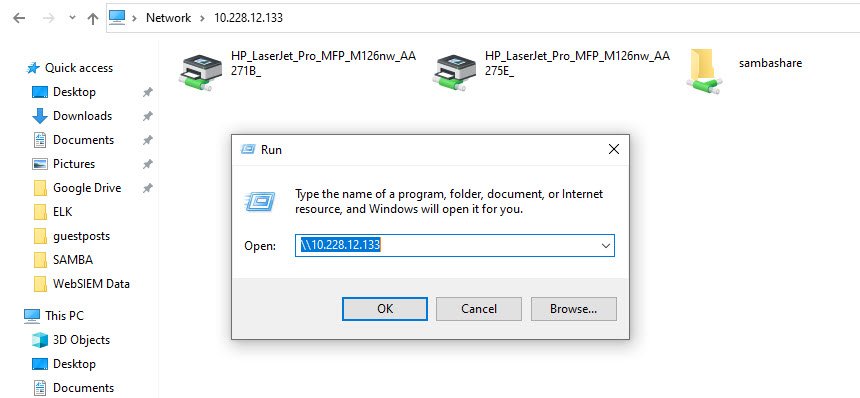
Note: server-ip-address is the Samba server IP address and sharedir is the name of the share.
You may also like:- How To Install Python 2.7.18 From The Source
- How To Parse SSH Authentication Logs with Logstash
- How To Easily Crack Wi-Fi Password
- 6 Most Useful Windows Command Prompt Commands
- Ripgrep – Searching for Specific File Types and Beyond
- Insert and Create Data in Elasticsearch
- Manage Time and Date in Linux with timedatectl
- How to Set Network Adapter Priority on Windows 11
- How to Add a User to Sudoers on Ubuntu
- 25 Popular Linux IP Command Examples