Apache Cassandra is a highly scalable, NoSQL database management system designed for handling large amounts of data across many commodity servers, providing high availability with no single point of failure. It is a column-oriented database that provides tunable consistency, enabling robust support for various types of applications. It is used by many organizations for storing and managing large amounts of data and is known for its high performance, scalability, and reliability.
Cassandra is used by many organizations for various use cases, including:
- Mobile and online gaming
- User activity tracking
- Log aggregation
- Metrics collection and analysis
- E-commerce and retail
- Healthcare and Life Sciences
- Real-time analytics
Cassandra is highly customizable, making it a versatile choice for a wide range of applications that require high scalability, high performance, and continuous availability.
The first step is to install java:
Command: apt install openjdk-8-jdk
This command is used to install the OpenJDK 8 Java Development Kit (JDK) on a Debian-based system using the Advanced Package Tool (APT). The OpenJDK 8 JDK is a free and open-source implementation of the Java SE 8 Platform Standard Edition, which is used for developing Java applications. This command will download and install the necessary packages and dependencies for the JDK on your system.

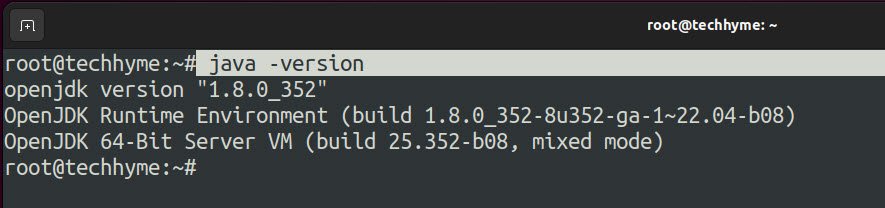
To verify the java installation, type the following command:
Command: java -version
Next step is to install dependency package by installing the following command:
Command: apt install apt-transport-https
This command is used to install the apt-transport-https package on a Debian-based system using the Advanced Package Tool (APT). The apt-transport-https package enables the use of secure HTTPS connections when downloading packages and dependencies from a software repository.
This is necessary for situations where the software repository is hosted on a remote server that requires secure connections for package management. With this package installed, you can use the APT command line tool to securely download and install packages from a HTTPS-enabled repository.

Next step is to import a GPG (GNU Privacy Guard) key, you can use the “apt-key” command. The GPG key is used to verify the authenticity of packages that are downloaded from a software repository. The key is typically provided by the repository maintainer and can be imported into your system to enable secure package management.
Command: wget -q -O – https://www.apache.org/dist/cassandra/KEYS | sudo apt-key add –
This will download the key from the specified repository URL and pipe it to the apt-key command for import.

Now you also need to add Apache’s Cassandra repository to /etc/apt/sources.list.d/cassandra.list file, which is used by the apt package manager to search for packages.
The repository is for Apache Cassandra, a highly scalable and distributed NoSQL database, and it’s for the version 311x of the software. The sudo command is used to run the command as the root user, which has privileges to modify system files.
Command: sudo sh -c ‘echo “deb http://www.apache.org/dist/cassandra/debian 311x main” > /etc/apt/sources.list.d/cassandra.list’

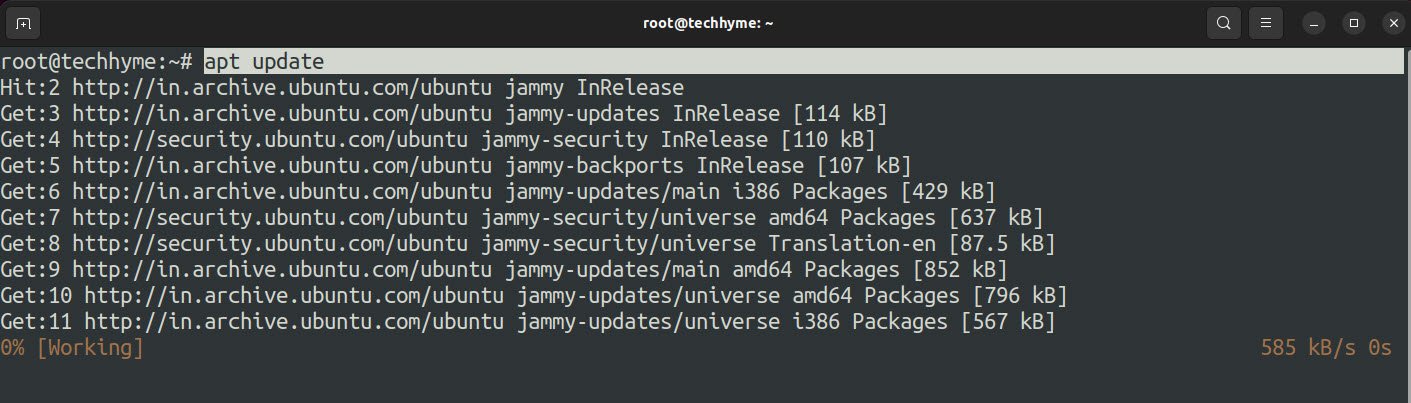
Now run command apt update which updates the package index files from all sources specified in /etc/apt/sources.list and /etc/apt/sources.list.d/. The updated package information is used by apt-get and other package management tools to determine which packages are available and what their latest versions are.
Running apt update regularly helps ensure that you have access to the latest package versions and bug fixes.
To install Apache Cassandra on Ubuntu, you can run the following commands:
Command: apt install cassandra

Once the installation is complete, you can enable the Cassandra service by running the following command:
Command: systemctl enable cassandra

You can verify the installation by checking the Cassandra service status:
Command: systemctl status cassandra

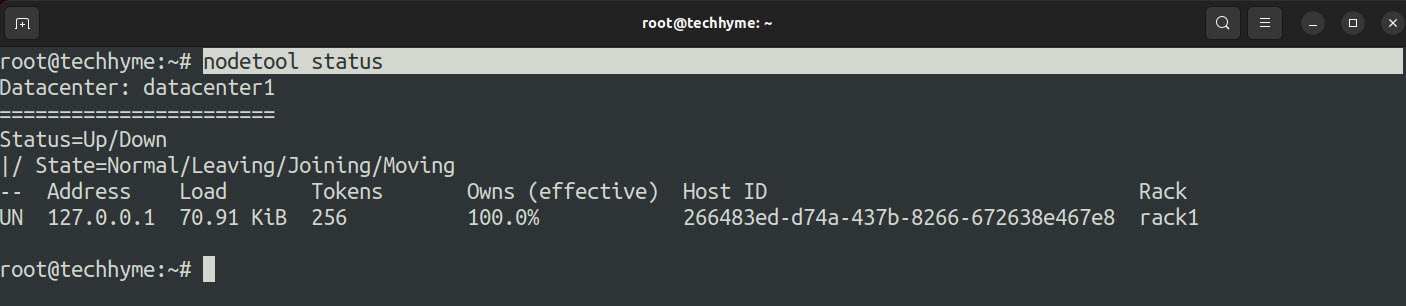
To verify the stats of your node, run the following command:
Command: nodetool status
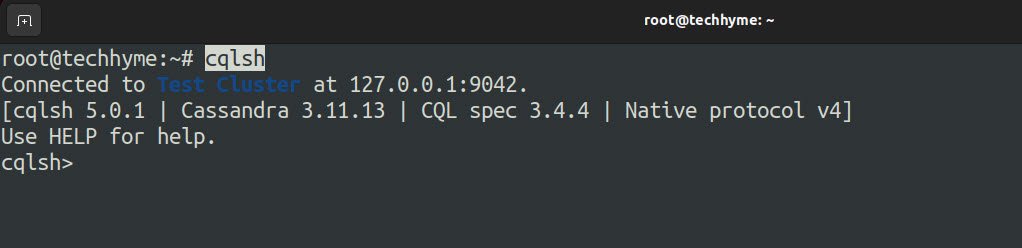
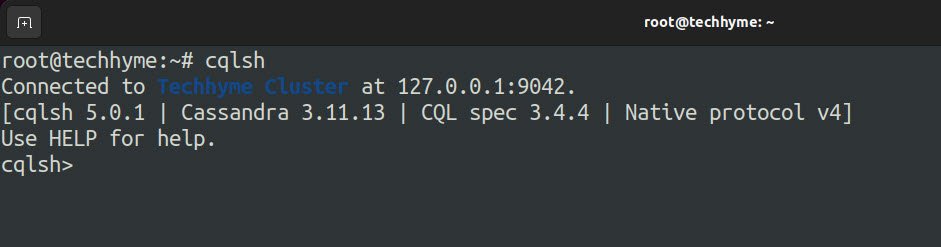
To start Cassandra, simply type cqlsh in your terminal and hit enter. This will open the cqlsh prompt, where you can start executing CQL commands.
cqlsh is a command-line client for Apache Cassandra that allows you to interact with Cassandra databases using the Cassandra Query Language (CQL). With cqlsh, you can create keyspaces, tables, and perform various operations such as inserting, updating, and deleting data.
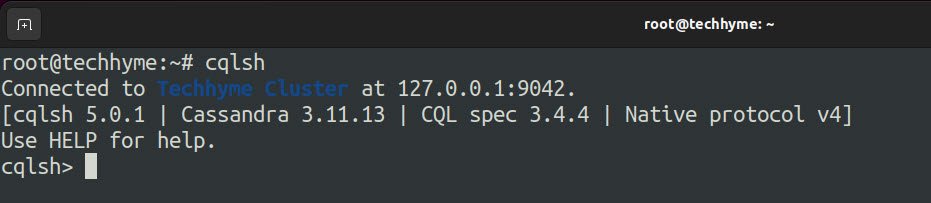
If you want to change the cluster name through command, then you can run the following command:
Command: UPDATE system.local SET cluster_name = ‘Techhyme Cluster’ WHERE KEY = ‘local’;

Exit the console by typing “exit” command and then again run “cqlsh” to see your updated name of your cluster.
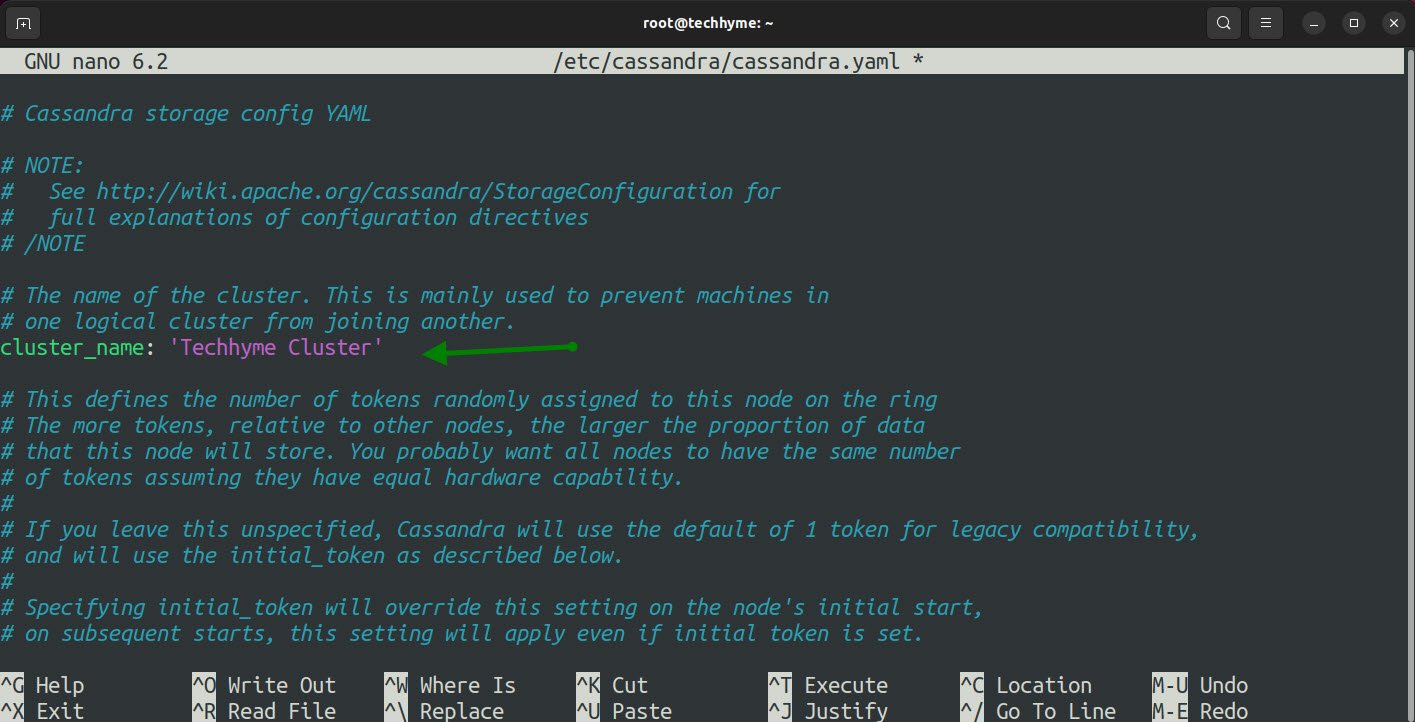
The same can also be done via their configuration file located at /etc/cassandra/cassandra.yaml. Before to do any changes, you should take a backup of your cassandra configuration file.

To change the cluster name in Cassandra, you can modify the cluster_name parameter in the Cassandra configuration file, /etc/cassandra/cassandra.yaml.
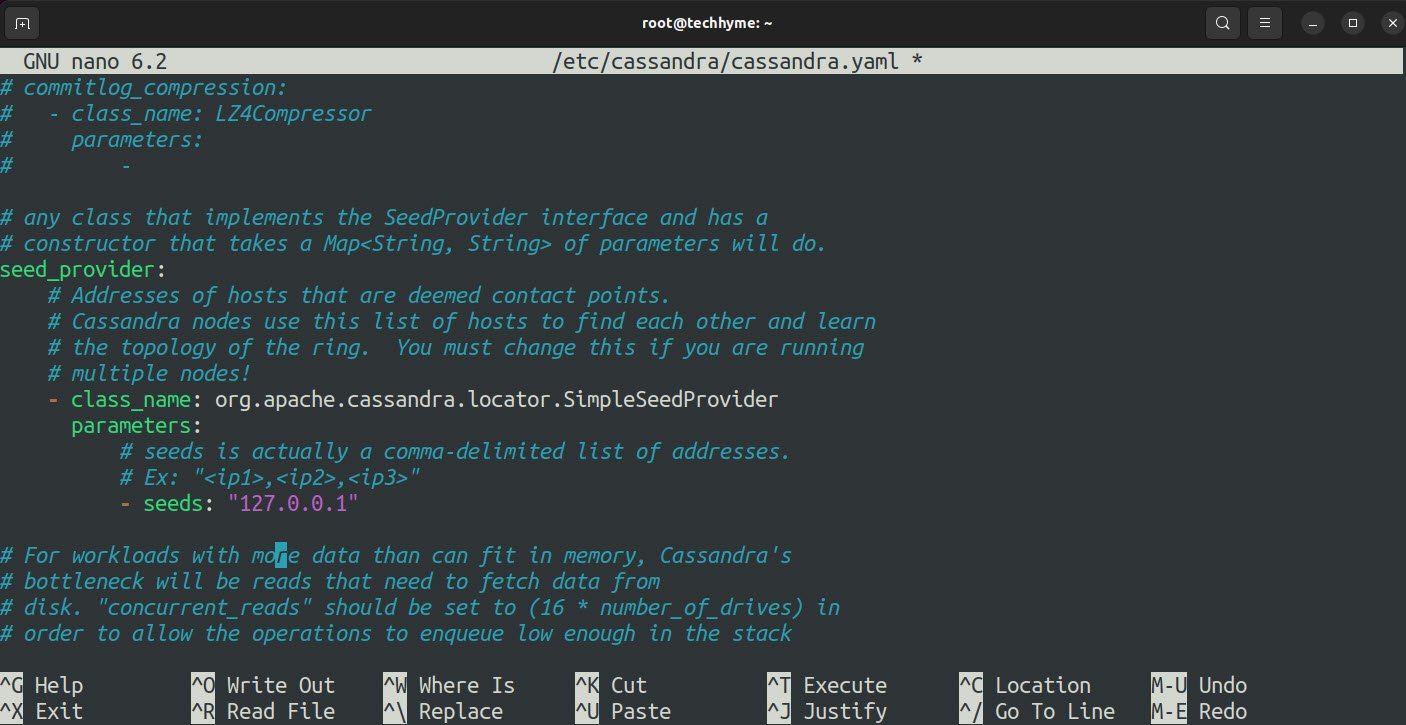
And to change the IP address of Cassandra Nodes, you need to modify the seed_provider parameter in the Cassandra configuration file, cassandra.yaml.
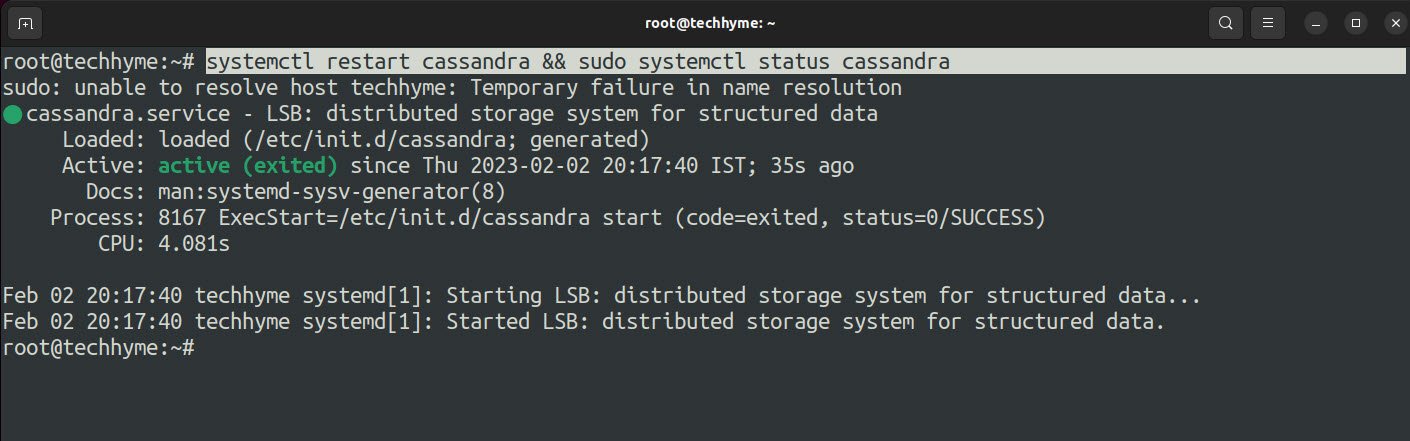
Save and exit “cassandra.yaml” file, to reflect the changes, restart the Cassandra service.
Command: systemctl restart cassandra && sudo systemctl status cassandra
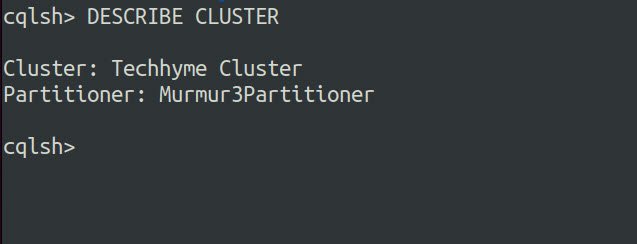
Re-login to Cassandra Terminal and verify the cluster name which is updated as shown in below screenshot.
In case, if you want to see list of connected host, then the command is “show host“.

The following command gives the description of all below Schema Elements:
Command: DESCRIBE CLUSTER
You may also like:
- How To Install Python 2.7.18 From The Source
- How To Parse SSH Authentication Logs with Logstash
- A Comprehensive Guide to File System Commands in Linux
- Essential File Compression Commands in Linux
- Secure Shell (SSH) Protocol – A Comprehensive Guide
- Monitoring Active Connections in Kali Linux Using Netstat
- How To Easily Crack Wi-Fi Password
- 6 Most Useful Windows Command Prompt Commands
- Ripgrep – Searching for Specific File Types and Beyond
- Insert and Create Data in Elasticsearch