Jenkins is an open-source automation server that helps automate parts of the software development process such as building, testing, and deploying software. It can be used to automate any task that can be scripted or run via a command-line interface.
Jenkins is highly extensible and supports a wide range of plugins that can be used to enhance its functionality. It can integrate with many different tools and technologies, such as version control systems, build tools, testing frameworks, and deployment tools.
Jenkins is widely used in the software development industry for its ease of use, flexibility, and robustness. It allows developers to automate routine tasks, reduce errors, and improve the overall efficiency of the development process.
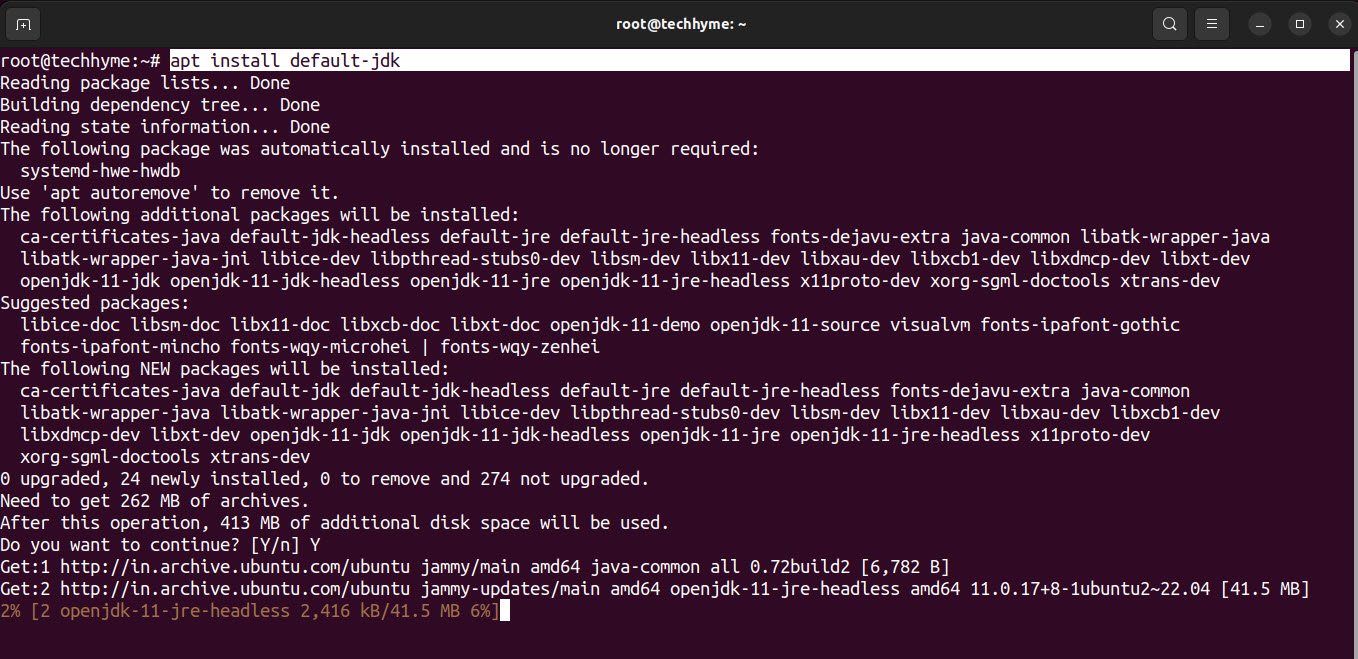
Before you dive into the installation of Jenkins on your Ubuntu machine, you will need Java as a prerequisite and can be install by using the following command:
Command: apt install default-jdk
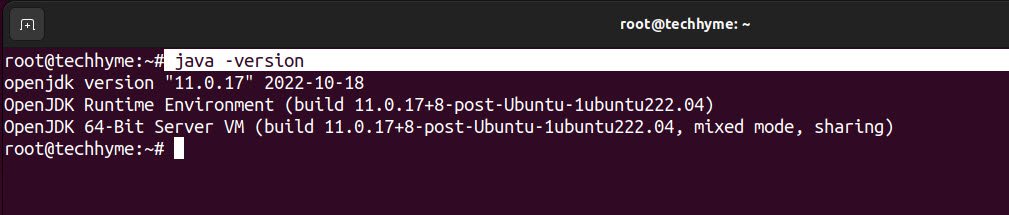
To verify the java version on your machine, you can type:
Command: java -version
Or you can also use “which java” command which gives you the location of java.

Now that you have Java installed on your Ubuntu machine. Now, it’s time to install Jenkins, an easier and more straightforward task.
First, update your system packages on the Ubuntu machine using the below command.
Command: apt update

Now add Jenkins Public key to your system so that this key can trust the jenkins.io site to download the repository or any packages.
Command: wget -q -O – https://pkg.jenkins.io/debian-stable/jenkins.io.key | sudo apt-key add –

Now, add the Jenkins repository to your system and update your system.
Command: sh -c ‘echo deb https://pkg.jenkins.io/debian-stable binary/ > \ /etc/apt/sources.list.d/jenkins.list’

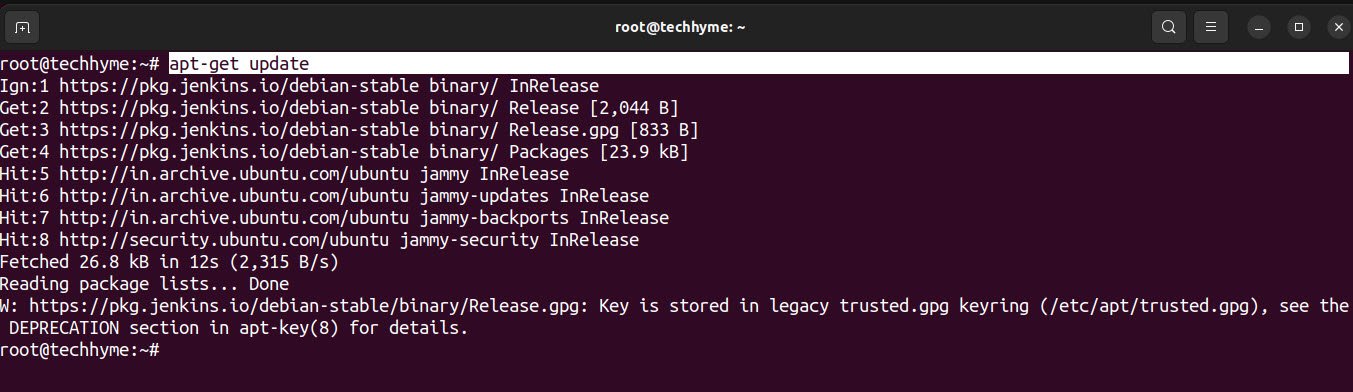
Type “apt-get update” to update all the packages.
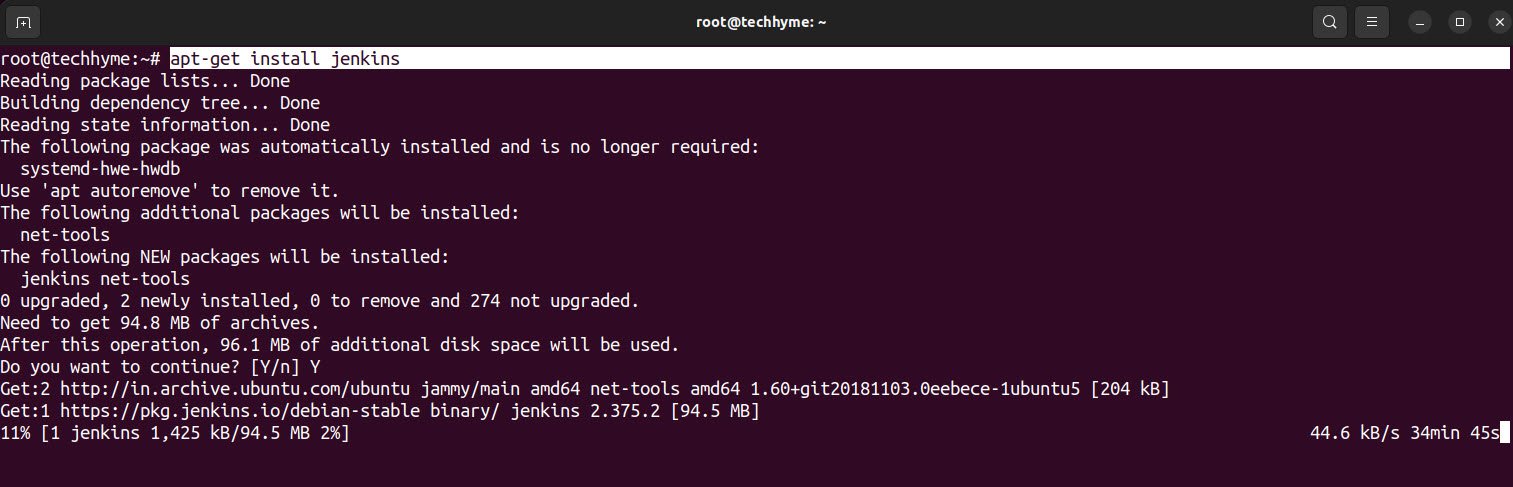
Now install the Jenkins package using the apt-get command.
Command: apt-get install jenkins
To check the status of jenkins, you can use:
Command: service jenkins status

Now that you have installed Jenkins on your Ubuntu machine successfully and verified by running the service command. But the installation is just an initial stage; you will need to set the Jenkins to make it work properly.
Open the Jenkins instance on your favorite web browser by going to localhost:8080.
As soon as the URL is opened, it will prompt for the administrator password.

The password can be found on /var/lib/jenkins/secrets/initialAdminPassword directory, as shown below.
Command: cat /var/lib/jenkins/secrets/initialAdminPassword

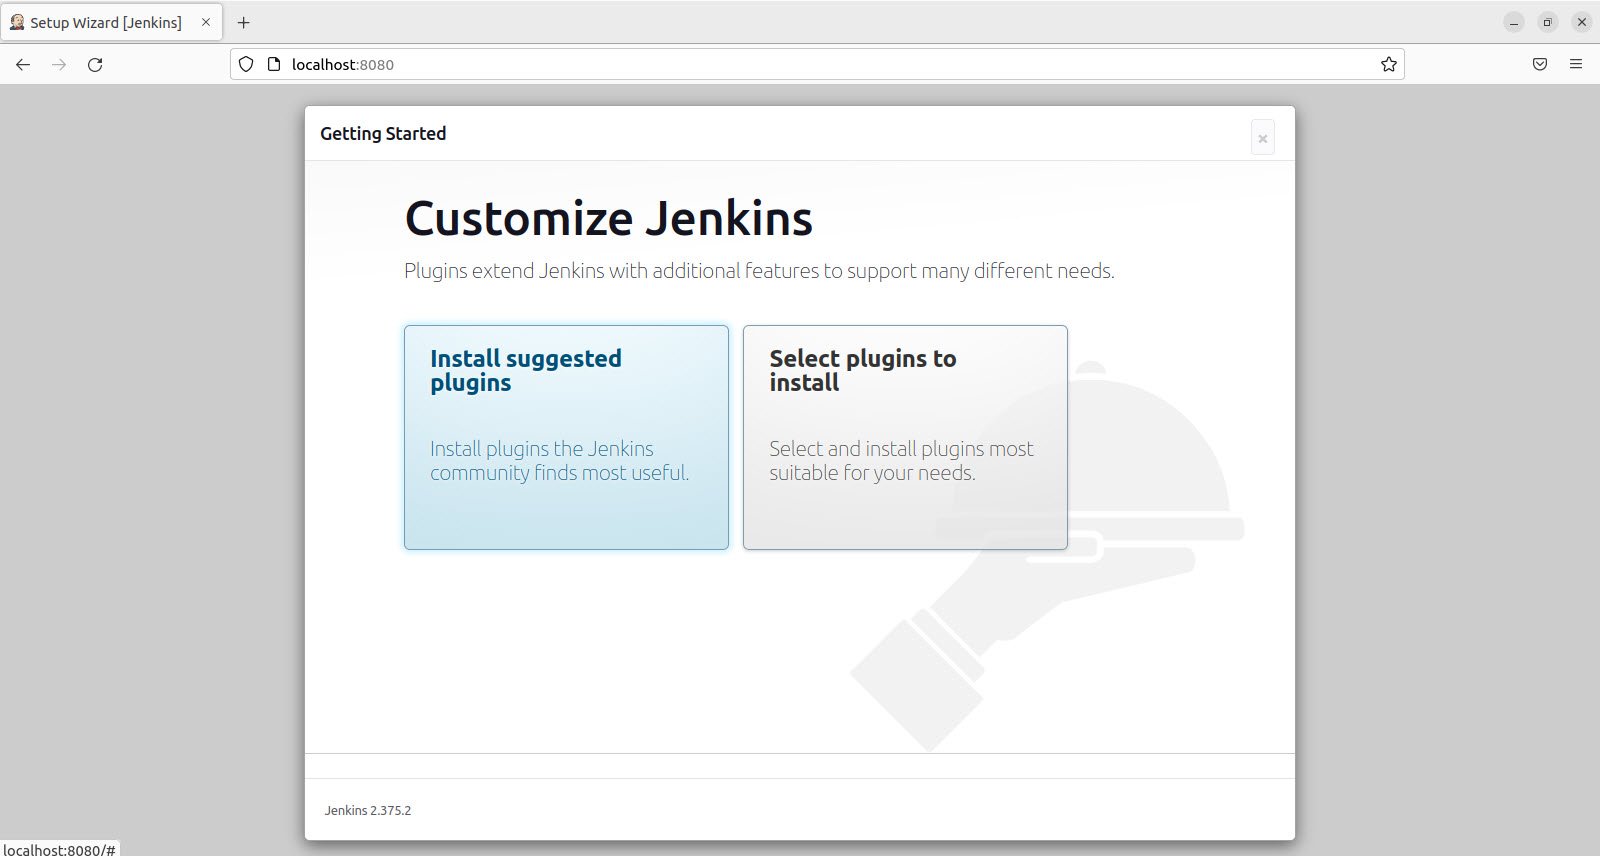
After successfully adding the Jenkins admin password, you will be prompted for Plugins installation.
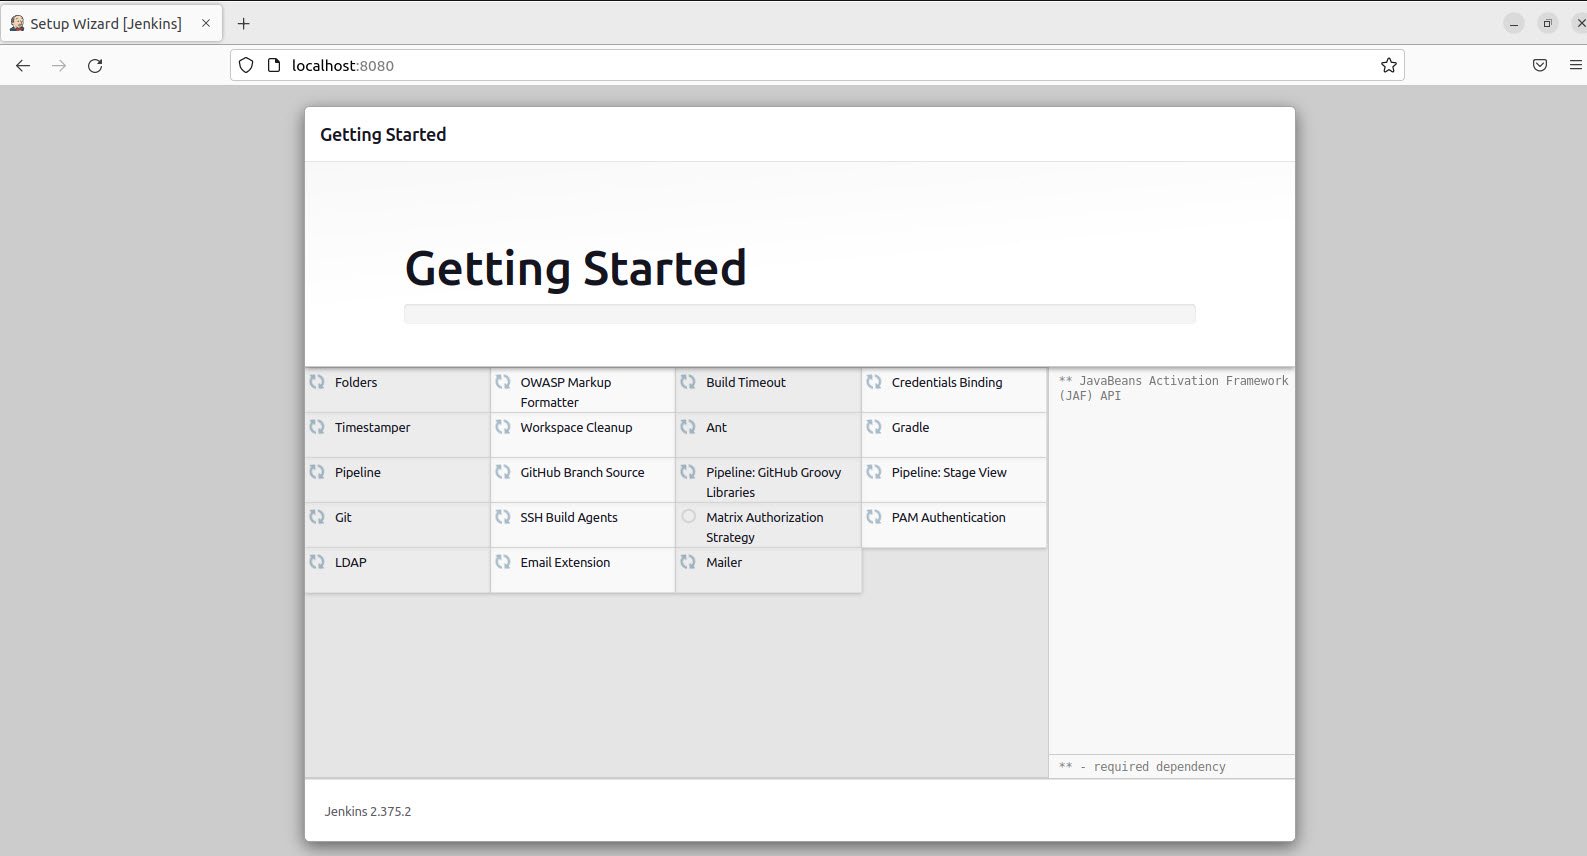
We will select the Install Suggested Plugins option as shown below.
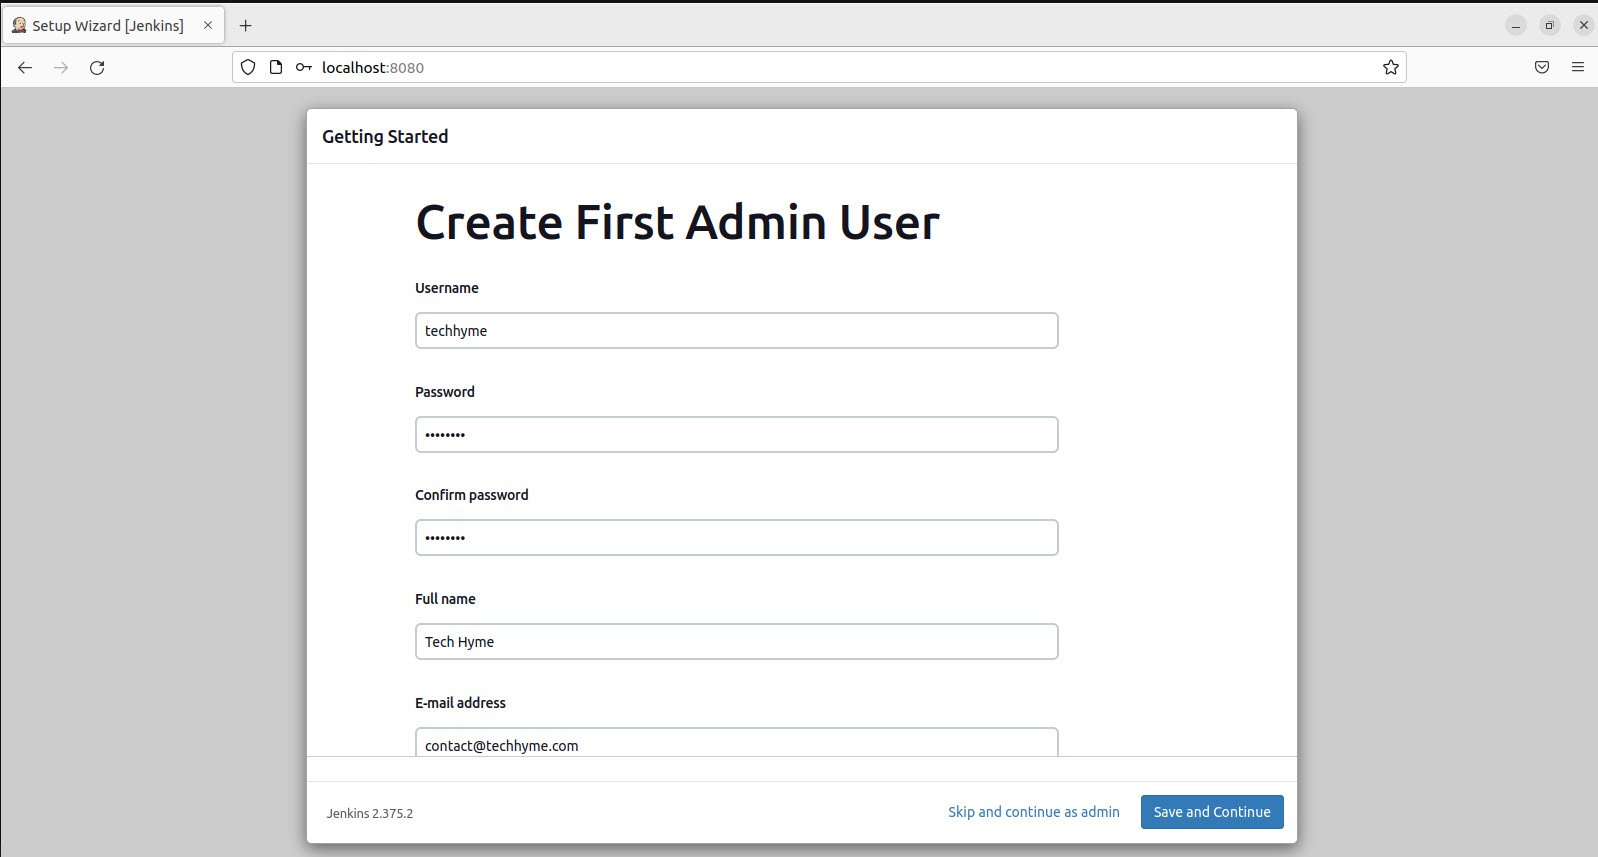
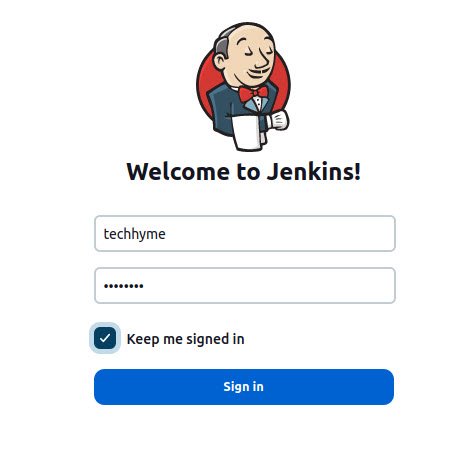
Once the plugins are successfully installed, then it will prompt to create a First admin user.
Please fill in the required information and keep it safe with you, as you will use this later to log in.
Now Jenkins URL configuration screen will appear, and you can keep the default URL as it is and click on save and finish.
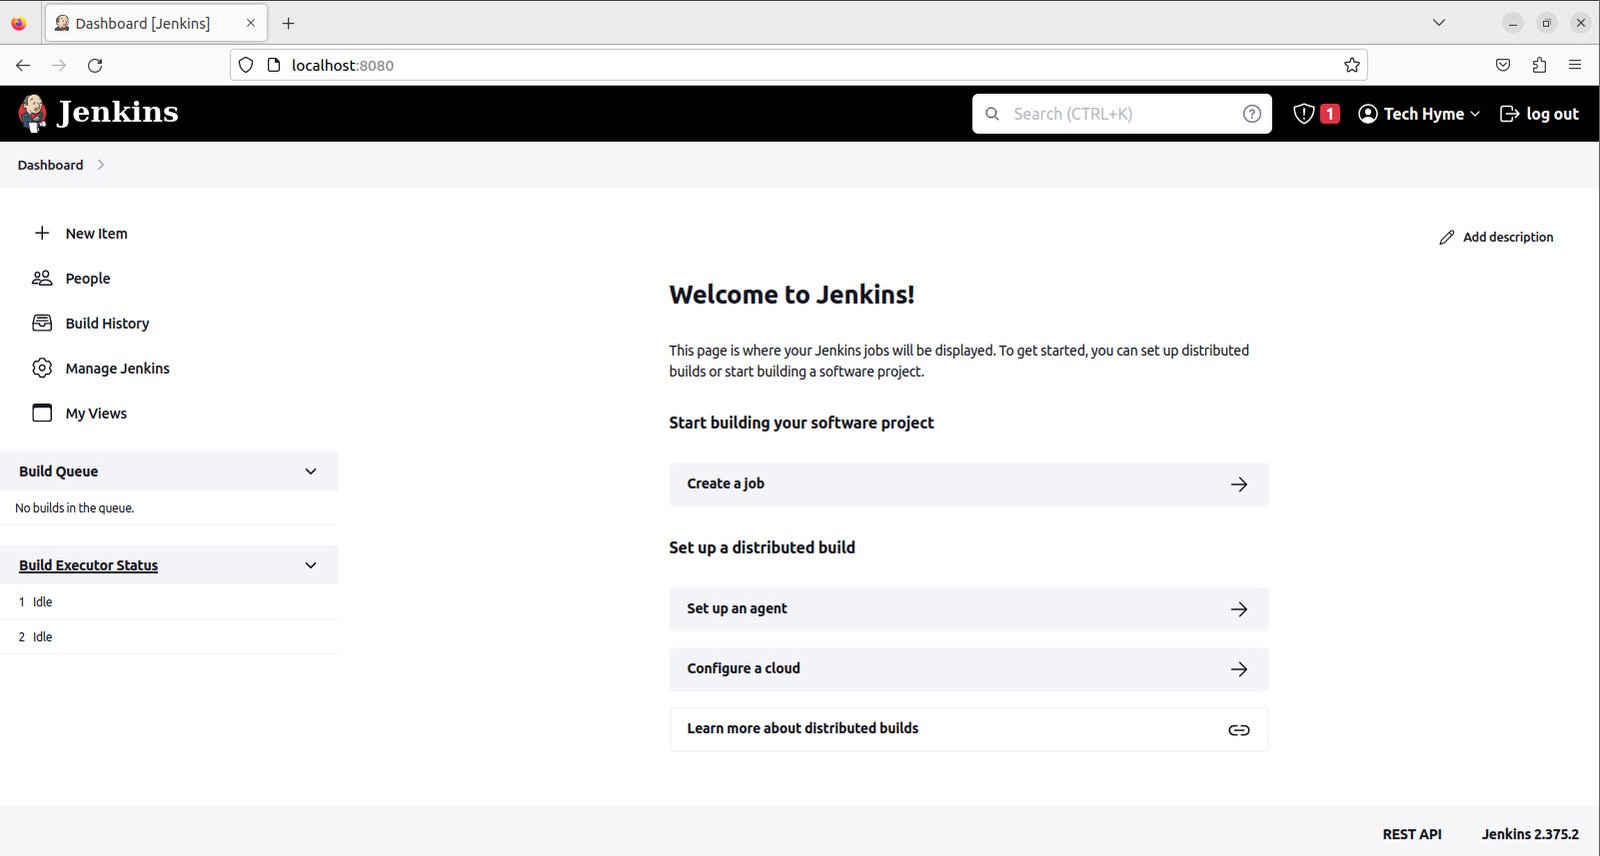
Now Jenkins instance is ready for use. Click “Start using Jenkins.” After you click, you will see Jenkins Dashboard, where you create New Jobs by clicking on New Item.
You may also like:
- How To Install Python 2.7.18 From The Source
- How To Parse SSH Authentication Logs with Logstash
- A Comprehensive Guide to File System Commands in Linux
- Essential File Compression Commands in Linux
- Secure Shell (SSH) Protocol – A Comprehensive Guide
- Monitoring Active Connections in Kali Linux Using Netstat
- How To Easily Crack Wi-Fi Password
- 6 Most Useful Windows Command Prompt Commands
- Ripgrep – Searching for Specific File Types and Beyond
- Insert and Create Data in Elasticsearch