GlobalProtect VPN is the system used to connect to the Virtual Private Network (VPN). A VPN provides an encrypted connection between your off-campus computer and the campus network. Users or Employees can use your VPN service at no cost to connect to some campus servers remotely.
Before connecting to the GlobalProtect network, you must download and install the GlobalProtect app on your Windows endpoint. To ensure that you get the right app for your organization’s GlobalProtect, you must download the app directly from a GlobalProtect portal within your organization.
To download and install the app, you must obtain the IP address or fully qualified domain name (FQDN) of the GlobalProtect portal from the administrator.
In addition, your administrator should verify which username and password information you can use to connect to the portal and gateways.
In most instances, the username and password, is the same username and password that you use to connect to your corporate network. After you gather the required information, use the following steps to download and install the app:
Launch a web browser and go to your VPN URL. On the portal login page, enter your username and password , and then click LOG IN. In most instances, you can use the same username and password that you use to connect to your corporate network.
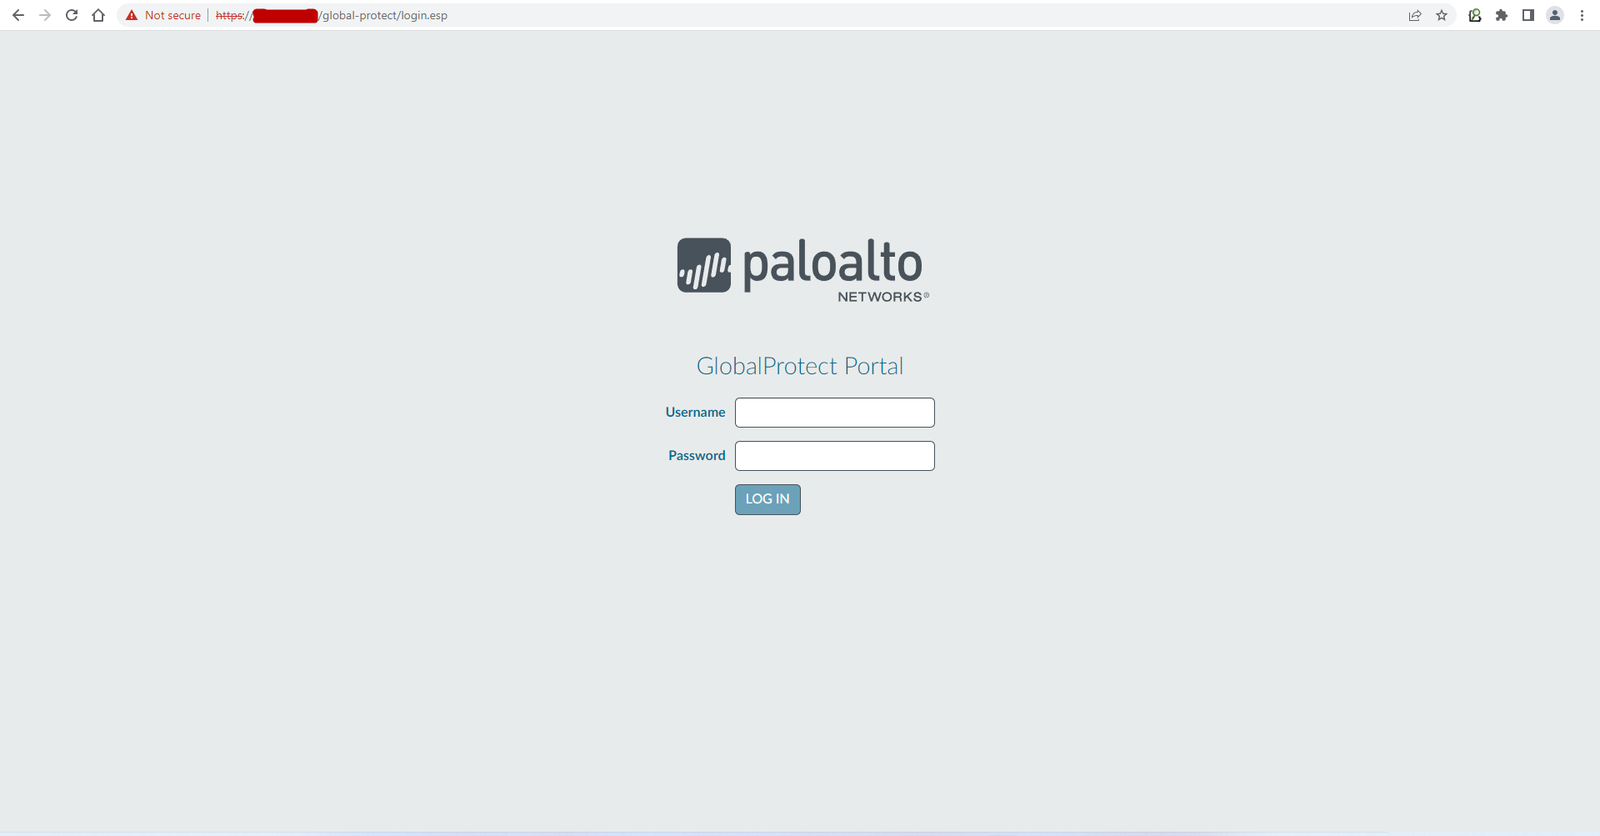
Navigate to the app download page. In most instances, the app download page appears immediately after you log in to the portal. Use this page to download the latest app software package.
Click ‘Download Windows 32/64 bit GlobalProtect agent‘ and then ‘save file‘ to download the installer.
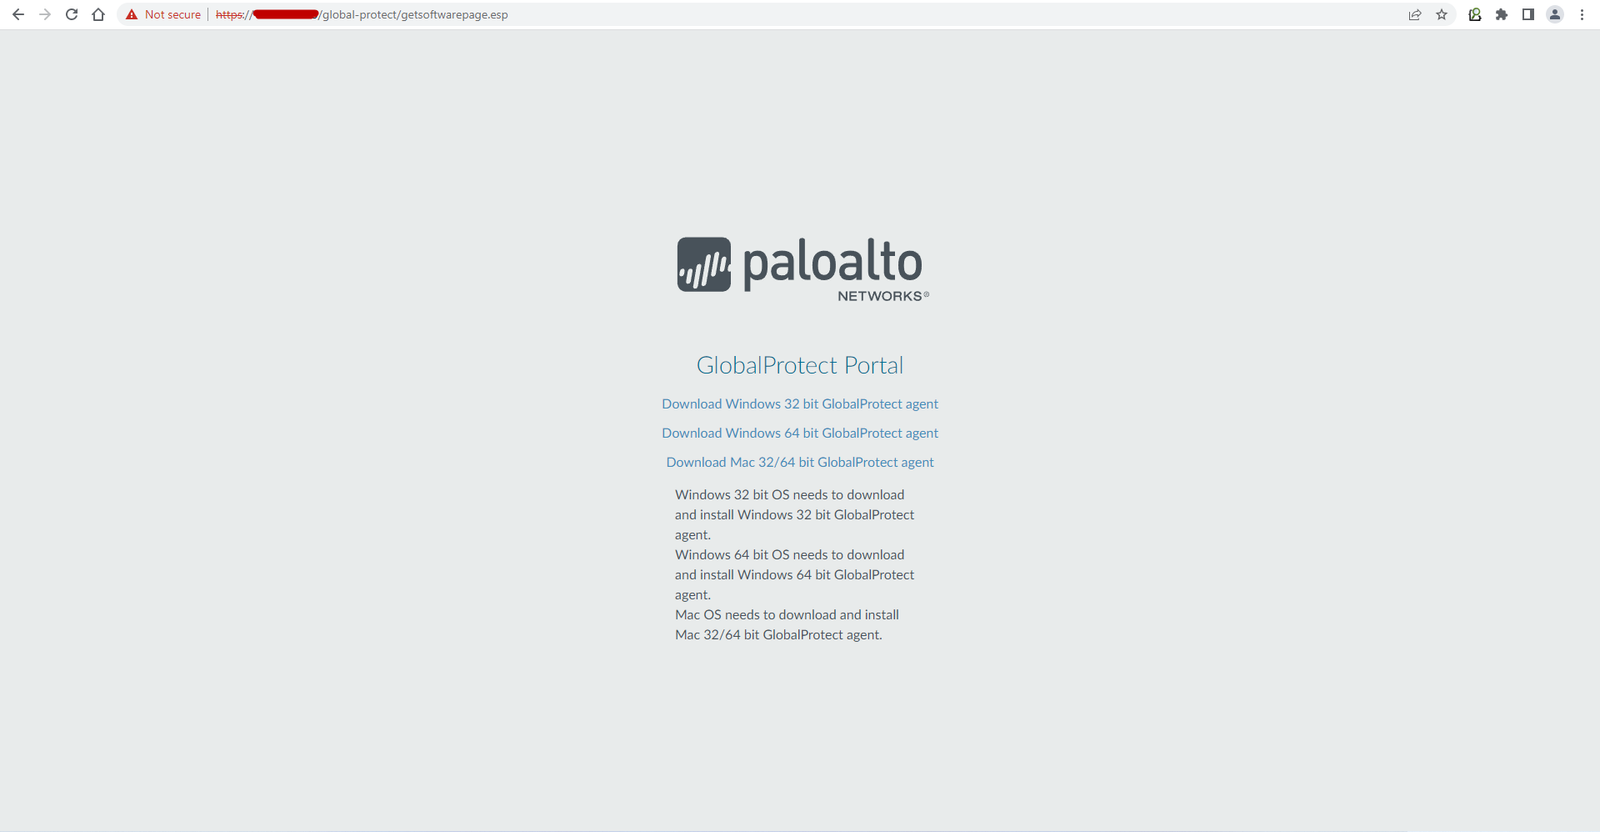
If you are not sure whether the operating system is 32-bit or 64-bit, ask your system administrator before you proceed.
After double clicking the agent (Windows 64-bit GlobalProtect agent), click Next.

Click Next to choose the installation folder, the default location is “C:\Program Files\Palo Alto Networks\GlobalProtect“.

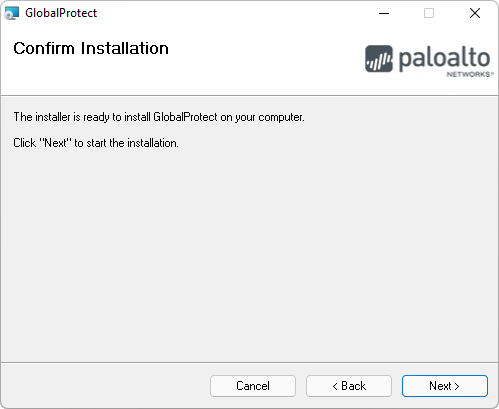
Click Next to confirm the installation.
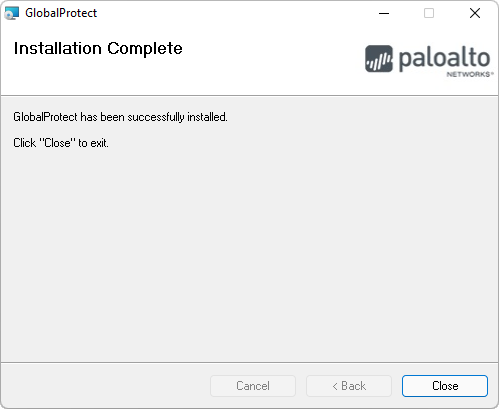
Congratulations, the GlobalProtect VPN agent has been installed, click Close button to close this installation wizard.
Once the agent has been installed, the Global Protect icon will appear in the menu bar at the bottom-right of your screen. Click the icon to set up the VPN connection.
Type your VPN address into the Portal Address field and click Connect.

You will be prompted to add the certificate into your device. If you do not complete this step, you will not be able to connect to VPN.
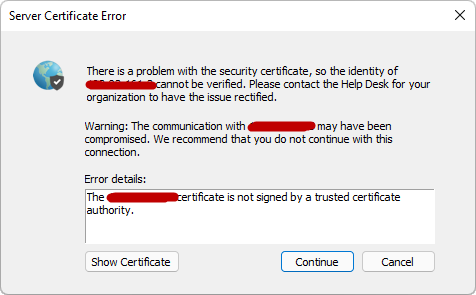
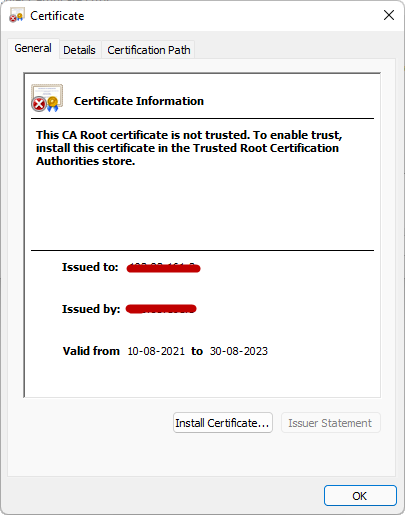
Click to install certificate
Each of the system certificate stores has the following types:
- Local machine certificate store: This type of certificate store is local to the computer and is global to all users on the computer. This certificate store is located in the registry under the HKEY_LOCAL_MACHINE root.
- Current user certificate store: This type of certificate store is local to a user account on the computer. This certificate store is located in the registry under the HKEY_CURRENT_USER root.
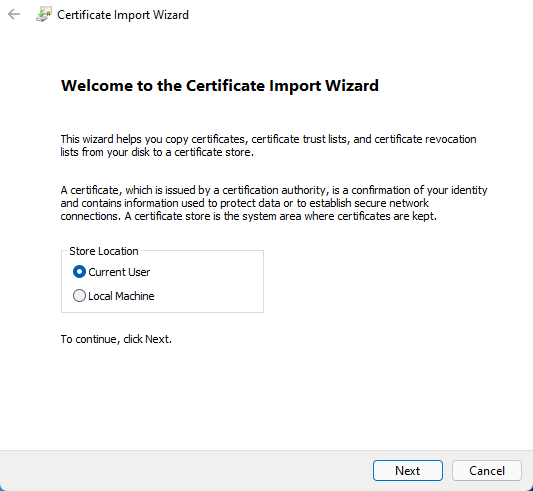
Select Current User option and click Next
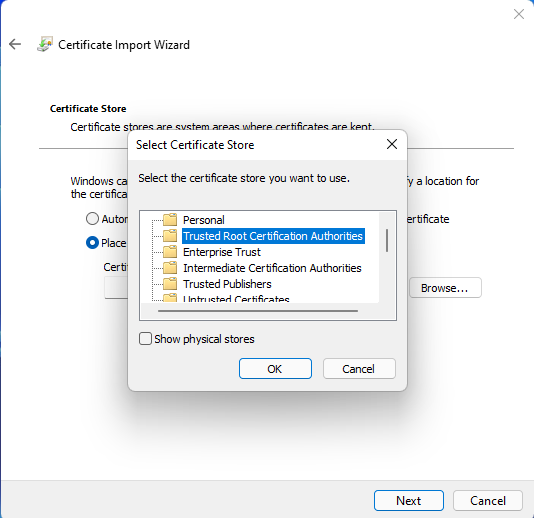
Click on Browse and select ‘Trusted root certificate authorities’. And click on OK.
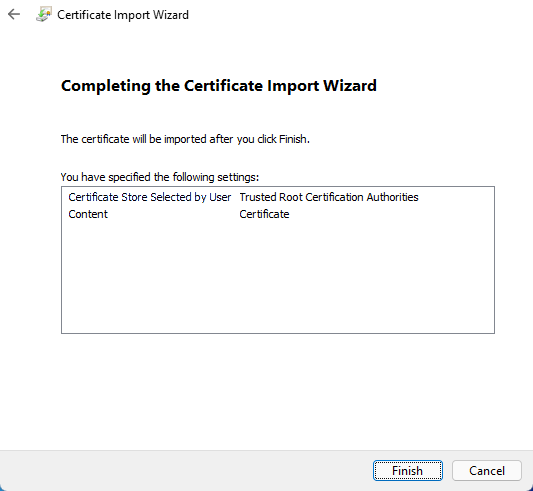
Click Finish to finish this installation wizard.
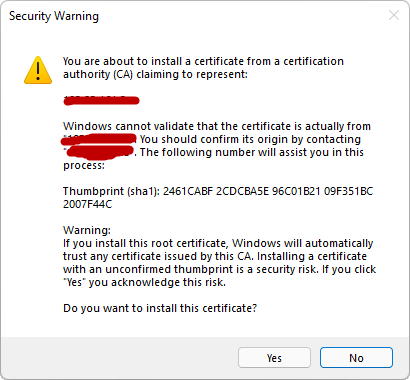
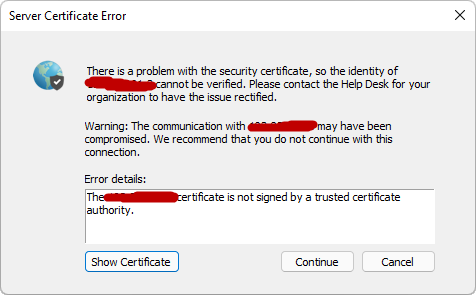
In case, if you see any security warning dialog box, then simply click ‘Yes’.
And Press ‘Continue’ button.
Click the icon in the notifications area of the status bar in the lower right of your screen. Enter your correct Username and Password and click Sign In button.

Once you are connected to the VPN, the global protect icon in the menu bar or taskbar will show a shield icon next to the globe.

- How To Install Python 2.7.18 From The Source
- How To Parse SSH Authentication Logs with Logstash
- How To Easily Crack Wi-Fi Password
- 6 Most Useful Windows Command Prompt Commands
- Ripgrep – Searching for Specific File Types and Beyond
- Insert and Create Data in Elasticsearch
- Manage Time and Date in Linux with timedatectl
- How to Set Network Adapter Priority on Windows 11
- How to Add a User to Sudoers on Ubuntu
- 25 Popular Linux IP Command Examples


